January 2023
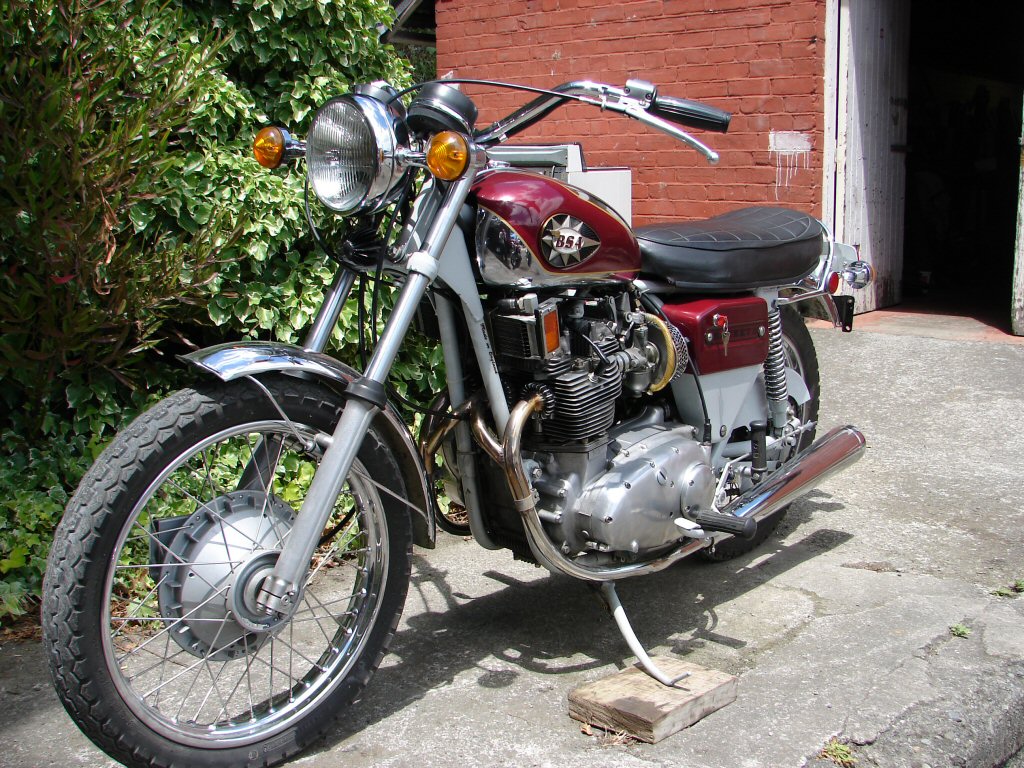
1971 BSA Rocket 3 750

Allan's 1971 factory 5-speed grey frame Rocket 3 had been recently rebuilt when he bought it out of Christchurch in 2008. It came to my workshop at the time in order to check the head bolt tensions, valve clearances, and generally make sure it was fit for use. I immediately found a stripped pillar stud, but we decided to use it a bit and see what showed up.
A number of things did, and several years later the head and barrels came off. You can read about that here.
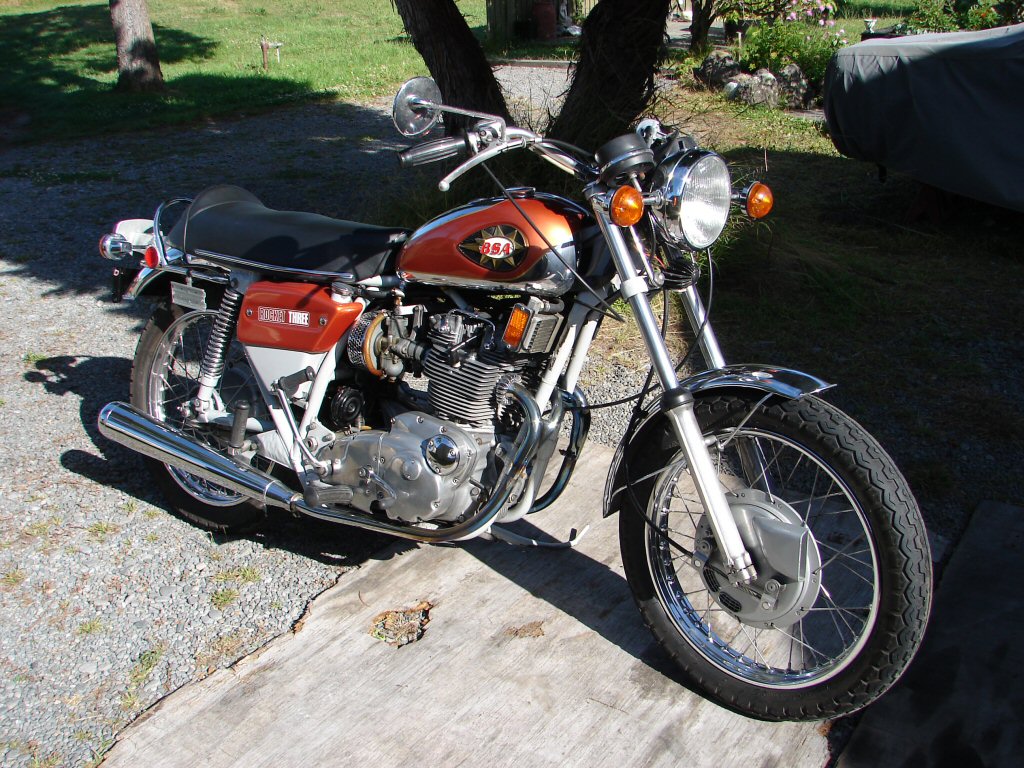
The Christchurch earthquakes intervened, but 6 months later it was complete and moved up to Blenheim where it enjoyed only occasional use. It then featured the bronze colour scheme it wears now, and had received a new seat with rear hump.
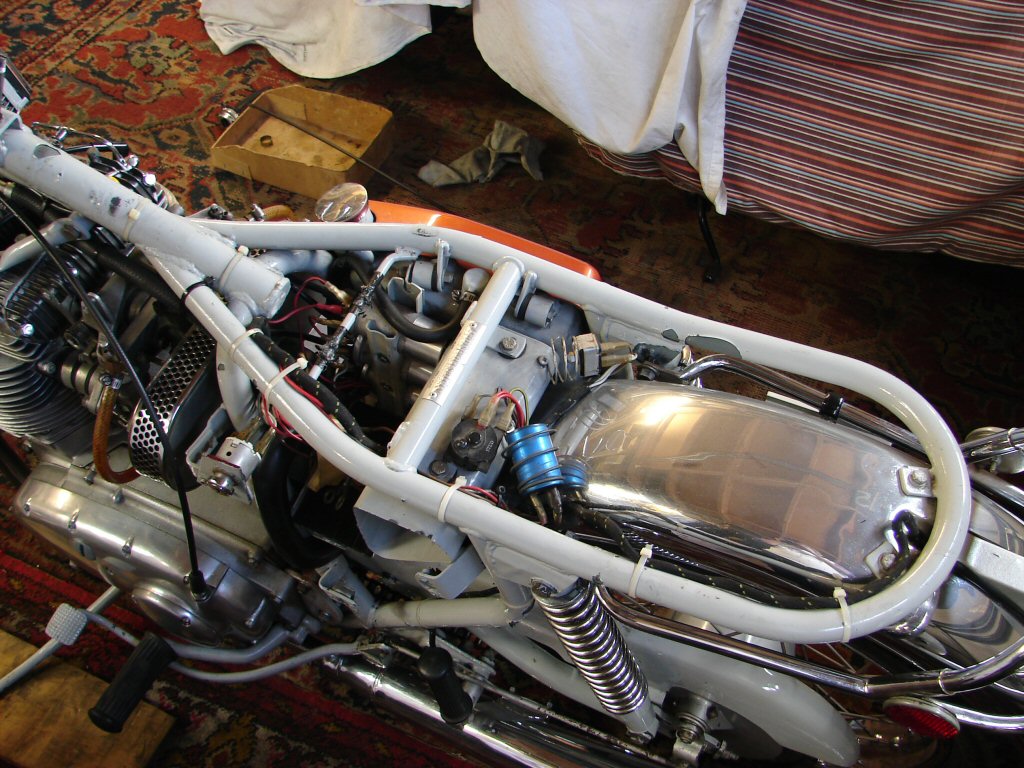
Within minutes of entering my shed much of that came off. The oil tank was empty so all of the oil was in the crankcases. As both tyres were nearly flat when I collected the bike I assume that it had not run for some years.
As collected, the bike had no main stand, but I had already found a spare black stand amongst Allan's stuff, so figured it was for here. The mounting kit was not complete but I lashed it up temporarily as both wheels must come out for the brake declaration, and there is a new rear tyre to fit.
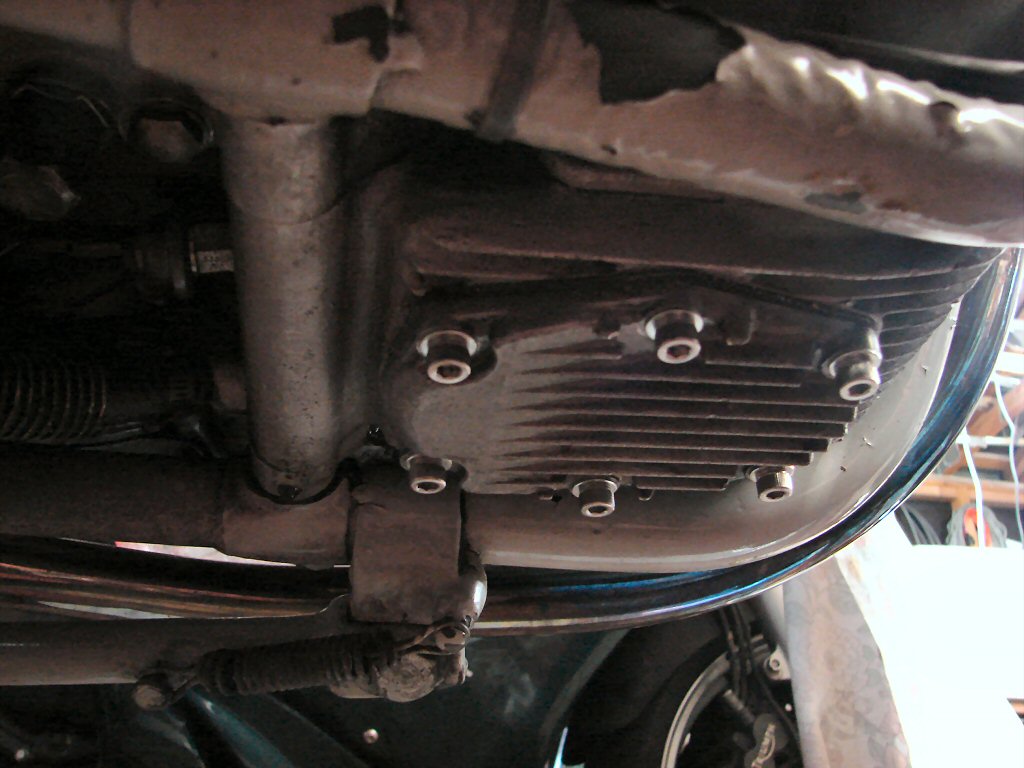
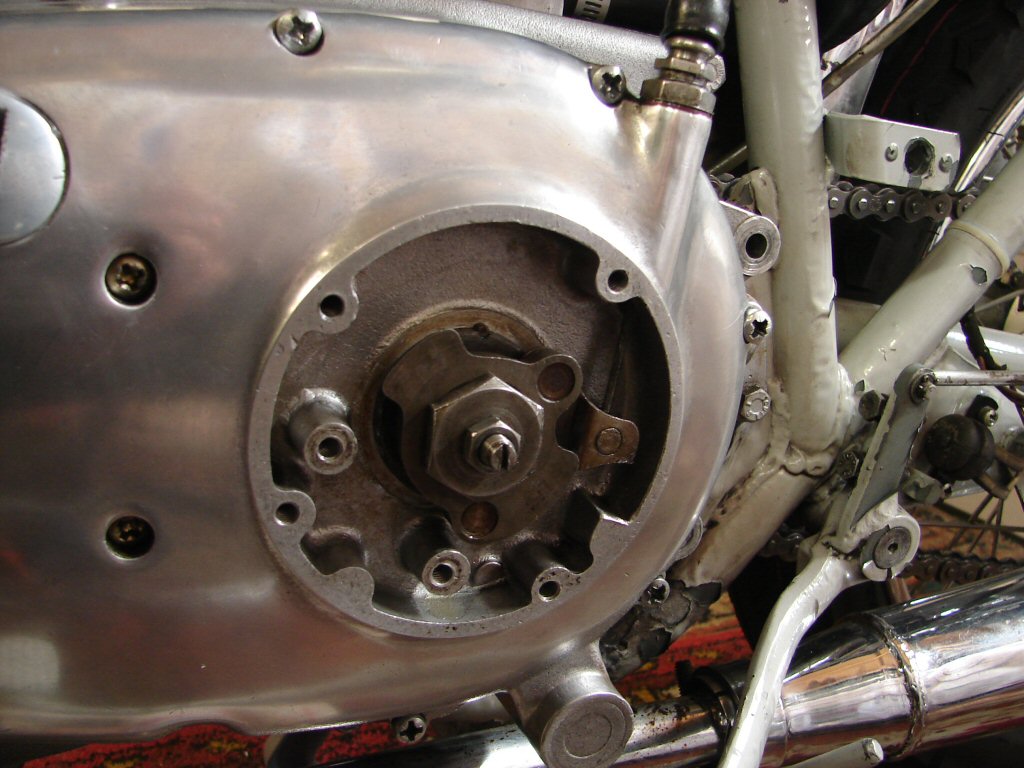
Investigating the sump plate revealed that the studs were mostly stripped, as it seemed someone had forced metric nuts on. One was stripped enough that the nut had already fallen off. I had to buy an extractor to get the studs out, as there was not enough viable thread to lock a pair of nuts onto.
The extractor worked a treat, and I chose to use stainless allen screws as a replacement for the studs and nuts arrangement.
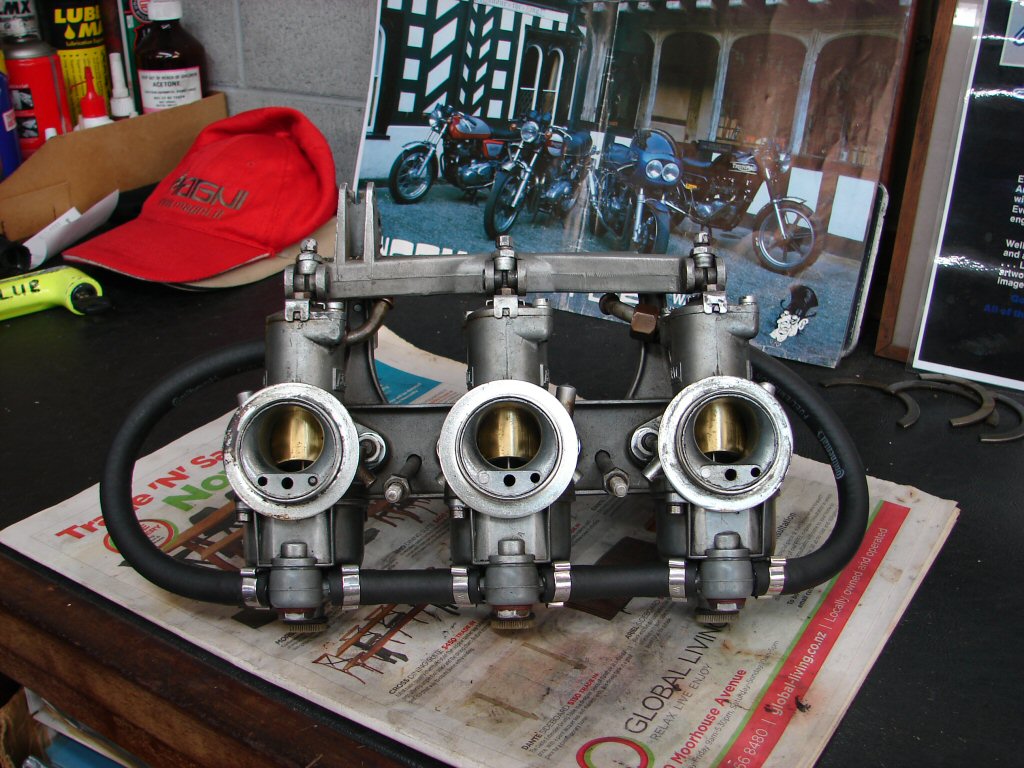
Airfilter and carbs came off, as the carbs will need cleaning up from old fuel, plus to make sure float levels are correct, and float needles are not brass types. Looking down the intakes the ports are super clean and the valves look pretty new.
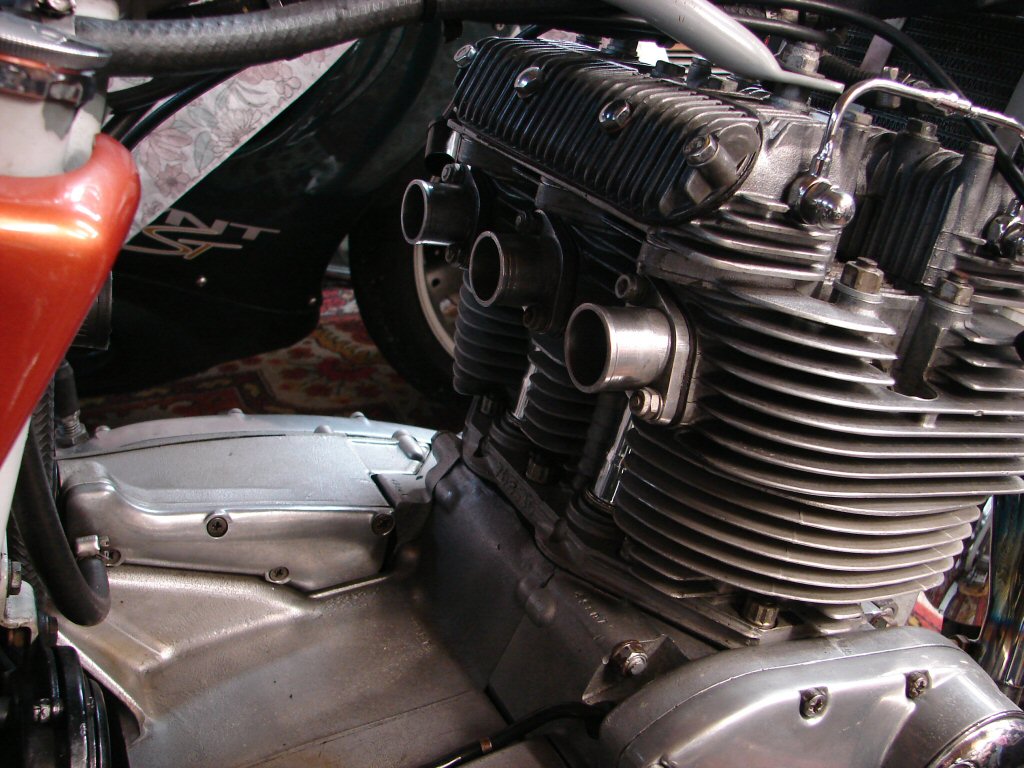
As the carbs were off I did a compression test - left to right 140/135/140. Pretty happy with that on an engine that has not been run for some years.
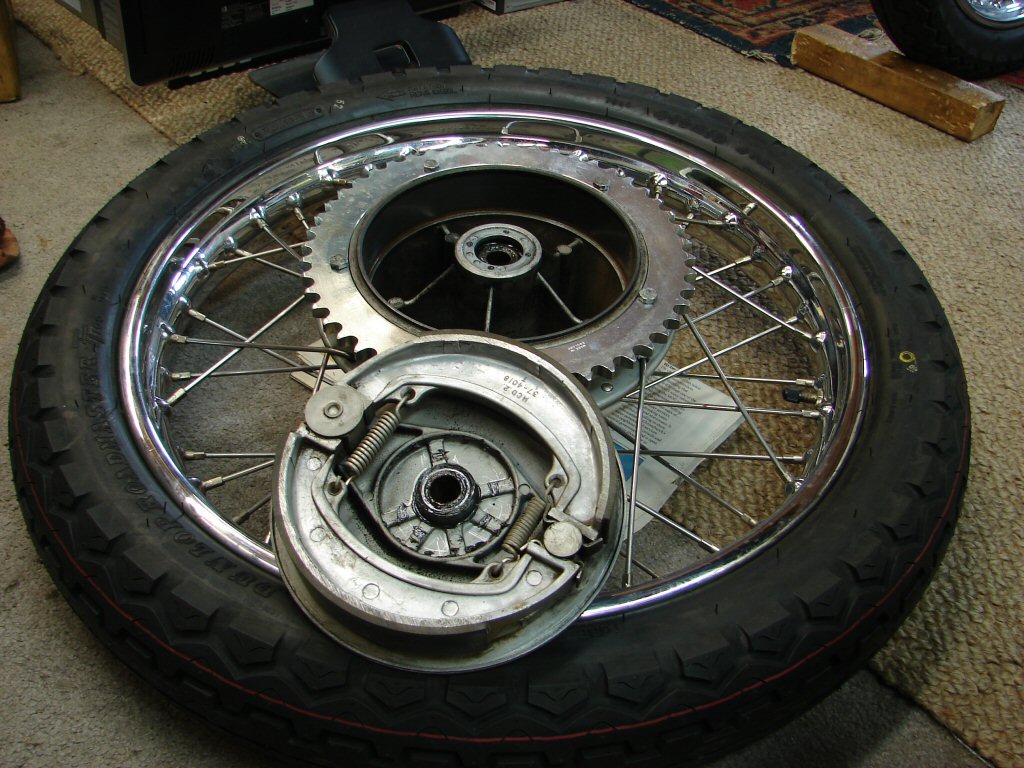
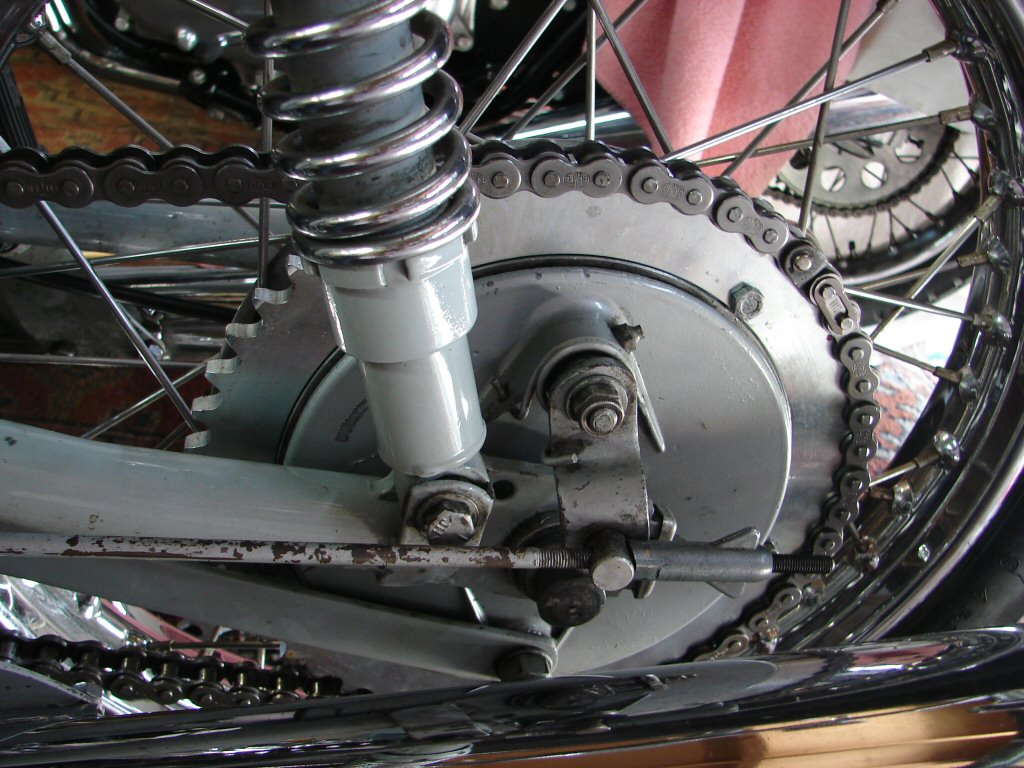
Rear wheel came out next, revealing a rather naff rear chain in the process.
Brakes and drum are in excellent order, but the rear sprocket has done its dash. Shining a torch north I could see what appears to be a new front sprocket, so only chain and rear sprocket to be replaced. Removing the sprocket from the drum makes the tyre change easier I guess..
New chain and sprocket arrived, so the sprocket went on before the wheel was refitted.
Opening the rocker boxes to check valve clearances revealed that everything was in order. I use the later recommended clearances of .008" and .010", and found that while rather firm, my feeler gauges would just fit. I only adjusted one inlet valve, the rest were fine. I believe that was my work from 2011, so it is reassuring to know that nothing has moved.

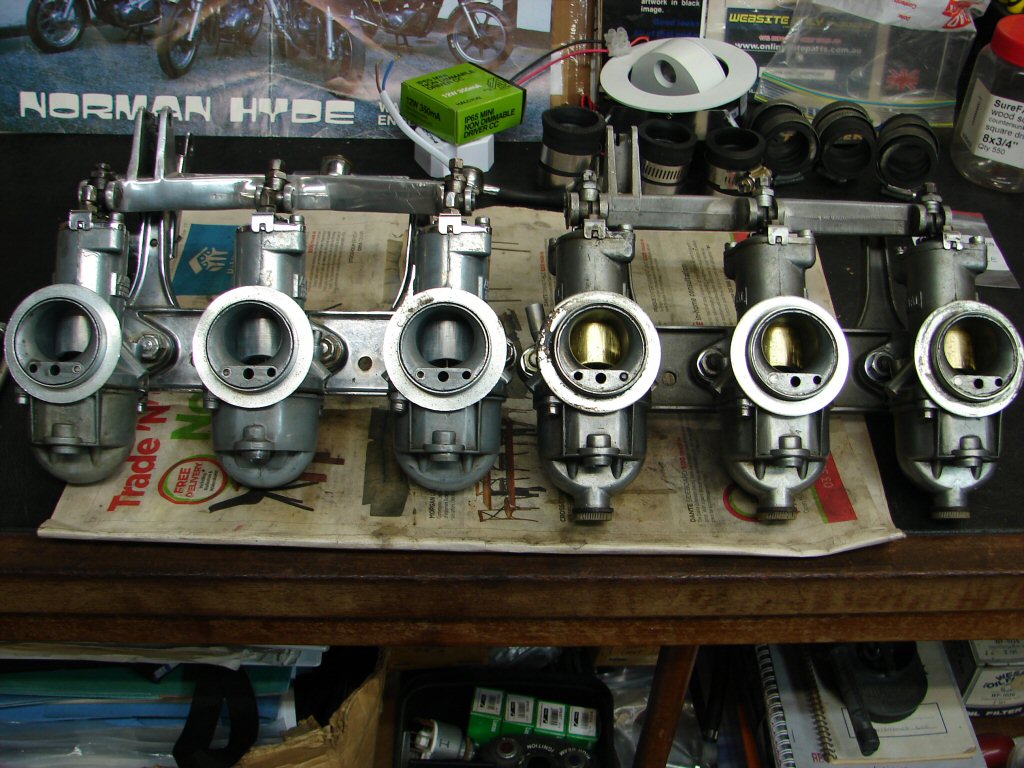
The carbs came in for attention next.
The fuel that was in the float bowls was the same colour as the floats and smelled like rotten varnish. It has been quite a few years of sitting for this bike.
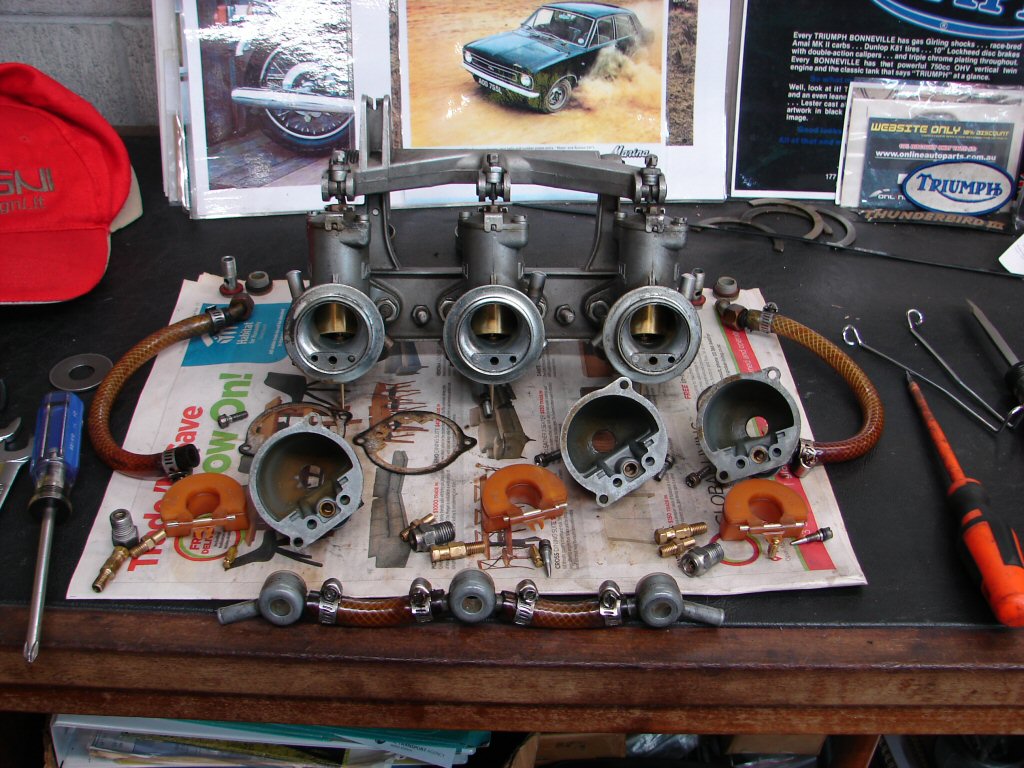
While the slides have benefitted from brass sleeving at some stage, the rest was mostly stock. Yes, it did have brass float needles, and the height of the floats would suggest that it was only the weight of the float needles that prevented the carbs flooding, as the floats were way above the top of the bowl. Alloy float needles went in and the floats were all reset to a couple of mm below the far side top of the bowls. Needles and needle jets were all stock, and needles on centre notch. Main jets were 160, and I would normally fit standard 150's if I found this, but as the spark plugs are uniform and a good colour, and as the exhaust manifold has coloured up at some stage, I put them back in.
I will strobe the Boyer ignition once the bike is running to make sure the timing is not responsible for the blueing though.
Final move for the carbs will be to replace the nasty fuel line and clamps with something tastier.
Job done.
They got refitted along with the airfilter and a new throttle cable.
The new chain was laid out alongside the old chain and cut to the same length, which was 108 rollers including the joining link. Alas, the new chain was too tight to fit, as the old one was so stretched it seems someone had shortened it rather than fit a new one.
However, the new chain only needed one roller more to fit, so I used a half link next to the joining link. So now it is 109 rollers, or else it would be halfway to full adjustment from new. Perhaps the apparently new front sprocket is one tooth larger than stock.
Here we are fitted, and the adjusters have just moved the axle back from its forward limit.
Besides the throttle cable, there will be a new clutch cable, and I have already replaced the left front indicator lamp which was broken, and a new tacho cable guide has been fitted to replace a piece of wire which had been doing the job of keeping the tacho cable away from the exhaust manifold.
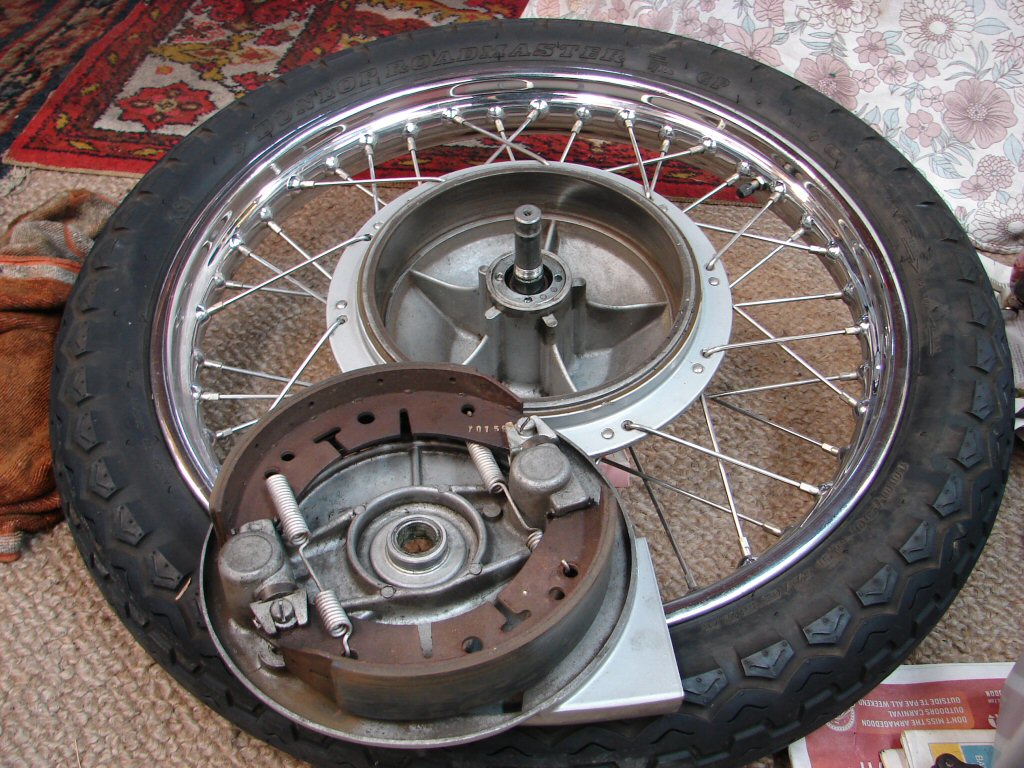
Next job would be to remove the front wheel for its brake measurements to be made for the brake declaration.
Very little mileage on these brake shoes, with the linings still over 4mm thick. Drum appears to never have been machined and a neat 8" diameter.
I include these photos of wheels and brakes with the paperwork for the compliance test, just to forestall any suggestion that the brake declaration has not been done correctly.
Final job today was to clean the anti-drain valve ball and spring, and to dress the ball seat with a drill bit to try and ensure it does its job properly. This bike had completely wet-sumped by the time I began working on it, but it would seem it may have taken several years to do so.
Easy enough to clean it up though, and hopefully make sure it does not develop any bad habits.
While I approve of the placement of the VIN plate under the seat - instead of on the frame downtubes or similar - it does mean I shall have to leave the seat/shock absorber retaining bolts loose for the compliance testing person, rather than have them wielding spanners near the paintwork. Of course, loose suspension bolts would be a fail...
Battery got fitted and electrics checked. Only the high beam was intermittent, but a few operations and it began to behave. I will check it a few more times and if it fails the switch will get some maintenance.
New GTX 20W50 in the primary and tank, plus a new oil filter. I remove the spark plugs at this time and kick it over until the oil light goes out. While doing so I check that all the spark plugs are firing. The centre was not. Swapped the plugs, but still the centre. Removed the suppressor cap and checked it with a meter. Open circuit. Of all the things that might fail while the bike is laid up, this is one I would never have picked. I had a spare NGK cap of similar nature to the remaining and fitting it restored a spark. Cool.
I emptied the remainder of the orange fuel from the tank and after fitting it put some fresh in.
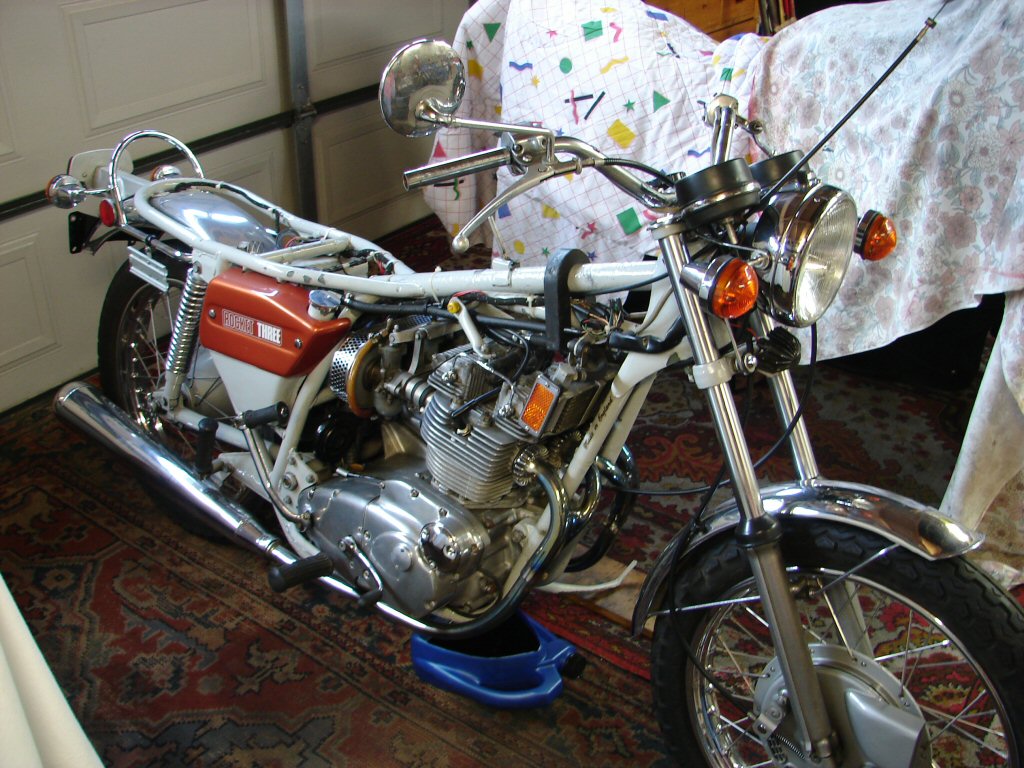
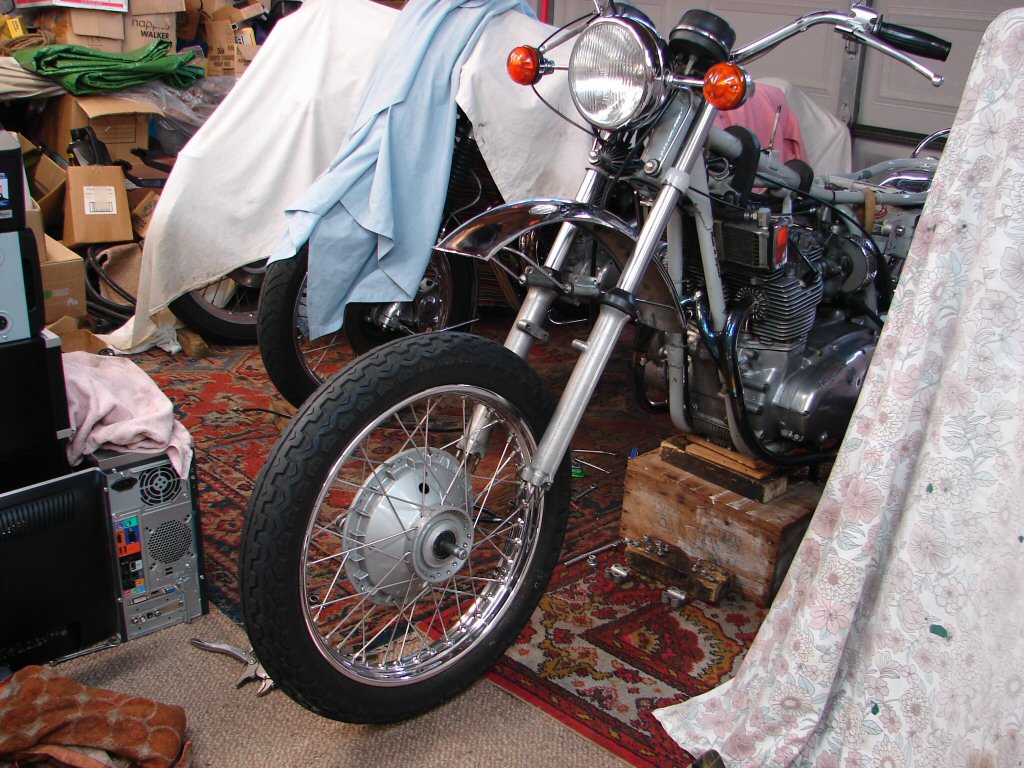
Bike now looked like this -
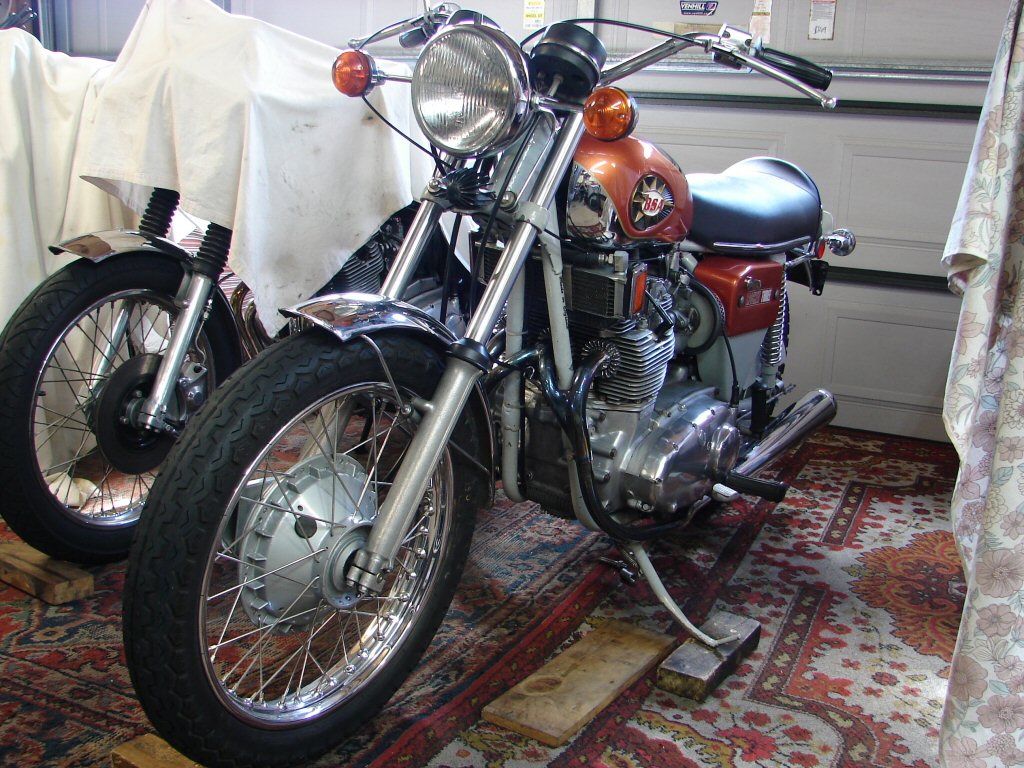
Main stand was removed in order to paint it grey here, but went back on following day.
Prior to starting for the first time I remove the oil return line from the tank and redirect it out the right side of the bike. This allows flushing out any remnants of oil in the crankcase, and also the oil cooler. I usually sacrifice about 1 litre, by which time you can see by the froth that it is sucking air from the sump.
You can watch the starting procedure here.
Having purged the necessary oil I buttoned up the line and topped up the tank exactly to the mark. I shall be interested in keeping track of how much oil wet sumps and over what time period.
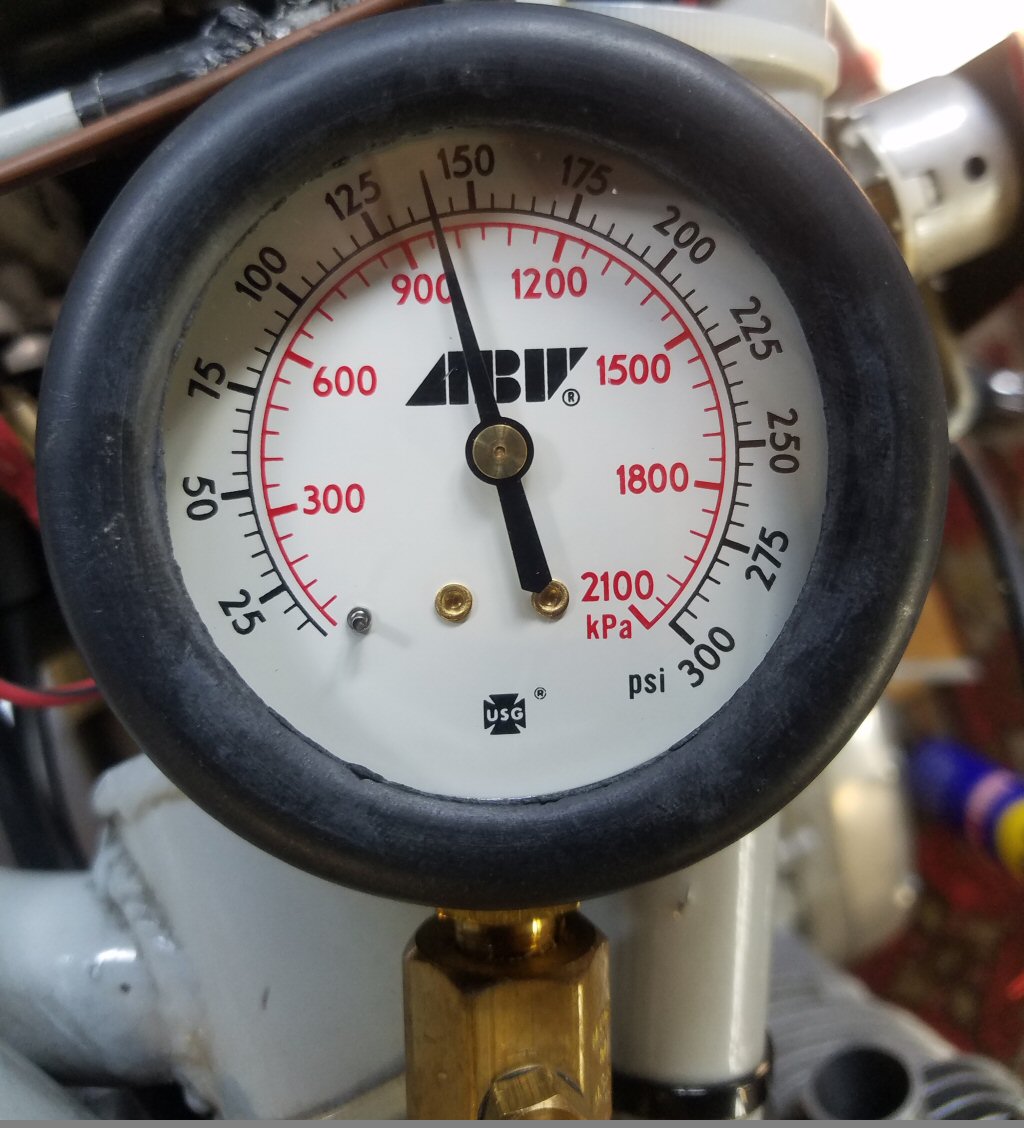
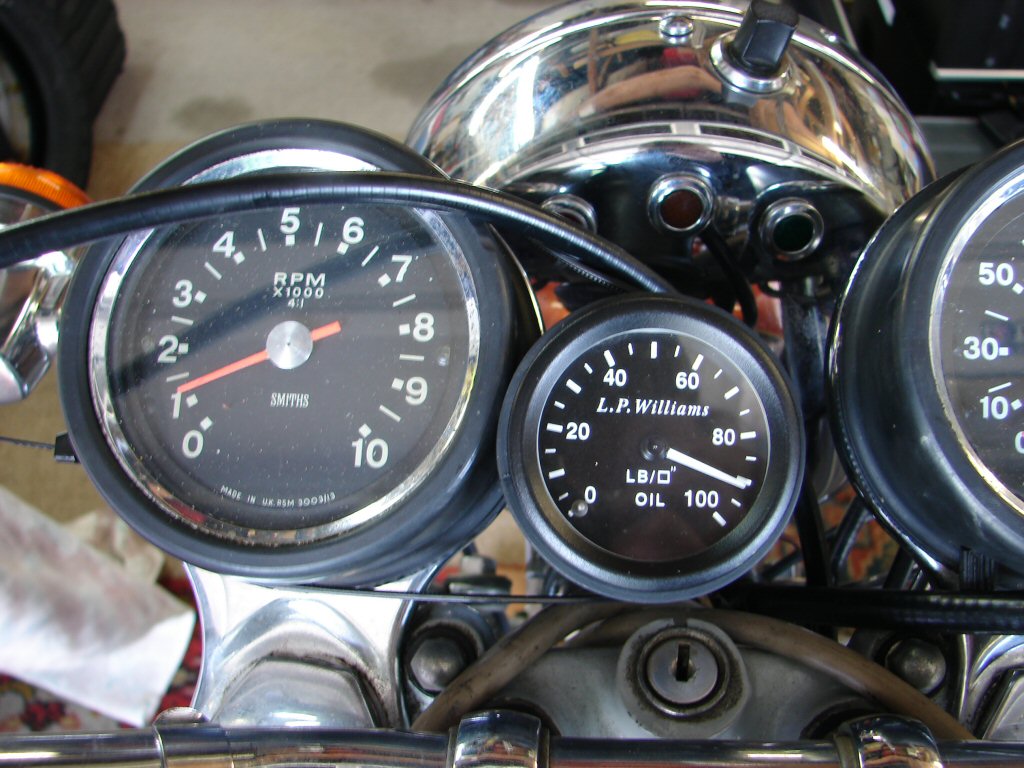
I also fitted my oil pressure gauge to the main gallery at the front of the crankcase so I can record hot and cold oil pressures.
I now started the bike for a second time, with my camera nearby to save me having to remember figures. As it happened, it read between 80 and 90 psi as the idle hunted around a bit, being still a cold engine and all.
I warmed it for a short time before adjusting the pilot air screws to get it smooth. Once the first run is complete I will remove the airfilter and set the carbs with my vacuum gauge, so I shan't be too fussy right now.
That being done, I went for a ride.
I stalled it as I attempted to move off. The clutch lever pressure is quite high, so I thought I just muffed it. Second time I gave it a bit more gas and we moved off smoothly, but I now wondered if I had had it in second by mistake, as the gate came up fairly quick. A few gearchanges later I got the impression that the gearing was a bit higher than normal, so my suspicion that the front sprocket might have grown a bit appears likely. Finding neutral was an every timer, which is always a bonus, but the heaviness of the clutch, which this bike has always displayed makes me think it has a stronger-than-normal clutch spring. The standard rate springs have not been available for some time, so if it has been replaced during the last rebuild there is a strong chance its a heavy unit. Shame, as it makes life in town an effort.
I messed around in the city for quite a few miles, so it got a good heat up, and the only thing that cropped up was the left rear indicator stopped working. Small oil leak from the left of the exhaust rocker box which turned out to be from the cover. The covers had sealant on when I removed them to check the valve clearances, but they also had super thick gaskets, so I decided not to use sealant when I refitted them. Maybe I now shall.
Returning home I checked the hot idle oil pressure. Rather impressive. Definitely a low-mileage bottom end I think. Running pressure in use and around my usual 3 grand in town did not drop below 80psi.
Another thing I noticed on the ride was that the front forks are slightly twisted. It does not take much of a twist in the handlebars for one to feel lopsided, and looking down I thought I could detect a very slight difference in the appearance of the stanchion angles when looking down them. At home looking side on I could definitely see the stanchions were not parallel, so I will loosen the clamps and twist them t'opposite way.
Today I warmed the bike up and removed the airfilter so as to tune the carbs with the vacuum gauge. The left plug was a bit sooty looking while the right was as I would have it, and when I compared the vacuums the left carb was well at odds with the other two. I evened them out and it made quite a difference to where the pilot screws now wanted to be. The idle is improved and the starting is excellent, so it all went back together.
The slides have been brass sleeved, so presumably the process has introduced some difference in the behaviour of the slides one to another, as they do not usually deviate this much between static tuning with ball bearings, and vacuum tuning once running.
I made some alterations to the clutch adjustment, raising the operating lever slightly so as to get the best mechanical advantage and lighten the clutch action a bit. It does seem to feel better than it was, but I find these Rocket 3s with the alloy clutch lever have the heaviest action due to the pivot distance being considerably greater than that of the later steel levers. If it still feels too heavy I will see if anyone has an old standard rate spring they would sell.
Some time later - current state of play has exhaust rocker box cover resealed, and forks corrected. When I released the upper and lower yokes I was able to easily twist the forks to and fro, and when I let them go the stanchions looked perfectly parallel, so I left them there and retightened everything.
Rear indicator had its internal wire kinked behind the lampholder, so easy fix.
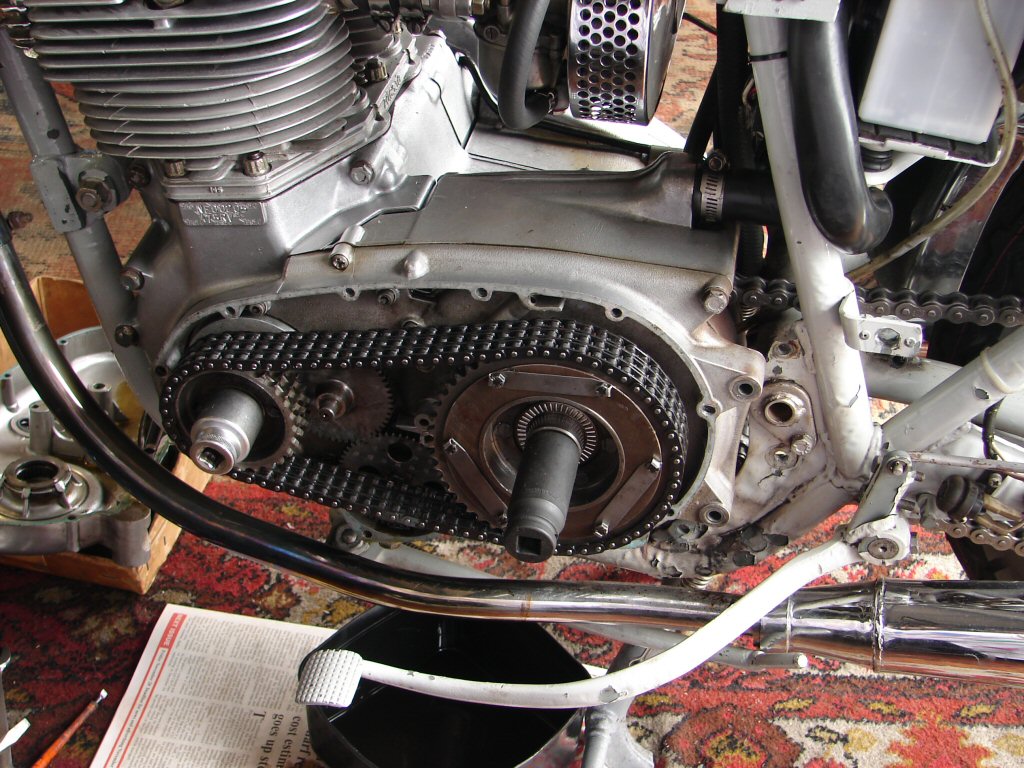
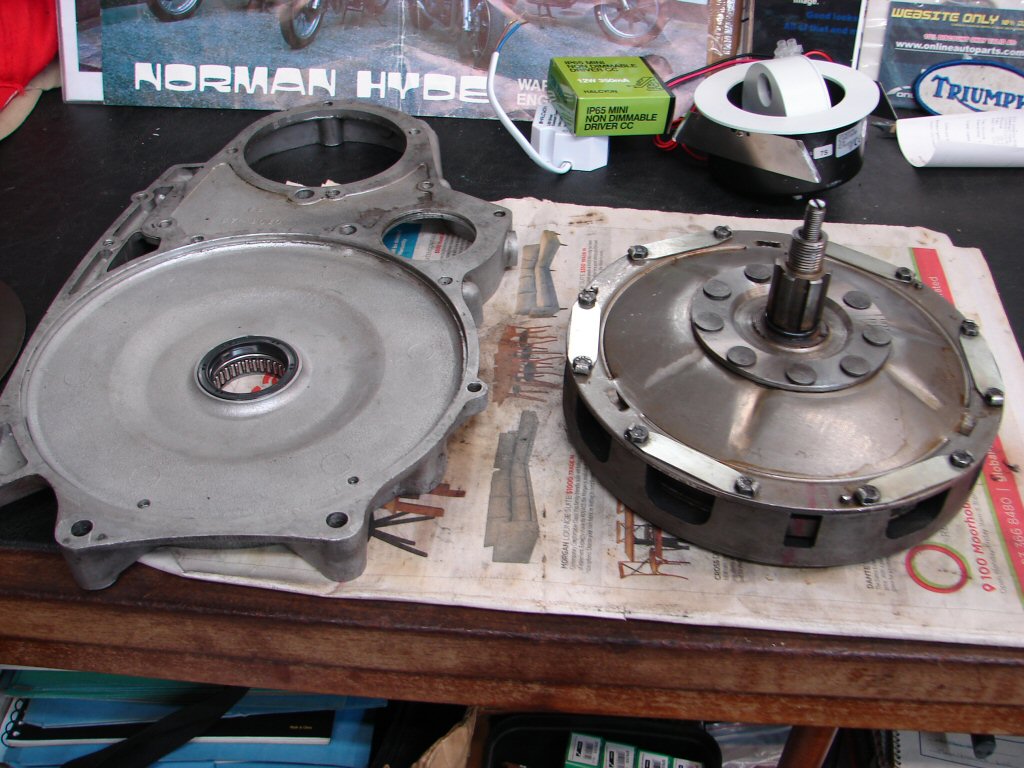
The clutch I could not adjust out, and the lever pressure was simply not acceptable. My only conclusion was that a monster spring may have been fitted inside the clutch, and as the standard rate ones are only available as an expensive re-manufacture from the UK I set about looking for a used one locally. Alan Bland came up with a very good original still adorned with its splash of red paint indicating standard strength. Nothing for it but to yank it all out.
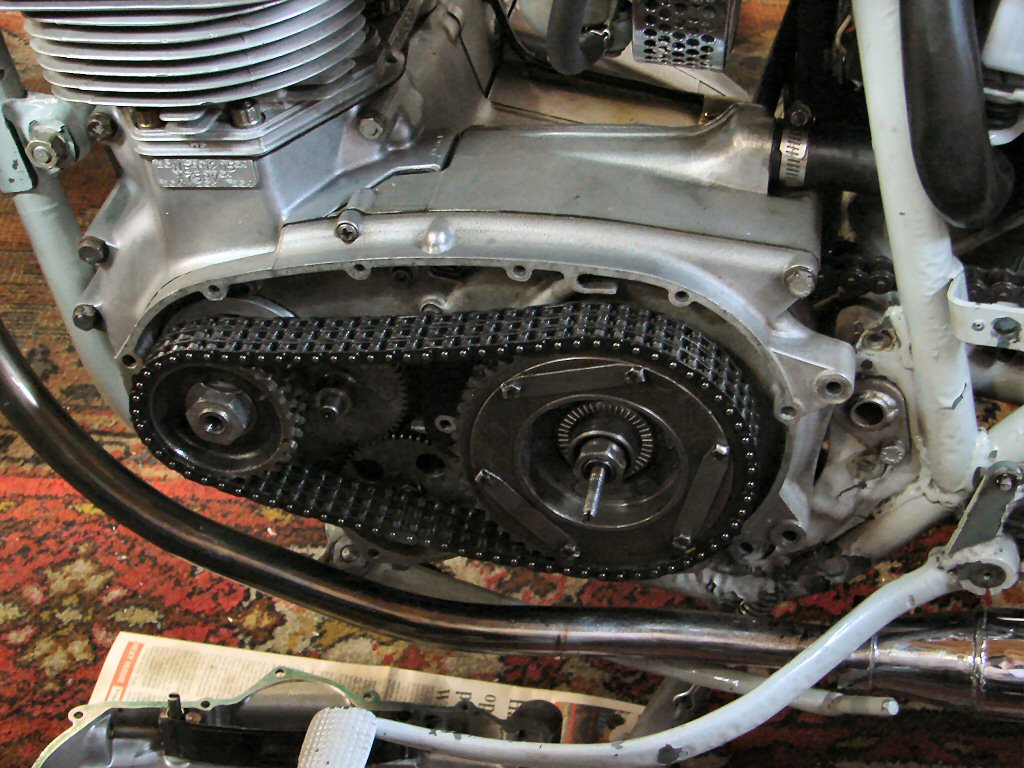
There was no way either of the nuts on the primary was ever going to respond to a spanner, so I broke out the rattle gun..
If there is a god of motorcycle mechanics - pleeez don't ever give the buggers any stronger loctite, or the game will be up.!
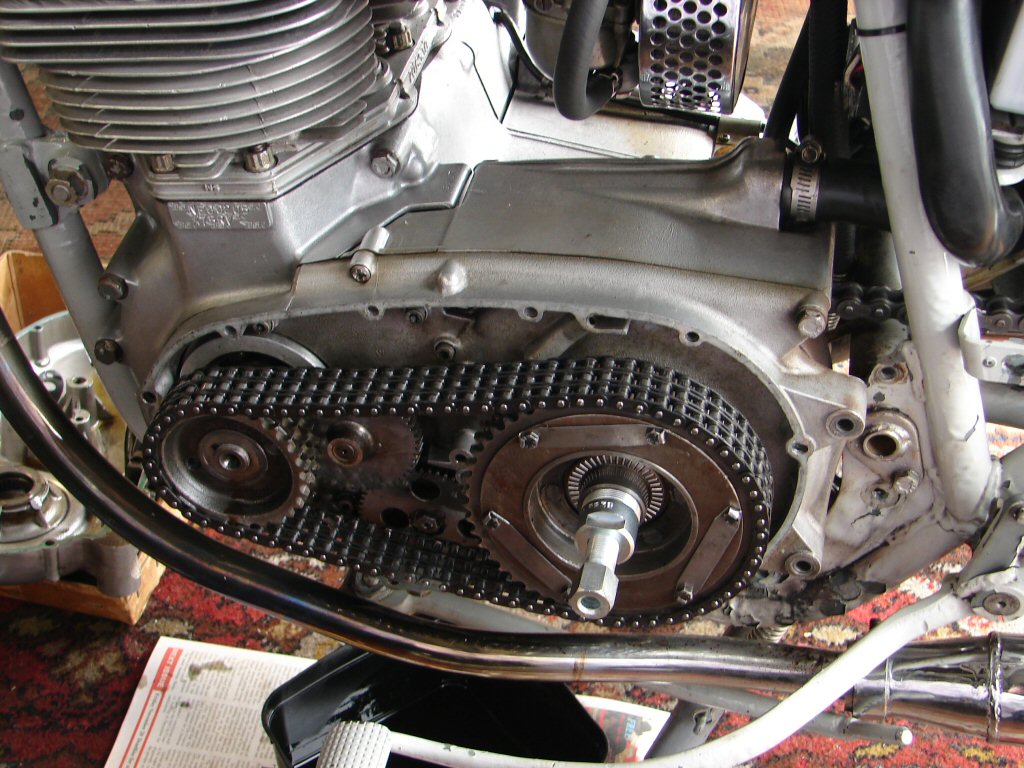
After several goes I got both nuts off. The amount of loctite used previously was obviously enough to satisfy the last builder that the locking washer did not even need to be folded over the front sprocket nut.
It also seemed that their generosity had spread to the cush drive spline, so the rarely used puller had to be engaged to budge that too.
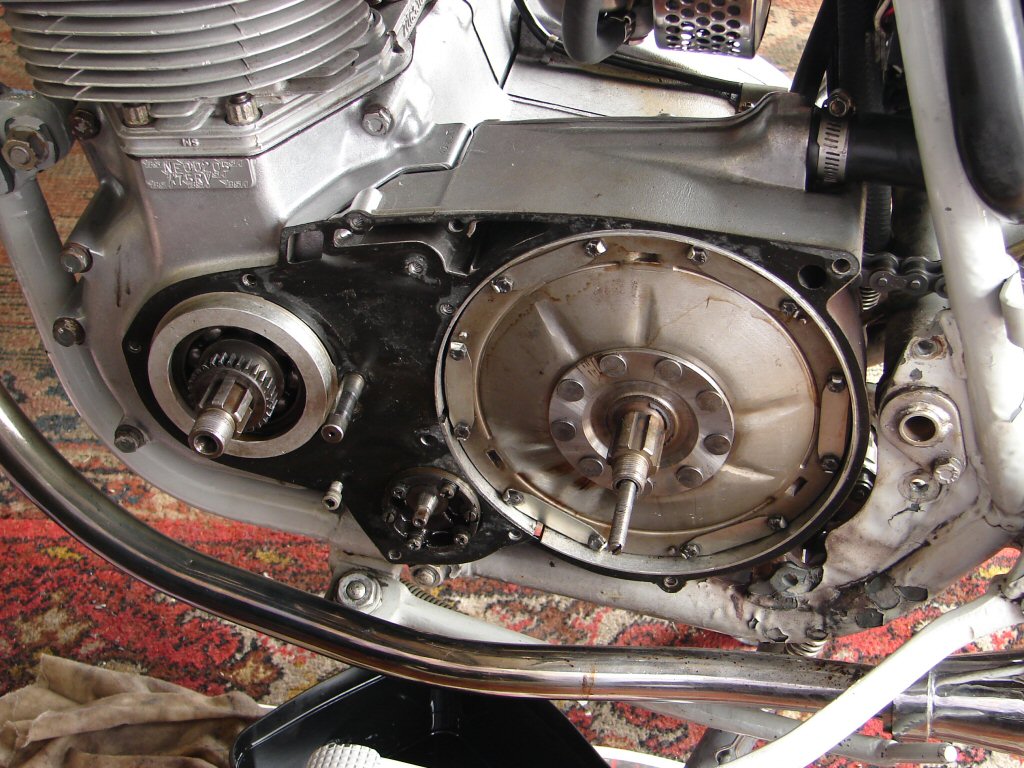
The revealed clutch assembly looked very tidy and pretty free of any oil contamination.
Bodes well.
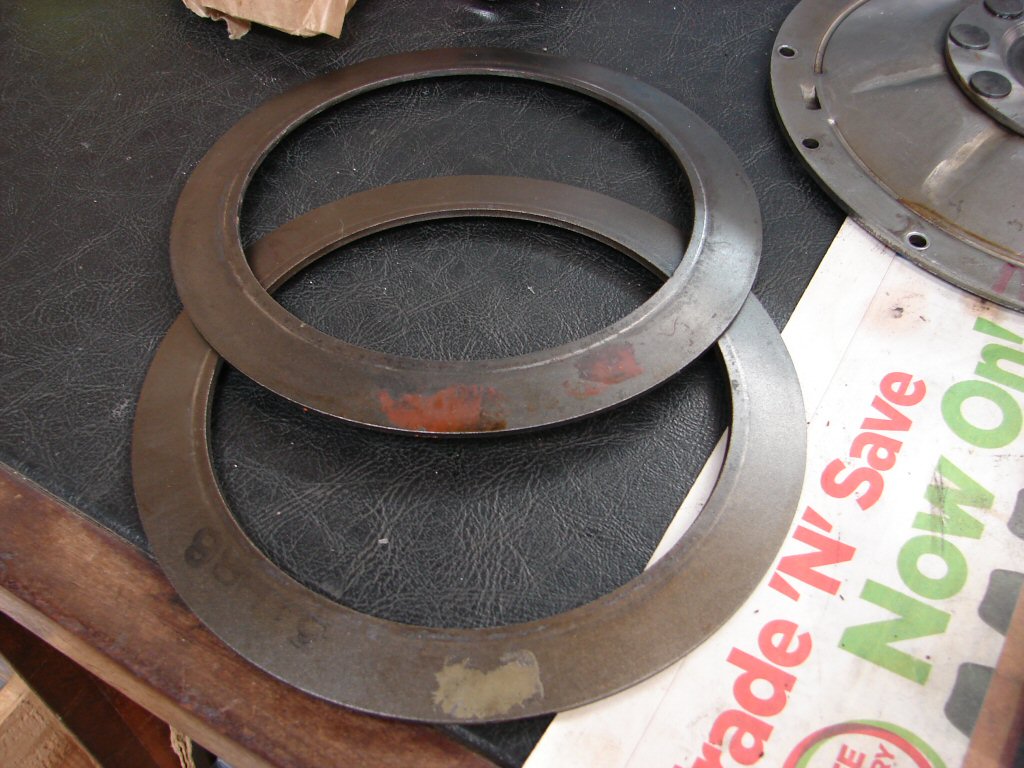
I stripped it down to find with great relief a non-standard spring. I have heard of 'orange' springs that are +20% pressure, but I have no idea what a grey one means.
It is difficult to measure the thickness as the entire thing is curved, but just grabbing the very edge with a micrometer showed the stock spring to measure approx 0.096" while the grey job was 0.101", or 5 thou thicker. We are definitely going in the right direction.
It all went back together obediently with the addition of an o ring down the spline of the cover plate to ensure no oil gets to creep through there in future, even if it had not yet done so.
New oil seal in the inner cover even though that one had been doing its job. When you are in this far it simply is not worth the risk.
Everything progressed as one would hope, but does not always achieve. Only other replacement was the oil pump O ring which fits in the inner case.
Yes, I do use loctite, but in believable amounts, in case I should ever need to remove what I put together. The splines were all reassuringly firm fitting which is great.
With outer case fitted the clutch operating lever was installed and hastily adjusted to find that we have a very compliant clutch with a lever action that pleases me immensely.
Worth every bit of effort it required.
I was not convinced that I had gotten as good a result from the carb tuning as I would have liked, so I checked over another set that I had found in Allan's back shed. These were the early type without float bowl drains, and they also featured brass float needles, which I replaced.
They had been treated to some chrome along the way, so a few potential leaks would be discouraged by using the banjo setup from the originals.
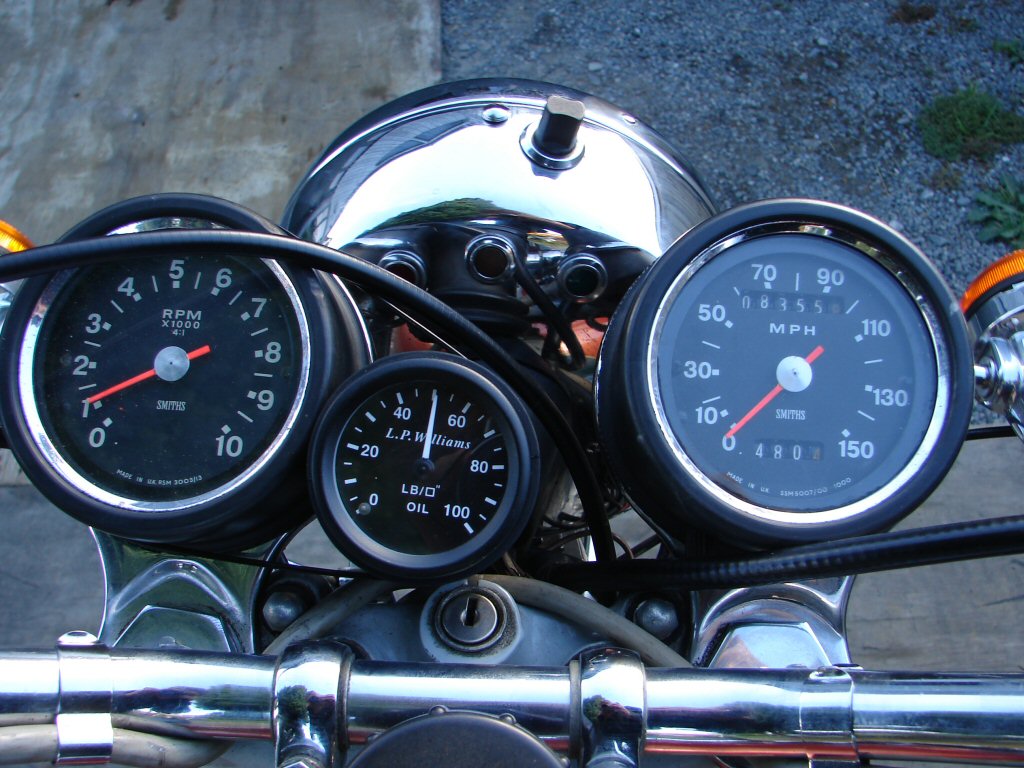
Another test ride was undertaken, and a number of things became obvious. The clutch operation is sublime. The gearing is significantly higher than stock. The tacho seems a bit happy.
The gearing and tacho combination gives the rider the impression that the motor is ready to accept large throttle application when it is not, and even when it is, the acceleration is less than expected due to the gearing. If I had ridden the bike before the work was done I would have opted for a 53 tooth rear sprocket, although I am sure it will be very happy at highway speeds.
I believe I have another tacho I can fit that is the correct item, and I will refit the original carbs, as they have the benefit of firmer slide-to-body dimensions.
We are now ready to go through the compliance process for obtaining a new plate, so the paper war begins.

Agreeably, the compliance was completed without any mechanical shortcomings, although there is one front spoke that I shall nip up a little. There was however one slight disaster which could have resulted in hands in the air and reams of additional paper. The VIN plate as fitted to the bike when it was first registered in NZ was actually missing one number. When I noted that there was no room for the missing number anyway, the testing person agreed, and observed that the original tester had "stuffed it up".
As the recorded VIN on the NZTA computer was correct, this guy just punched a new plate and riveted it back in the same place. Nice chap.
The round trip was about 28 miles, and the longest ride I have enjoyed on this machine. With the compliant clutch, the gearchange is a delight, and the throttle response instant. Brakes have gotten better with use, and it was a great ride. Happy.
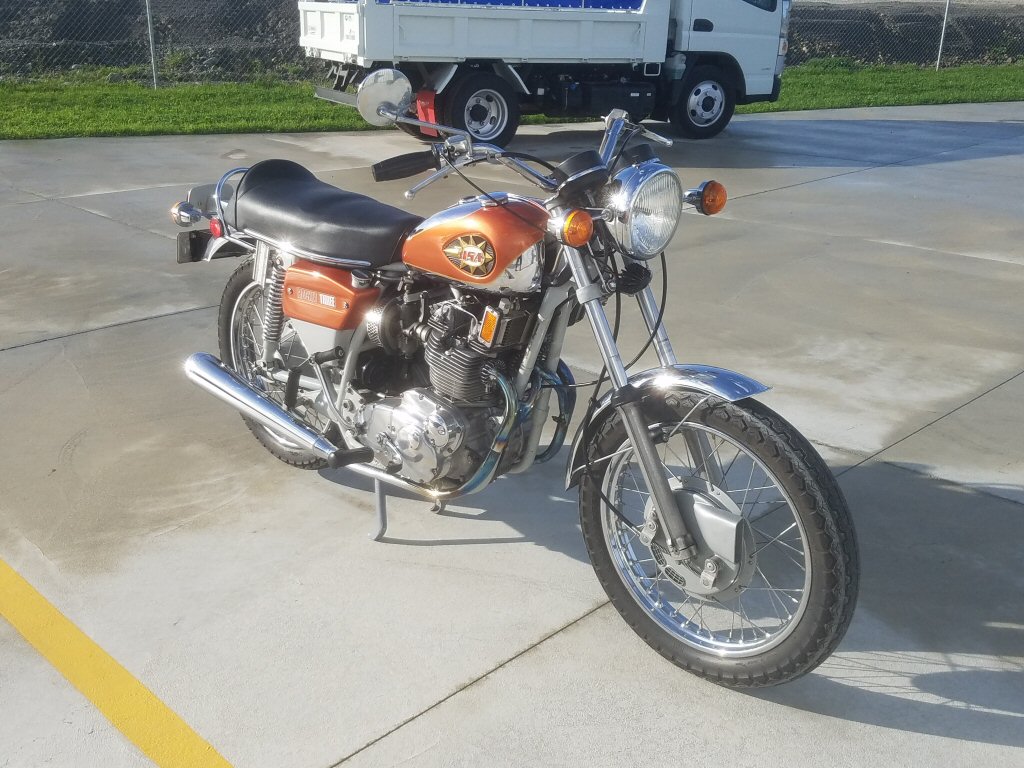
We stood around in the sun for an hour or so until they got to me, and I had to take a photo of the spotless concrete beneath the bike.
The tester guy joked that perhaps I had forgotten to put any oil in it, and I allowed him that quip unchallenged, seeing as how he was in the god position at the time...
Job done.