December 2022
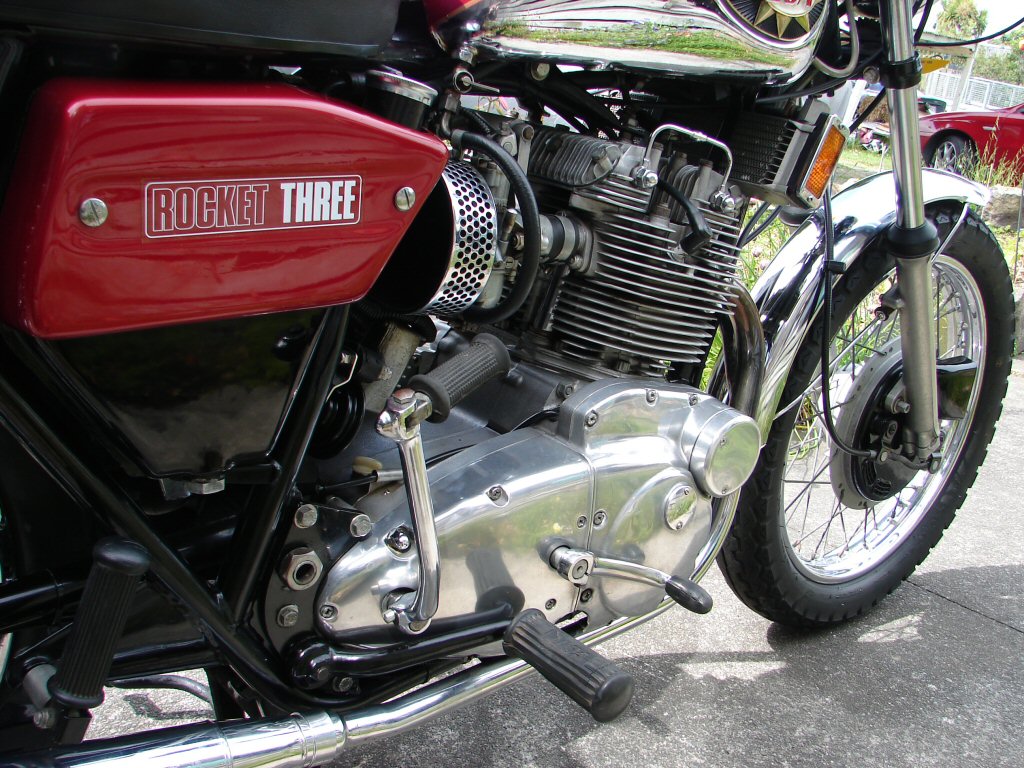
1971 BSA Rocket 3 750
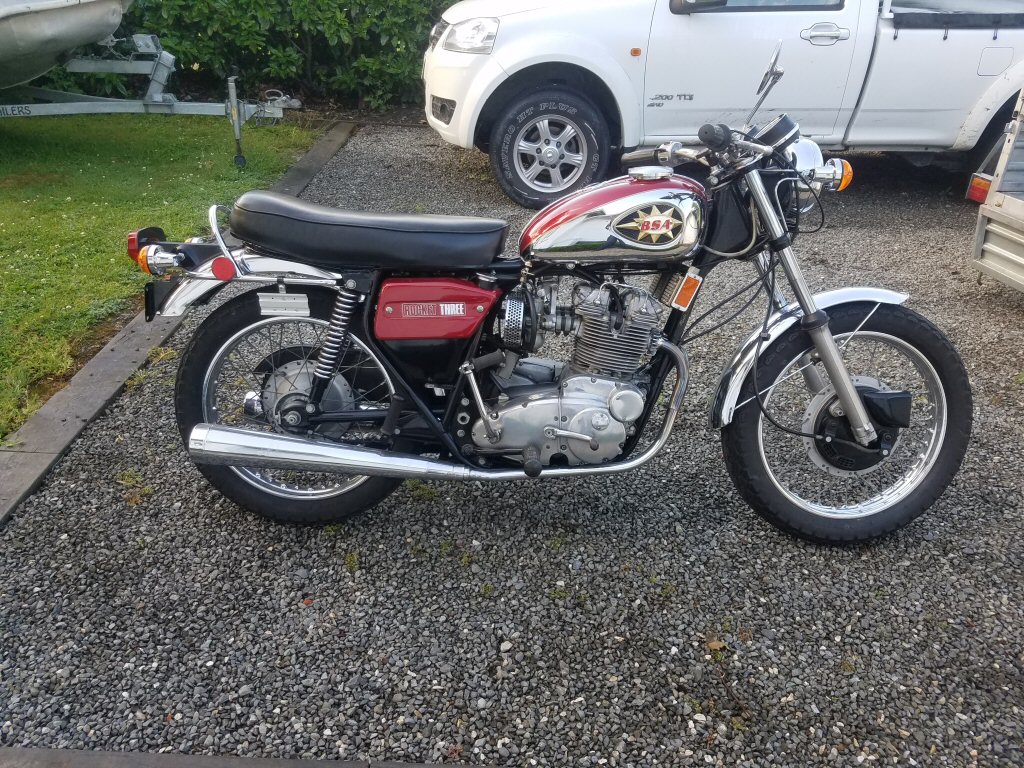
My friend Allan's 1971/72 Rocket 3 MkII was restored by its owner in California, and he did a very thorough job compared to many imported "restored" bikes I have worked on.
Many of them appear to have missed out on actually being prepared for use on the road, and more for storage as investments. This one is definitely the exception, and it has proved to be very reliable in use, and an easy starter, for which many sins could be forgiven.
Allan's only comment had been that it complained when engaging first gear, and that I should check that. A cursory inspection before collecting the bike revealed that the clutch was not adjusted as I would have it, and there could always be issues such as high idle speed and less slippery oil in the gearbox that would impact as well. I adjusted the clutch before shipping the bike to my shed for its pre-compliance test work.
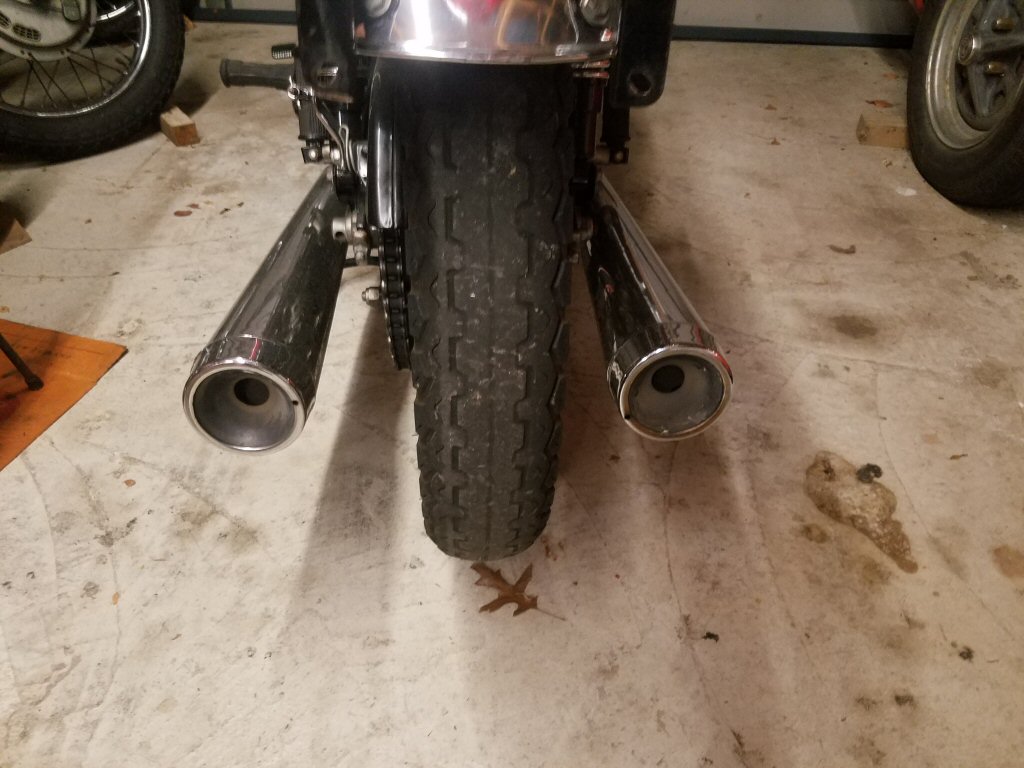
Rear tyre was past its best-by, and the mufflers were high and low, in and out. Such things offend me to the point that I simply have to rectify them.
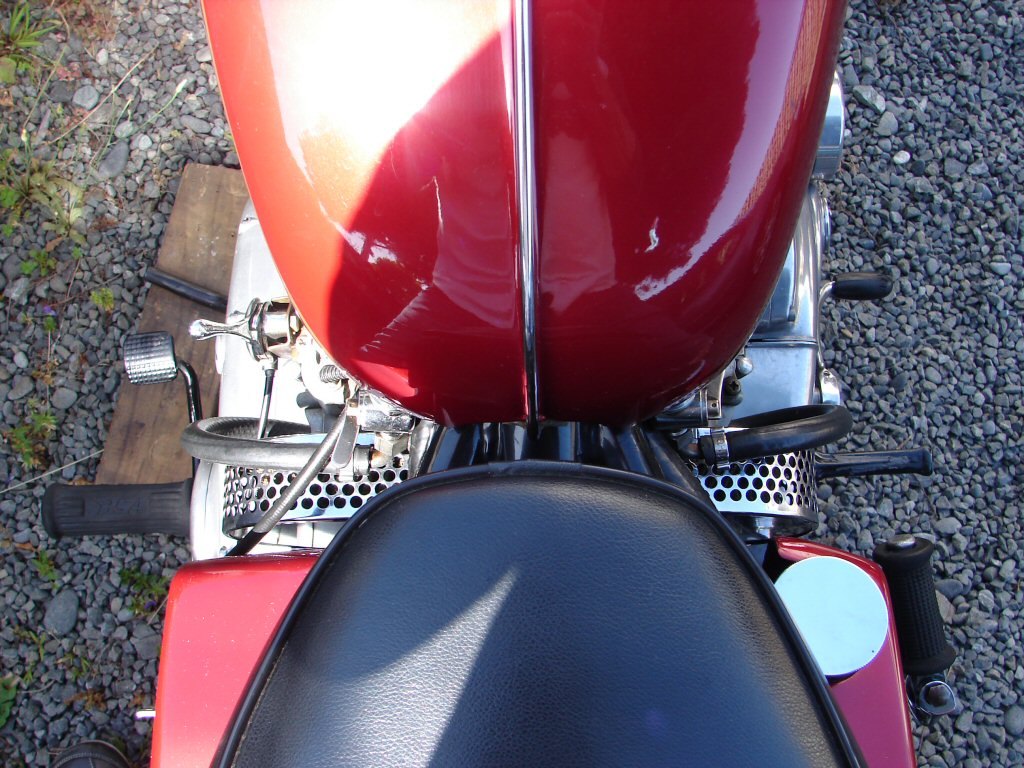
A Lucas Rita ignition had been fitted, with the control unit mounted where the horn had once been. It would seem that a horn was not a necessary element in California. Here it certainly would be, especially for a compliance test.
I mounted a cheap, small but sharp sounding item using one of the Rita rubber mounts. I had found the horn wiring under the fuel tank and the button was definitely working. The wiring loom at the rear of the bike did not yield the vital wire, so I ran a new one from the forward connection point.
First problem solved. It can be seen to the left of the kickstart lever.
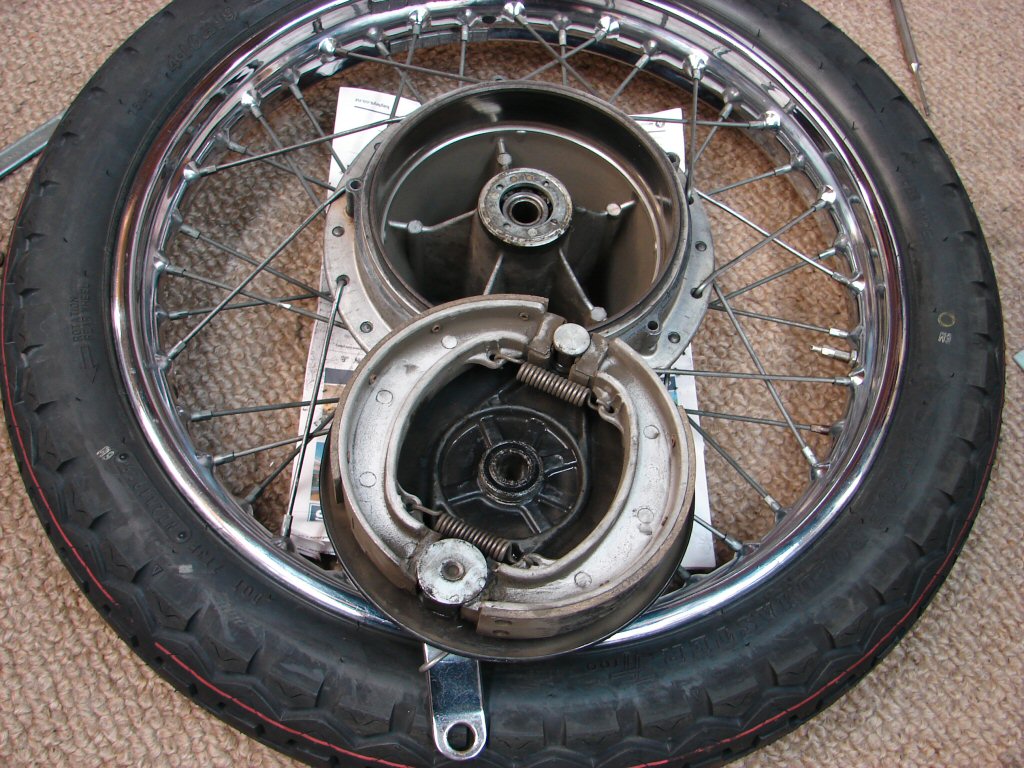
The rear wheel had to come out, both for the tyre replacement, but also to measure up the brake drum and lining thicknesses for the 'brake declaration'. I fairly soon found that there was also a broken spoke. Replacing that required the sprocket to also come off, which it did.
Remarkably I had a new spoke, which was just a tad long, so I ground the extra threaded end off and we were done. Tyre went on and measurements completed.
Shiny new spoke visible to right of brake drum.
While the completed wheel lay around for long enough to know it was not losing any air, I turned my attention to the mufflers. The main stand was colliding with the right side mounting bolts, as that muffler was very close in, and the mounting bolts had been turned around so that the very slim bolt heads were inside the muffler, and self-locking nuts were now protruding inwards where they could interfere with the stand. So that setup got reversed but with normal nuts inside the muffler bracket. The hanging bracket also got reshaped to move the muffler outwards a bit, and I bent the trailing end of the exhaust pipe downwards slightly to get half way towards where the left muffler was.
The left muffler got the same mounting bolt treatment and reshaping of the hanger bracket to move it inwards a bit, plus the exhaust pipe got bent slightly upwards so the tail ends of the mufflers now looked as though the factory might have put them there.
A huge amount of sodding about but now everything looked right and cleared all the gubbings.
Back wheel and sprocket cleaned up and refitted, wheels aligned and good to go.

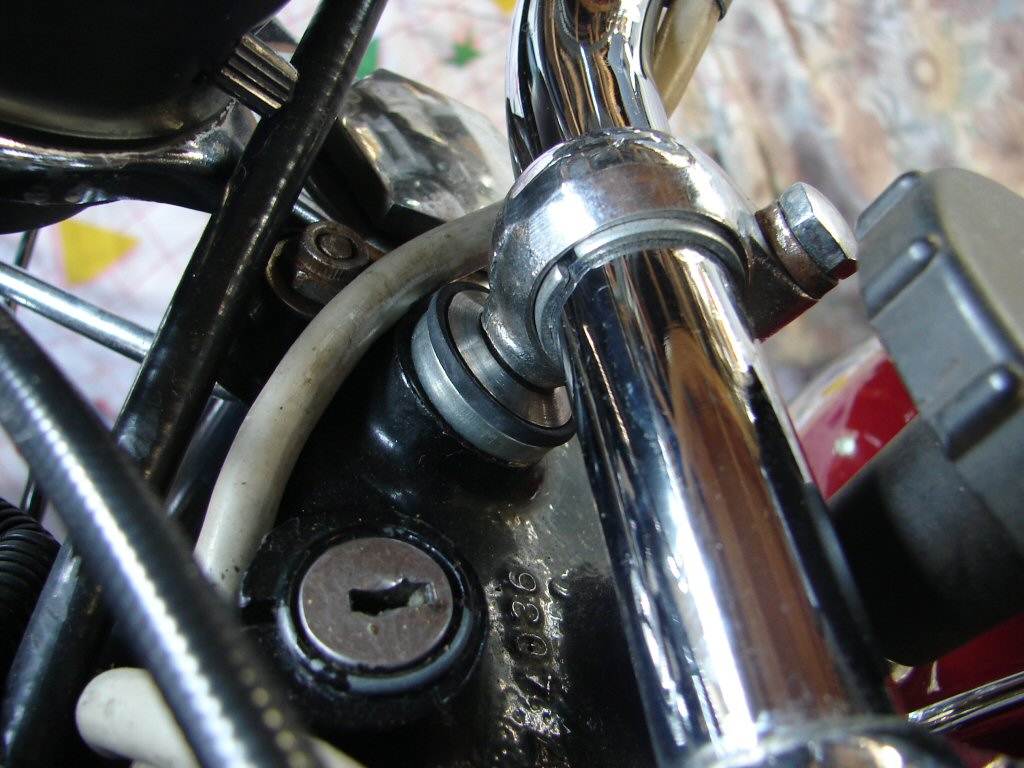
The handlebars were a bit floppy, and as per usual, a number of flat washers had been used in the assembly process. Without the proper hemispherical washers mounted the right way up, this clever arrangement can never work, so I used a new mounting kit which solved everything and tidied it up hugely at the same time.
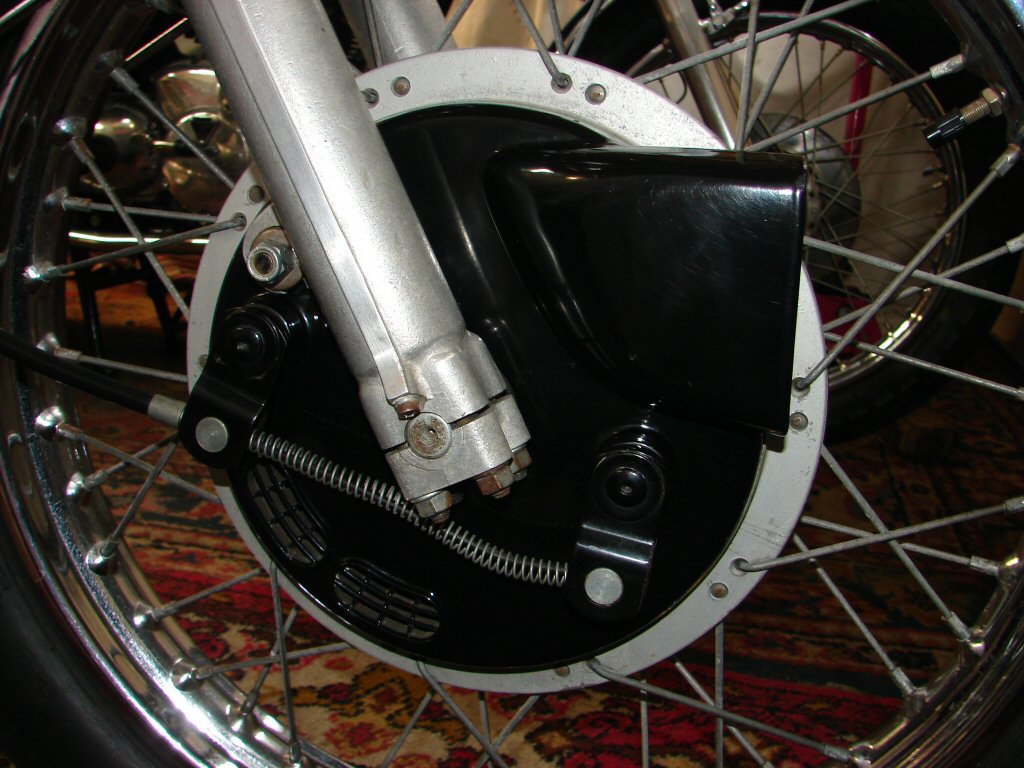
Both brake and clutch levers had loose pivot bolts, so they got the treatment while releasing the front brake cable prior to pulling the front wheel out to check those brakes. All the internals were in as good condition as the rear, and this front brake feels surprisingly good for a conical hub job.
While checking the lighting I found that the instrument lights were very dim. Interestingly they were both 24 volt lamps, which explained that. They are hardly 'bright' enough even with the right lamps, so I fitted a pair of the correct ones.
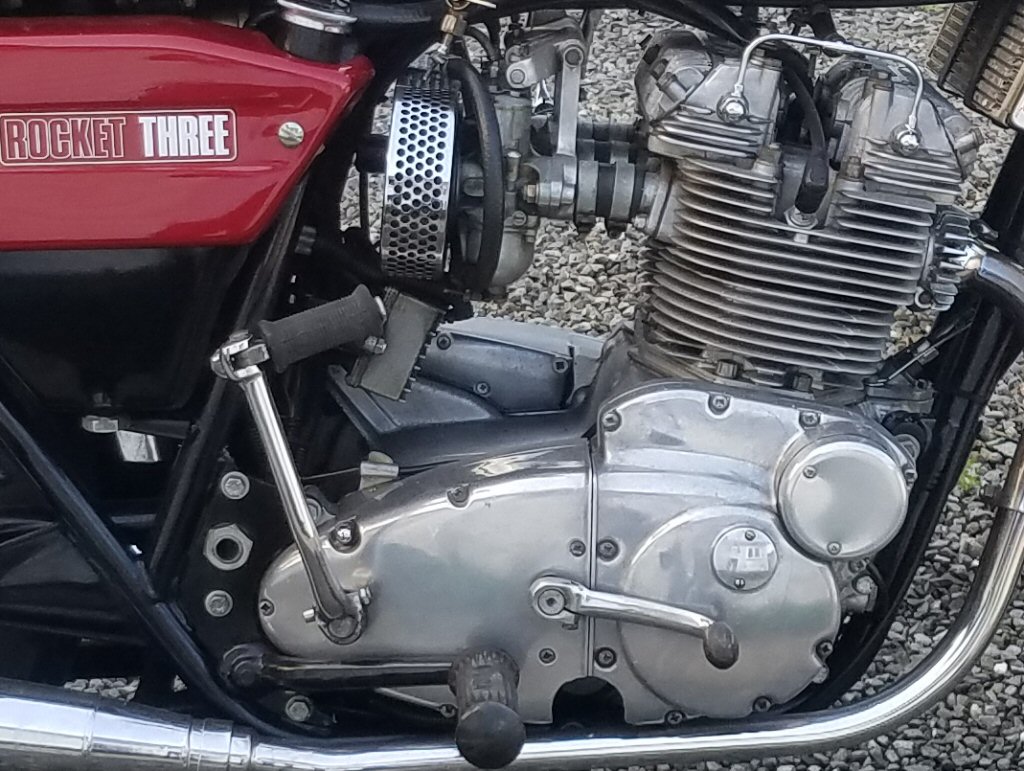
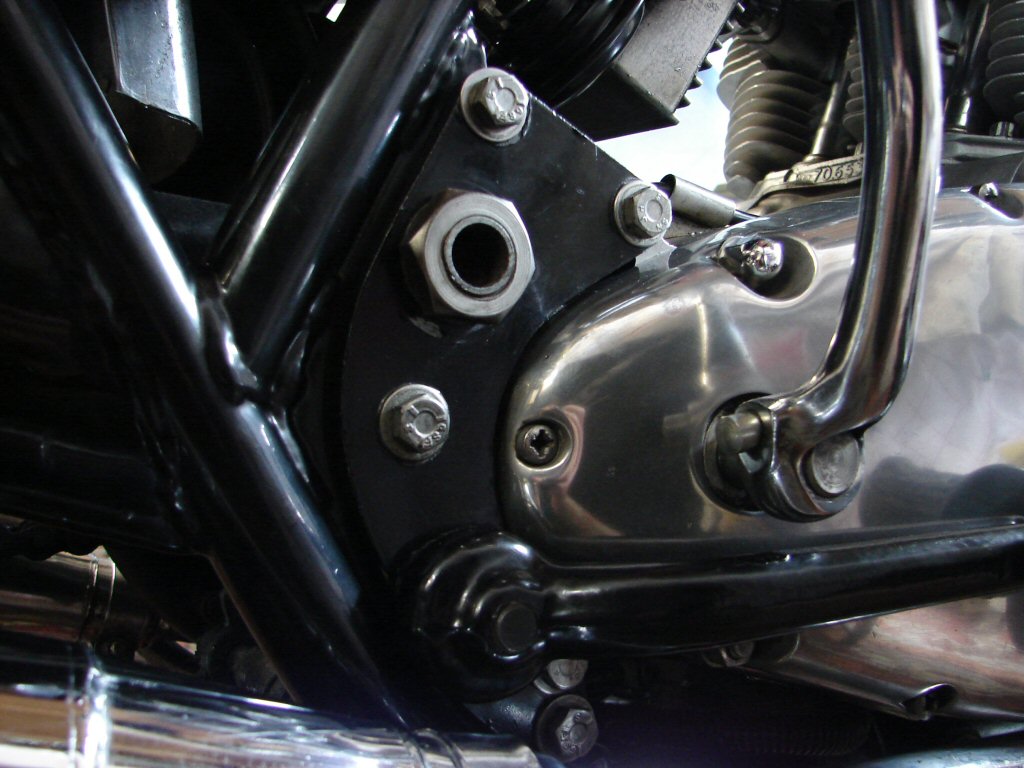
The next issue I found was that the right side riders footpeg could pivot up and down about an inch or so. This would be an issue if discovered, so it needed to be fixed. The Rocket 3 has the most annoying arrangement for securing the pegs, and the entire gearbox mounting plate has to be removed in order to tighten the peg. It just had to be done, so I whistled a happy tune and got on with it.
Always rewarding to cross another thing off the list though.
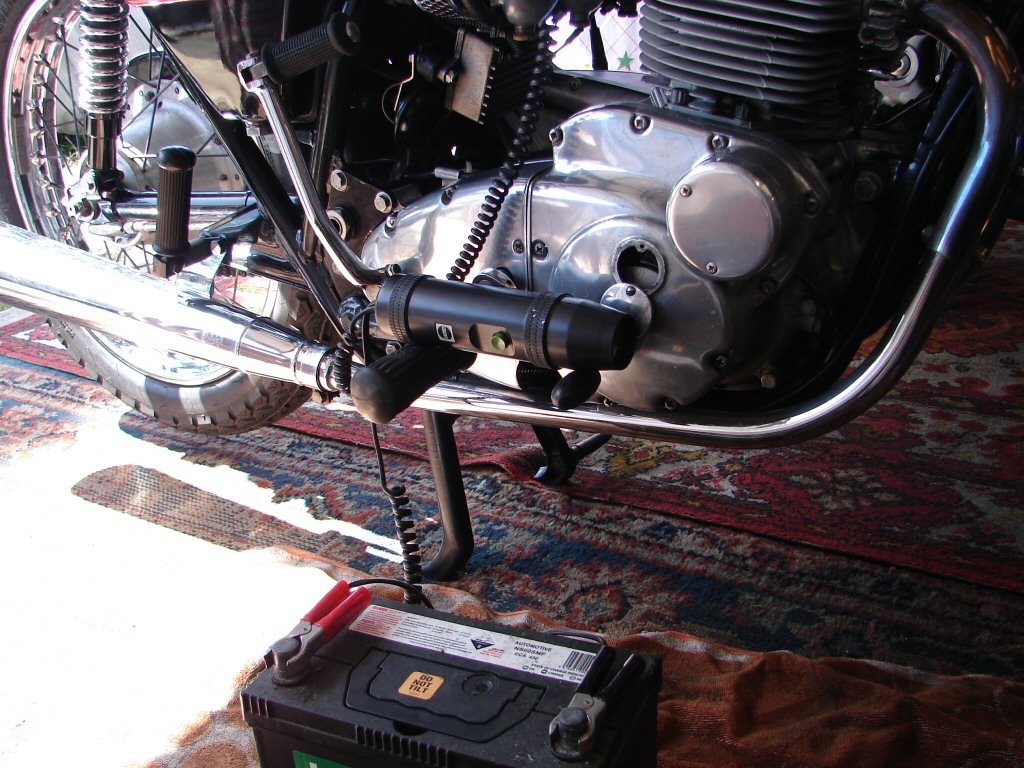
Because it was all together at this time, I took it outside for some photos. I figured that I might as well start it up, seeing that there was no reason it shouldn't. As per my normal routine, I flooded the carbs and kicked it over twice just to introduce some fuel into the cold engine.
My footwear transferred most of the impact direct to the sole of my foot, so I headed into the shed to retrieve my kickstart boot. Thus equipped I turned the key on and gave it a businesslike kick, whereupon it burst straight into life, albeit on two cylinders. The centre carb has an original type short tickler which is all but impossible to operate, so I had not gotten enough fuel into it, but within a few seconds it chimed in and the motor was happy to rev. The idle was rather lumpy though, so I grabbed a screwdriver and had a play with the pilot air screws. For reasons unknown it was happiest with the screws only one half turn out, but it certainly idled nicely at that.
I decided that the centre carb deserved to have an extended tickler like the two outers, and I would address any parts or settings that I did not agree with during the mission. The carbs and airfilter came off a few days later.
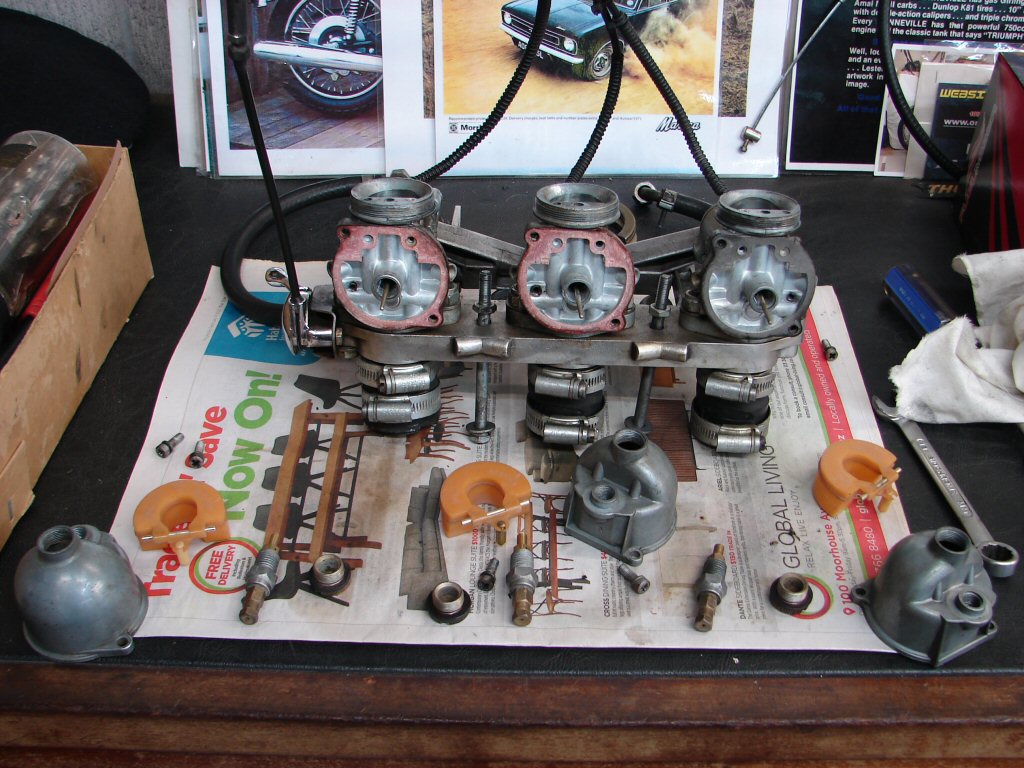
As well as a set of slightly furry needles, what did we have. For a start, 105 needle jets, which would explain the pilot air screw behaviour. There were two original nylon float needles in the outer carbs, but the centre had a brass viton tipped item, which I do not favour. I junked the lot and fitted alloy viton tipped units, and was pleased to find all three floats were set at 2mm below bowl top when inverted.
I have a pair of 0.105" drill bits, and they were a tight fit in the needle jets, mostly in the centre one, so I clamped one in the vice and ran it through all the jets until they were an easy fit. This will likely get us to somewhere between 105 and 106 in real time, and the pilot air scews will tell me if that is so.
The usual cleaning then took place, new drain washers as they had been leaking, then some synching of the slides using three 1/4" ball bearings. They were a fair way out to begin with. Once the bike is running again I will use an airflow gauge to get them spot on.
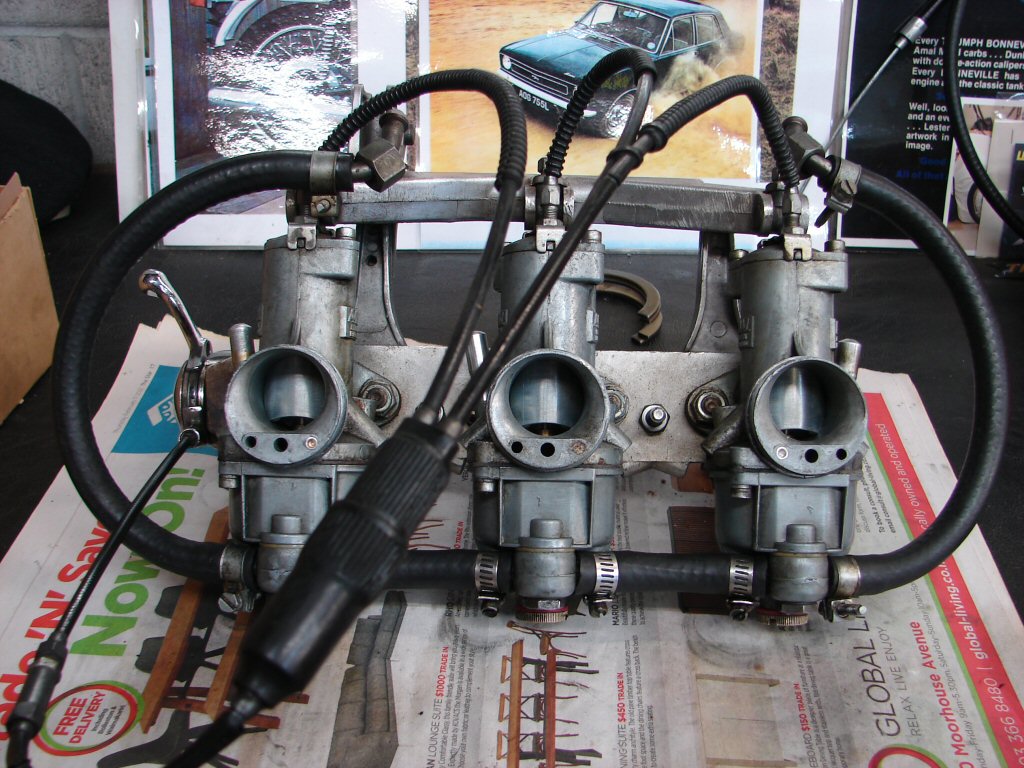
Carbs and airfilter were then refitted to the bike without putting up too much fuss. Next step will involve a short test ride, after which I shall give the carbs their final tune. After that a quick strobe check of the ignition timing and we are getting close to the finished item. I intend to get a compression test done, and some oil pressure readings, as this info will give potential buyers reassurance about the condition of the engine.
So today that happened. First I whipped the plugs out and checked compressions. Left to right - 124/121/121 psi. I usually see a bit more variation than that so that is pleasing.
Once again the bike started first kick after the priming procedure, and I adjusted the air screws for best idle. Centre and right came out another half turn, left stayed put, so I will later check that the idle jet is clear.
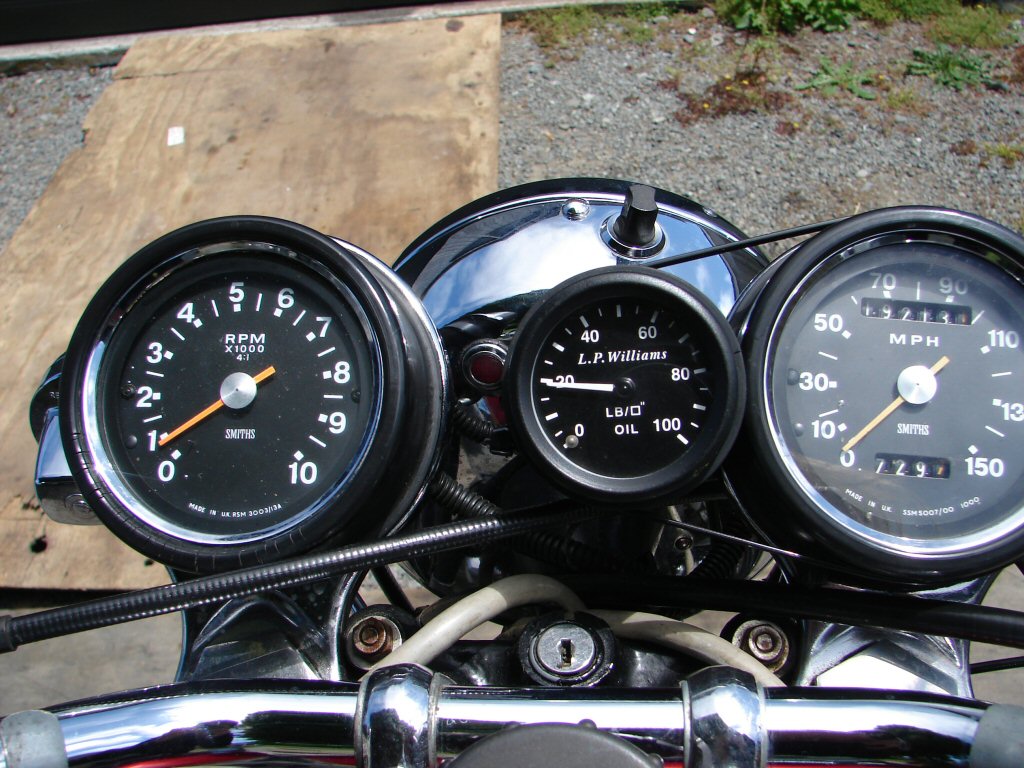
I then attached my oil pressure gauge and we have 90 psi at 3000 rpm, and 80 psi at cold idle. Which it does.
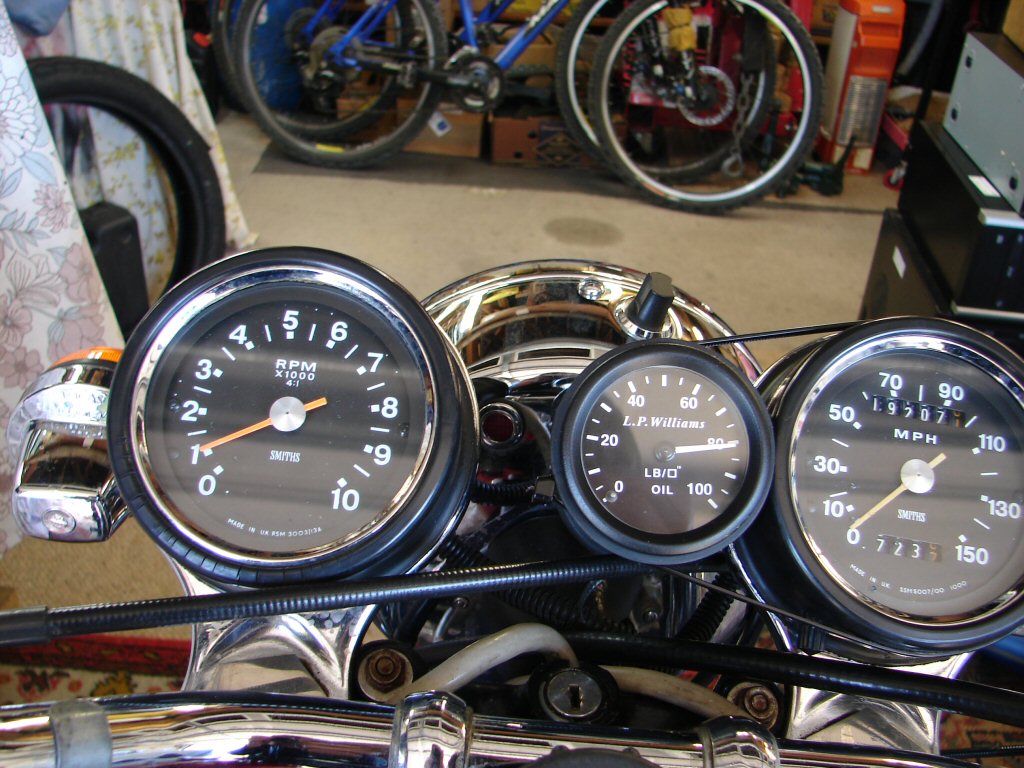
As verified by none less than Mr Les Williams.
Off we went for a short ride, checking brakes, gearchanges and clutch operation, noting some adjustments to foot pedals needed for my height at least. Everything worked well except the local roads, which have received recent coats of fresh seal, but never been swept since.
Most of the ride was in the 50K zones, so it got pretty hot in todays current 20+ warmth, idled happily when it had to, and impressed with smooth power even at low engine speeds through roundabouts and the like. The 4 speed selects positively, and I did not find myself looking for 5th which surprised me.
Hot idle when home settled at 20psi. The oil looks fresh and is probably Castrol GTX 20W50. Allan used to run some of the triples on Penrite synthetic 20W50 but from memory it is darker in colour.
No oil visible anywhere, and everything felt good suspension-wise. Front forks quite firm, and a good squeeze on the comical got me a decent nose dive, so I really am impressed. Rear brake good as they always are, with a lever long enough to kickstart the Titanic.
Next I shall amuse myself by poking spindly things through idle jets while I wait for the compliance test to be arranged. All good.
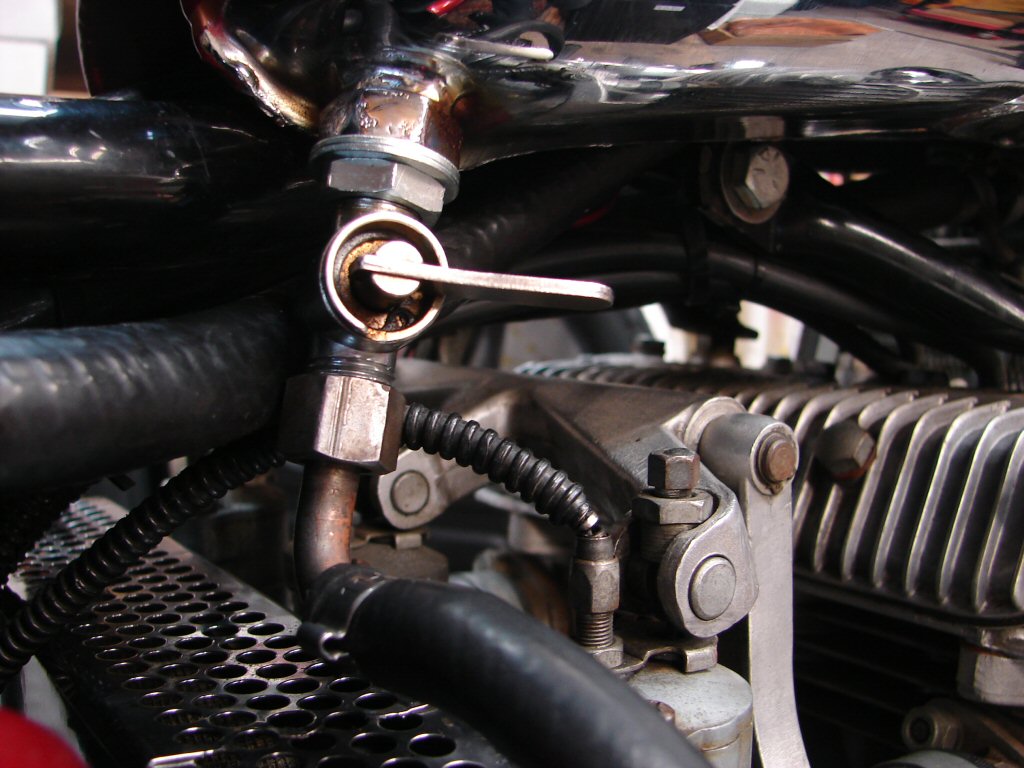
I always know when fuel has been leaking in my shed. It does not have to be a 'petrol' smell, but I can still detect that something is out of place. It would likely be this bike, as the others had no reason to suddenly do this. Sure enough, there was the smallest fuel weep at the right side fuel tap.
For whatever reason, the fuel taps had been fitted to the tank with a type of thread sealing tape unknown to me, with a resinous coating. Because I had removed the tank during the work proceedings, I may have rotated the tap slightly when removing or refitting the fuel line from the tap. I am of the mindset that the original arrangement of locking nut and flat/sealing washers is the most desirable. The other thing I do not like are bulky jubilee type clamps holding the fuel line to the pipe junction, and they were fitted here.
The only way I could feel confident that no leaks would occur in future would be to set it up the correct way. I was concerned that for some reason there might not be enough space to add nuts and washers without causing interaction with the top of the airfilter, but a trial fit showed it would all work out if I also junked the large clamps. So I replaced them with my usual stainless crimp type.
Much better, and no more fuel smell.
The time came to take the bike for its compliance test. Unfortunately it was raining at the appointed time, but I went anyway. They said leave it and we will call you. I called them mid-afternoon but it was not ready, as their bike testing guy was not in until tomorrow.
I refrained from asking why they had me bring it in today then.
Next morning I got a call. Could I go in and start it for them. I went in and found there was a rag beneath the bike. I asked if it had leaked oil. No, they had flooded it so much there had been a fuel puddle.
Sheesh.
I flooded it again, and kicked it over. Then I explained to the testing guy that I had just introduced large lumps of fuel into the cold engine, and none of that would burn. I then explained that this was the time I usually went and put my helmet and gloves on. Then when I came back, it would be ready to fire.
I turned the key on and kicked it, whereupon it immediately started.
The testing guy asked me if I would sit on it while it was going, and he had me run through lights, indicators, horn and brake lights. Then we turned it off, and we had a pass.
Perhaps he had checked the brakes before I got there.
Sigh.
So I gave them $180 and drove the car around to the VINZ office to pick up a plate and some rego.
I left the bike at the testing place until some hours later when the rain had nearly stopped, then got a lift in to ride it home. It was not a happy idler in the wet, so once home I whipped the airfilter off and broke out the flow meter. The right side carb was originally set with the same slide height, but was breathing less than t'others, so that got sorted, and it now idled like a champ.
Last job would be to change the gearbox oil, as I had no idea how long it had been in there. Lo and behold, there was a sump guard in the way. Fancy that.
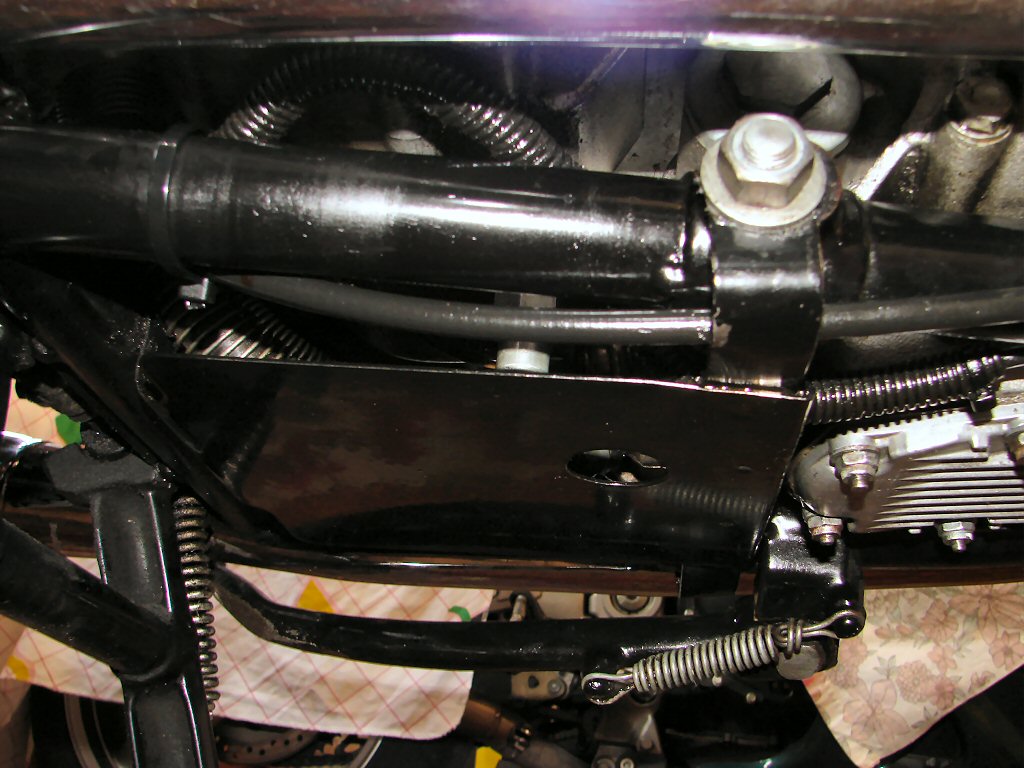
I dropped the sump guard and released the resident oil, which surprised me by its volume. It seemed to be more than a litre. It also stank, and I had a memory that Allan thought it had redline oil, as was favoured by UK buffs.
I checked the specs pages on triples online, and they all stated that the gearbox capacity was 850cc, which was more what I would have expected in comparison to the Trident, even though the BSA factory manual stated that the capacity was 1150ml.
I put 850ml of my favoured 75W90 synthetic gear oil from Penrite in the difficult filler hole, and found that it came exactly to the full mark on the factory dipstick. Good-oh.
There had been a lot of 'drag' exhibited by the gearbox on this bike, which caused the gearbox to complain when first gear was engaged while standing still, and I was now suspicious that this might have been a reason. I have yet to ride it and make a comparison.
It is normal practice to check valve clearances on any bike coming my way, and this was my next task.
I may have stated that I met the builder of this bike - Bill Walker Snr - in person, and was impressed by his character.
I had already noted that he had fitted iridium spark plugs to this bike, in the understanding that they were the best part you could possibly use.

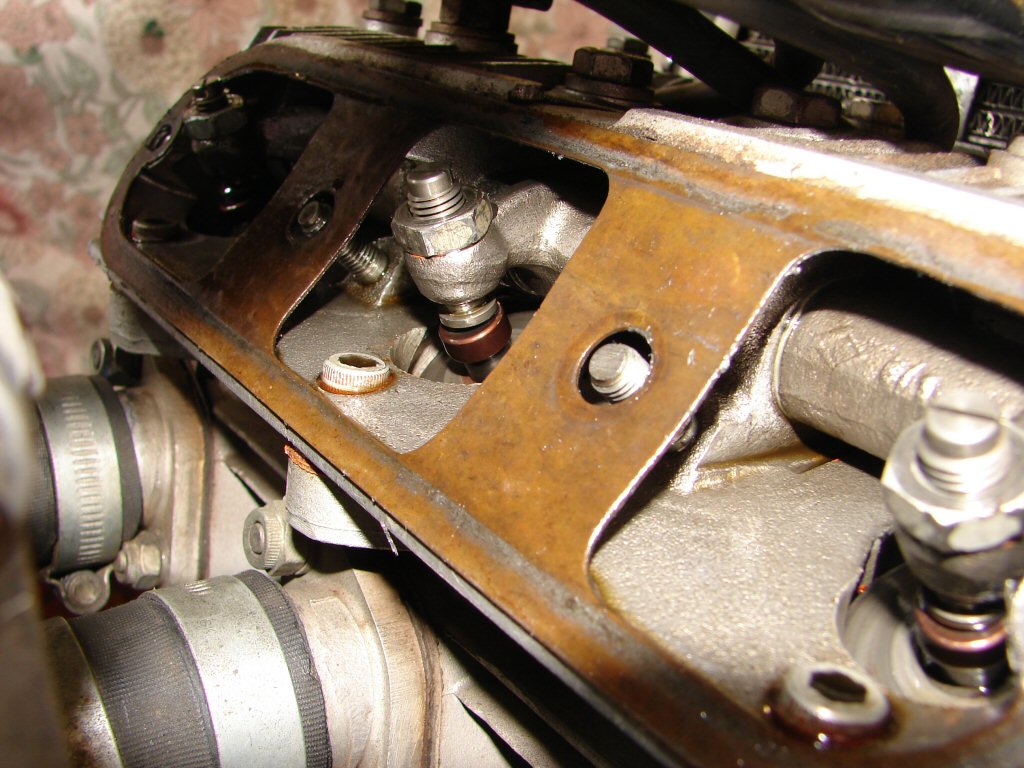
Exposing the inlet valves revealed that Bill had used the ultimate valve gear arrangement, short valves with lash caps, and the same valve adjusters that Les Williams had supplied to me in 1990.
The inlet clearances were all exactly .006", and although I now favour .008" I chose not to interfere with these settings. I bow to a builder whose standards are high enough to achieve these exact figures and to have used all the best bits. Hats off to Bill Walker Snr.
The exhaust clearances were to be expected, a uniform .008", and everything as it should be. I imitated his extremely light smear of silicon sealant on the inspection covers and buttoned the whole thing back up. I was reminded how much more difficult it is to work on the exhaust rocker box on these Rocket 3's, due to the proximity of the oil cooler.
I had noted at some stage that the right side riders footpeg was slightly bent forward, and as we were in the closing stages, I decided to reset it.
Those unfamiliar with these triples may be amused to note that the pegs are not entirely opposite each other, and I have never been informed as to whether that was a cockup or had a logical explanation. The peg is not bent far forward, but enough to have caught my eye.
I have the factory special tool, whose part number is top secret, with which to rectify bent pegs.
Its use does require the assistance of another human, so I found one of those first, then prepared the bike for the operation.
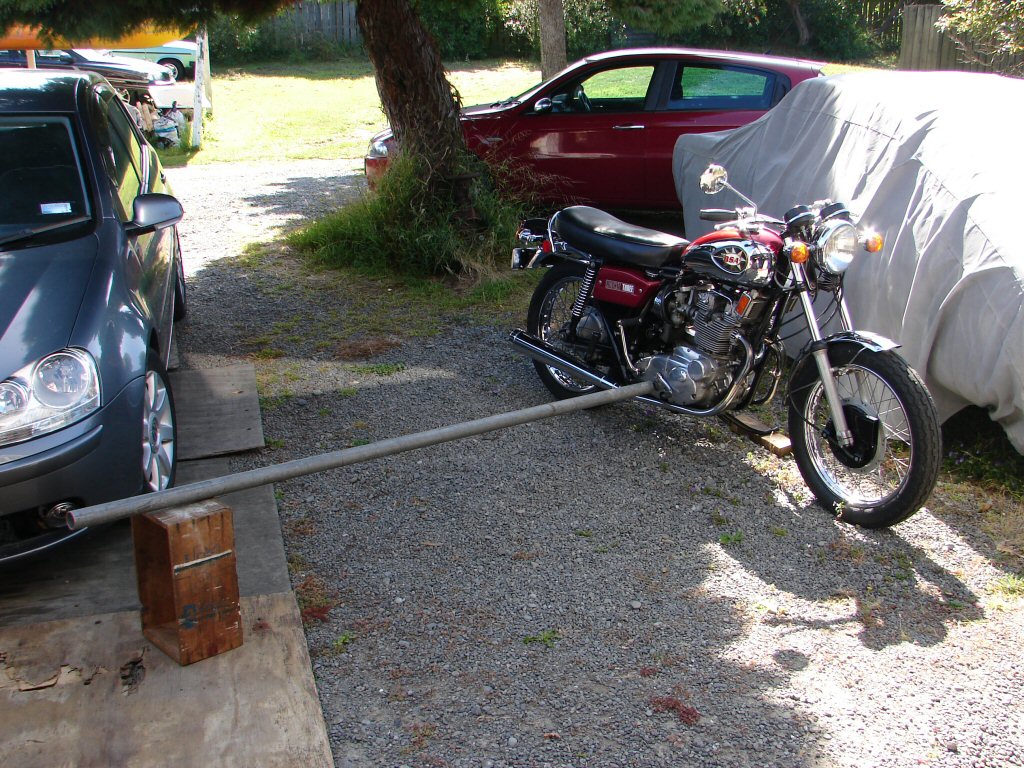
The peg is wrapped with a cloth to fill the ID of the tool, then with assistant astride the bike to prevent any unforseen, the pipe is gently moved to where the operator has designated the end position to be. The leverage afforded makes this the most quick and simply task, and I have never even disturbed the paint in the process.
With the bike back in the shed I warmed the engine a bit, then broke out the strobe light to check that the Rita was on target. Of course it was, but I needed to check anyway.
The Lucas instructions used to quote rather high rev figures for full advance, and I am loathe to highly rev unloaded engines, so I just give it a really quick rev from 3 grand, and watch the movement of the marks. It stopped advancing right where it should, and the rotor looked like it had the right parentage, so that got the nod too.
Final job today was to give the chain a good dose of lube, as it had been giving off an audible clickety-click as the chain rolled around the sprockets, and as all test riding is done I can lube with impunity, in the knowledge that I shall not have to clean the bike again.
We are good to go.
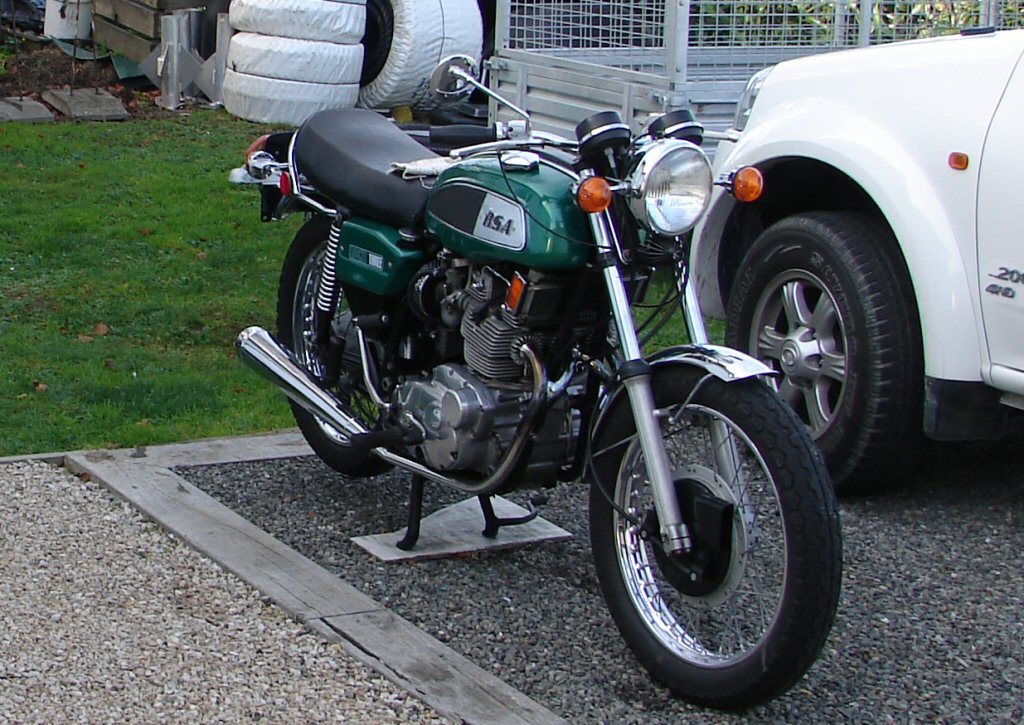
Additional to this report, I feel the need to post a photo of this bike in its alternative livery, as it was when I last rode it in Allan's company.
This bodywork was sold with the bike and is in my opinion the better look.
Yeah - I'm traditional..