February 2022
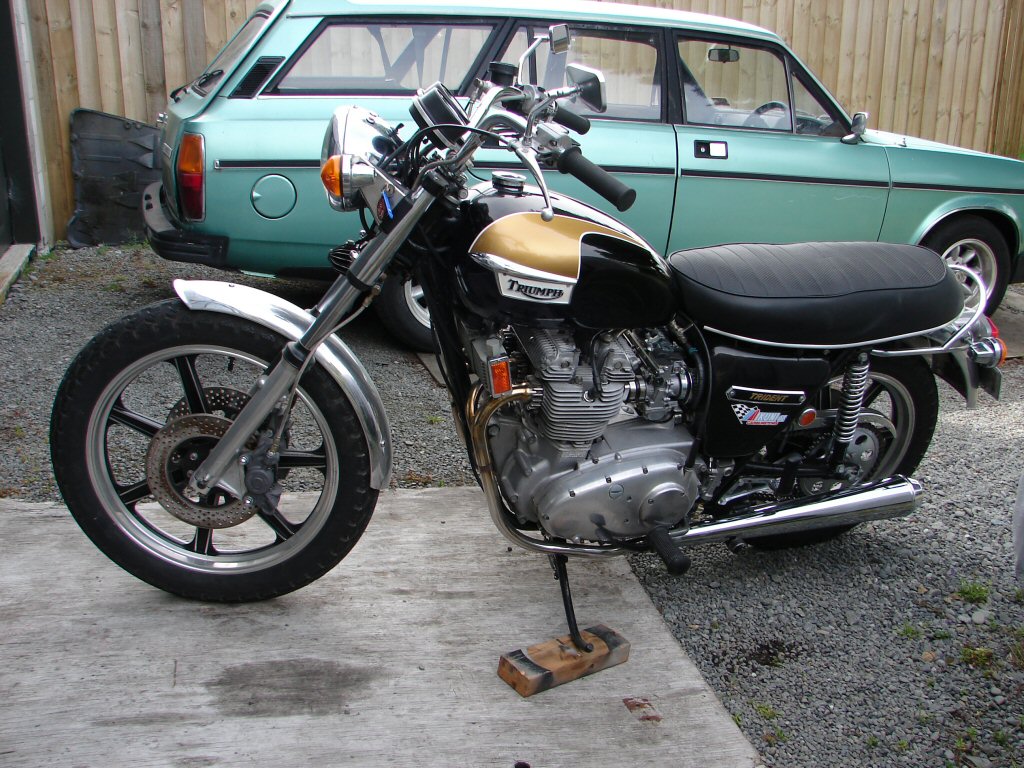
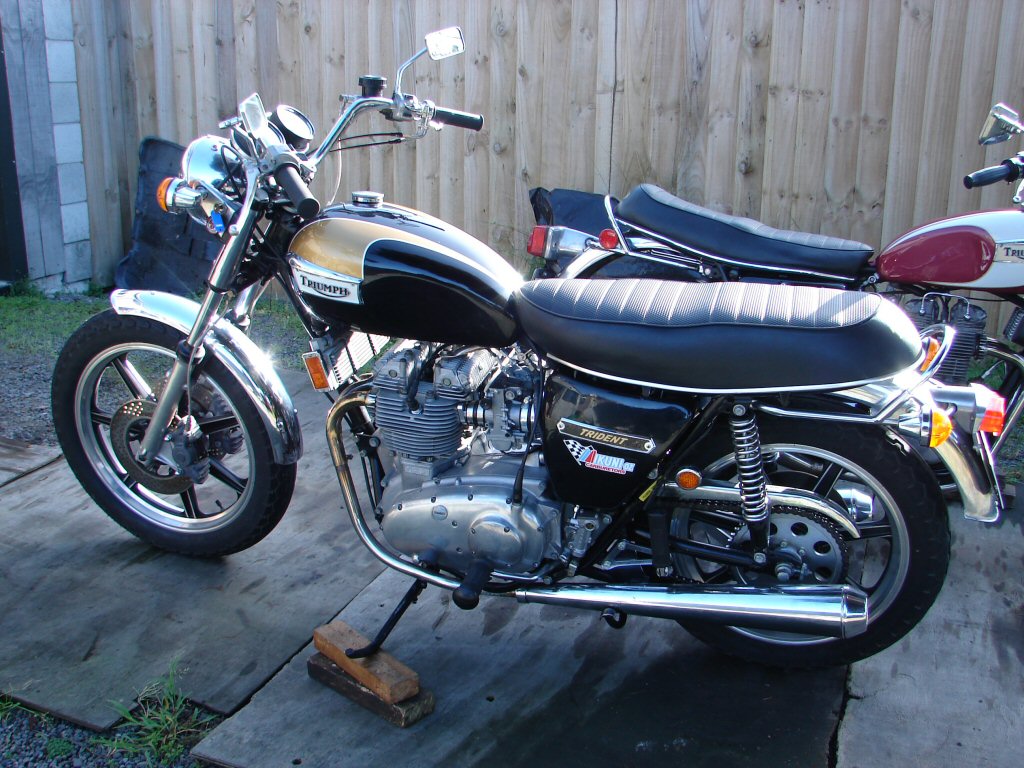
1974 Triumph T150 Trident 750
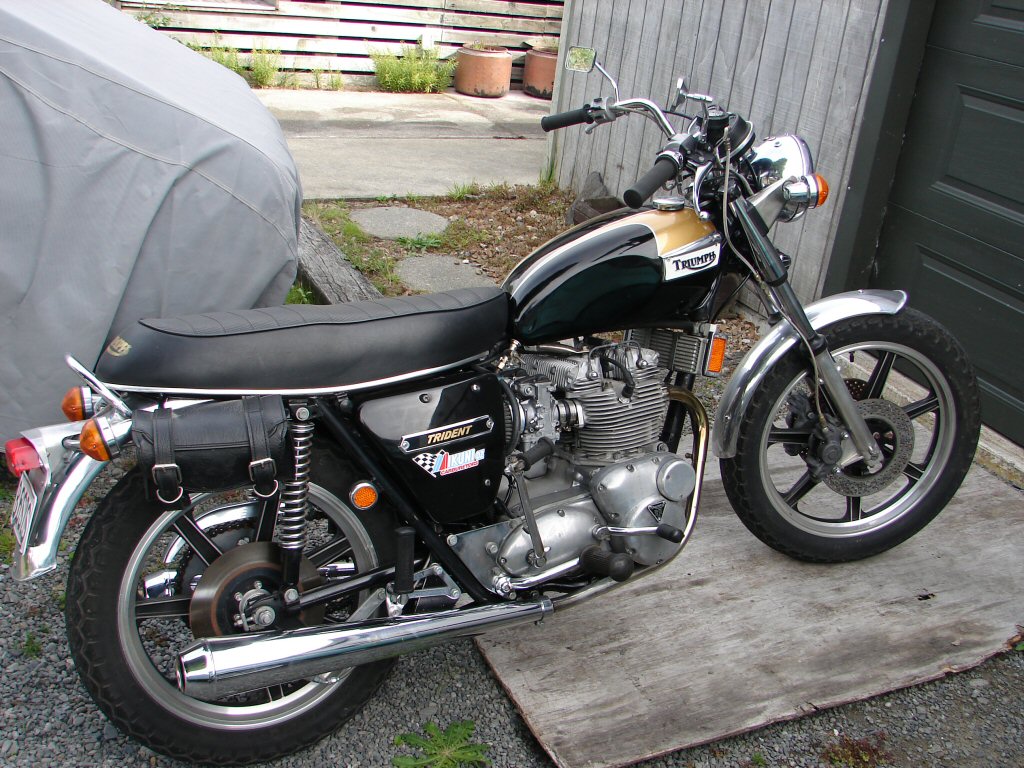
This T150 has continued to be upgraded since I first met it as a recent import.
I think the T140 Special wheels really set it off well, although the 18" rear tyre costs it some gearing and height, which makes it a bitch to get on the main stand. I do so by running the rear wheel over a block of wood, then launch it backwards from there.
I have had enough bad backs for one lifetime already.
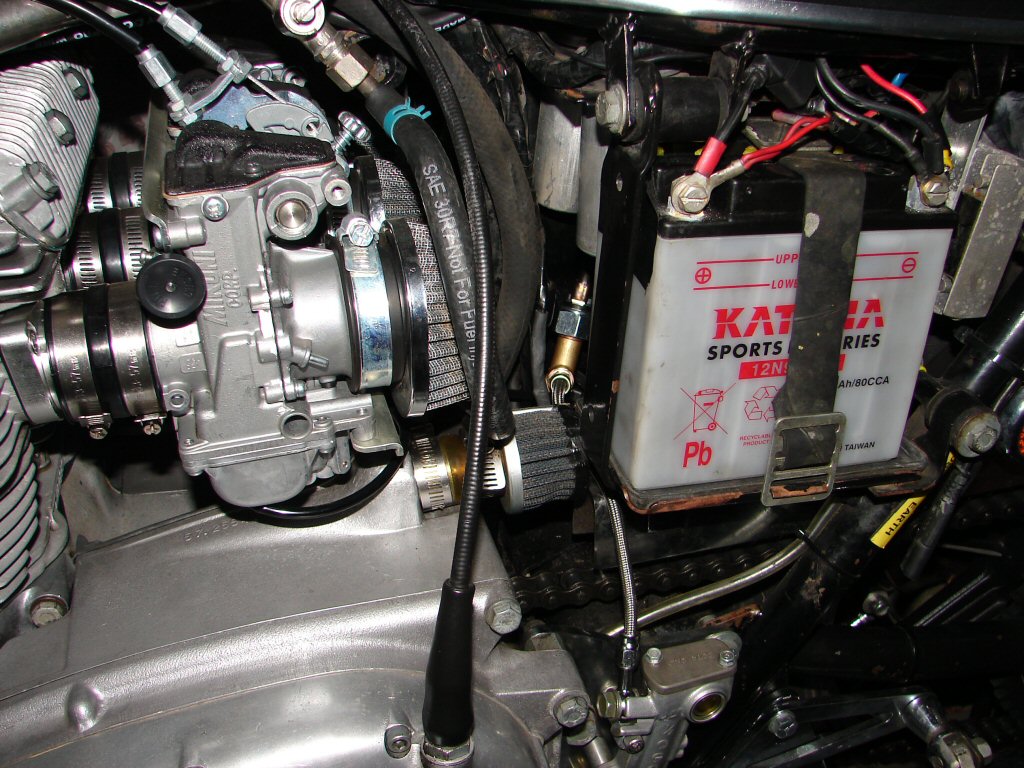
The most recent mod has been the fitment of a trio of Mikuni carbs. The complete set was purchased from Australia as a kit specifically for the T150. Having ridden the bike in from its owners place, I had discovered that the jetting was not very accurate, but there were no optional jets included. The bike was quite lean off idle, transitioning to being quite rich from there on. I spent a little time messing with the pilot screws, which are actually adjustable jets, but the setting they came with a a half turn out was the best compromise.
However, the reason the bike came in was because it had no brake lights at all. The front brake light switch was the original Lucas unit within the handlebar switch, and they are one of the most finicky things known to mankind. Possibly the galaxy.
After several attempts I got it working, then with judicial lubricant and fiddling, I got it to work repeatedly, which was a breakthrough.
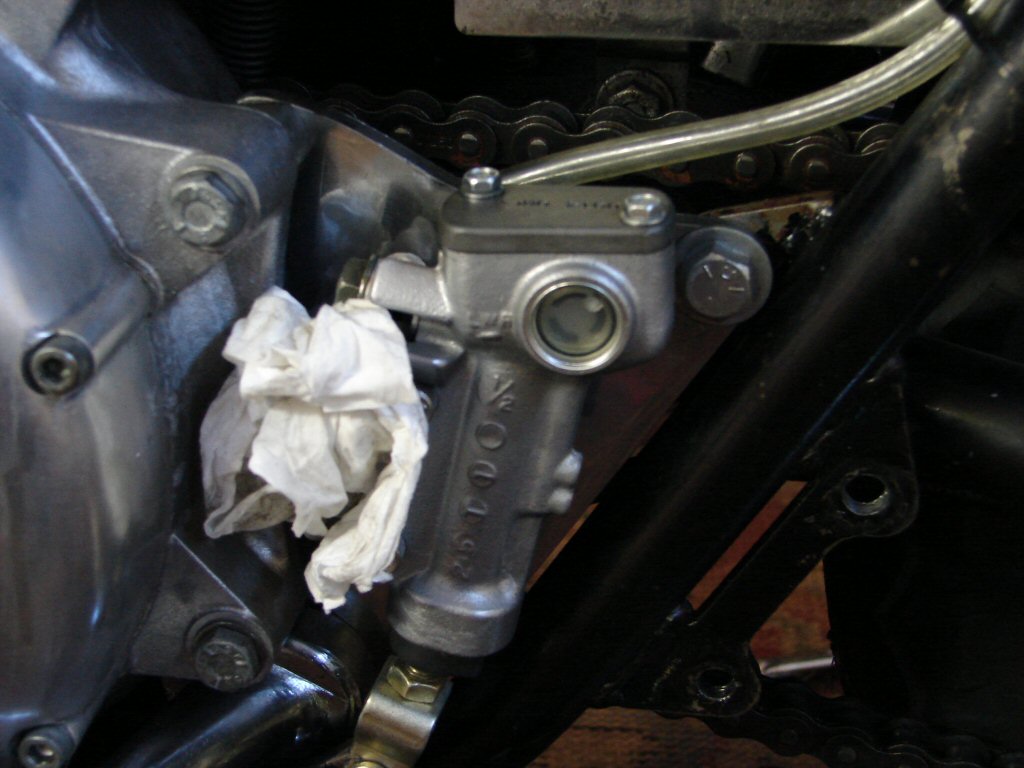
The rear brake light switch was absent. Because of the cast wheels, the rear had been converted to a disk brake, with no provision for a switch.
The master cylinder is mounted on the left side engine mount, with no space to even fit a micro switch. Obvious solution would be a hydraulic switch in the fluid line, and also, the most elegant, so that would be my preferred choice. Out came the line.
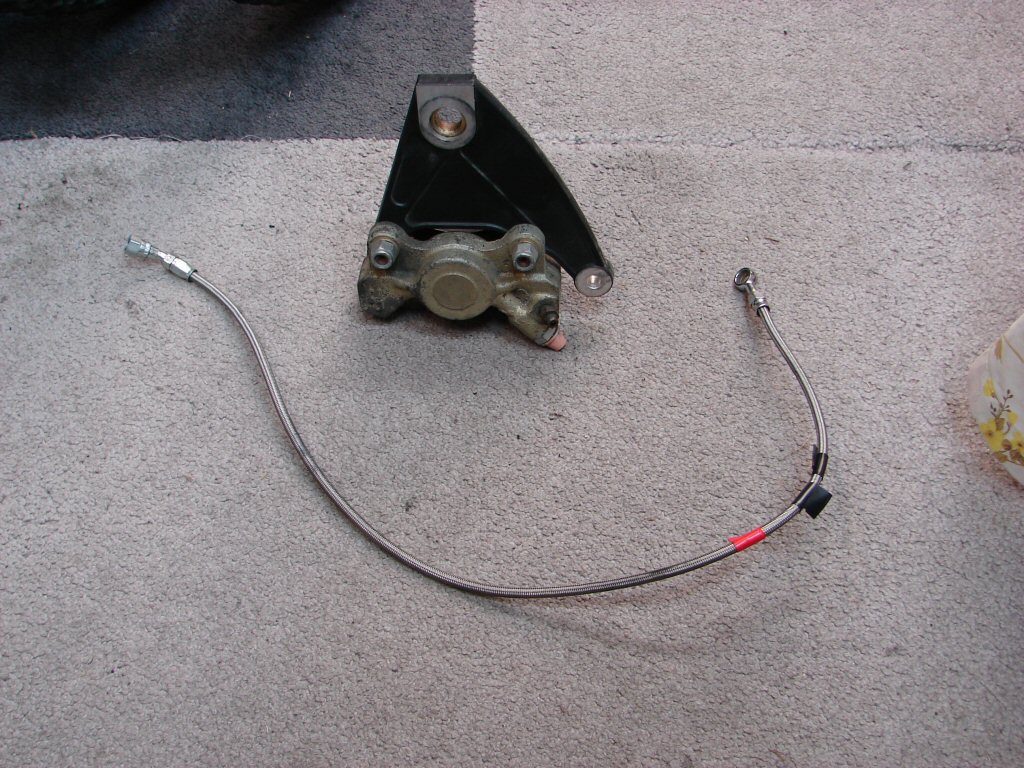
Another reason I chose this route was that the late T140 front brake had a tee adapter and hydraulic switch fitted from new, so I was able to source these parts locally, and be secure in the knowledge that the pressure required to operate the switch would be suitable.
I had made a few rudimentary marks on the line while it was still in place, and now marked it with tape where it would be cut. One cut between the black tapes, then another at the end of the red tape, as this resembled the length of the adaptor and fittings I would be using.
Did I say fittings.?
Despite a lot of internet work, I could not source any suitable fittings in NZ. I knew that they existed, but the only parts listed locally were hideously complicated and bulky. I would look further abroad.
Fortunately my go-to UK suppliers, L P Williams had the exact fittings listed under their "Goodridge hydraulic fittings". Unfortunately they were a princely 15 poonds apiece, and would take nearly a month to get here, but when you know what you want, you have to get it.
I think they actually took 6 weeks, but the moment they arrived I had to see how tricky it would be to fit them.
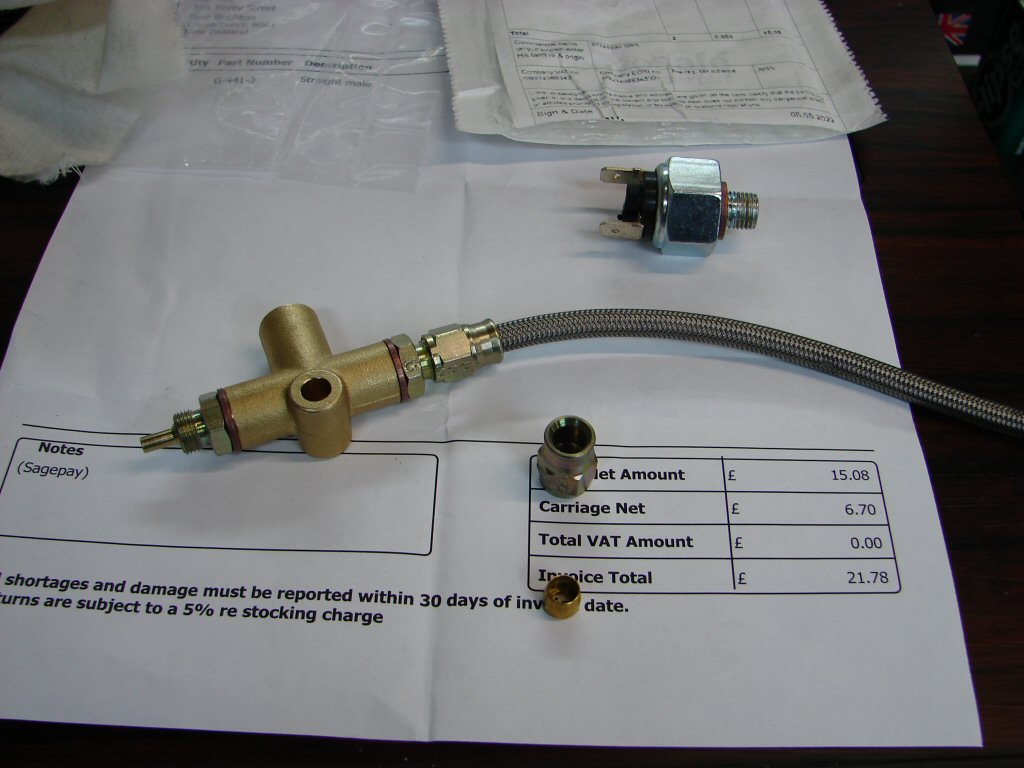
Fantastic.
Beautifully made and a cinch to assemble, they produced just the result you would want, which even our local brake "specialists" in Christchurch could not replicate. They declined the job initially.

That was the easy part. After refitting everything it took me several days and a lot of brake fluid to get the dang thing to bleed up. I had the caliper dangling in all manner of positions to try to encourage the air to come out, but sometimes you just have to leave it for a day. Or two..
I remembered that this was a rather overpowered brake before surgery, so when I got it just free of lost travel, I left it at that. A little more pedal travel should mean that one did not inadvertently lock up the rear brake as easily.
All that remained was to secure the adaptor assembly within the confined space where it lived. A number of cable ties did the job, and the light works great.
An attempt to fire it up exhibited rough running, which I had noticed on the ride in while the bike was still cold. This time I got the impression that we had a weak spark, so I checked the voltage to the ignition unit and found we were losing quite significant voltage in the wiring system.
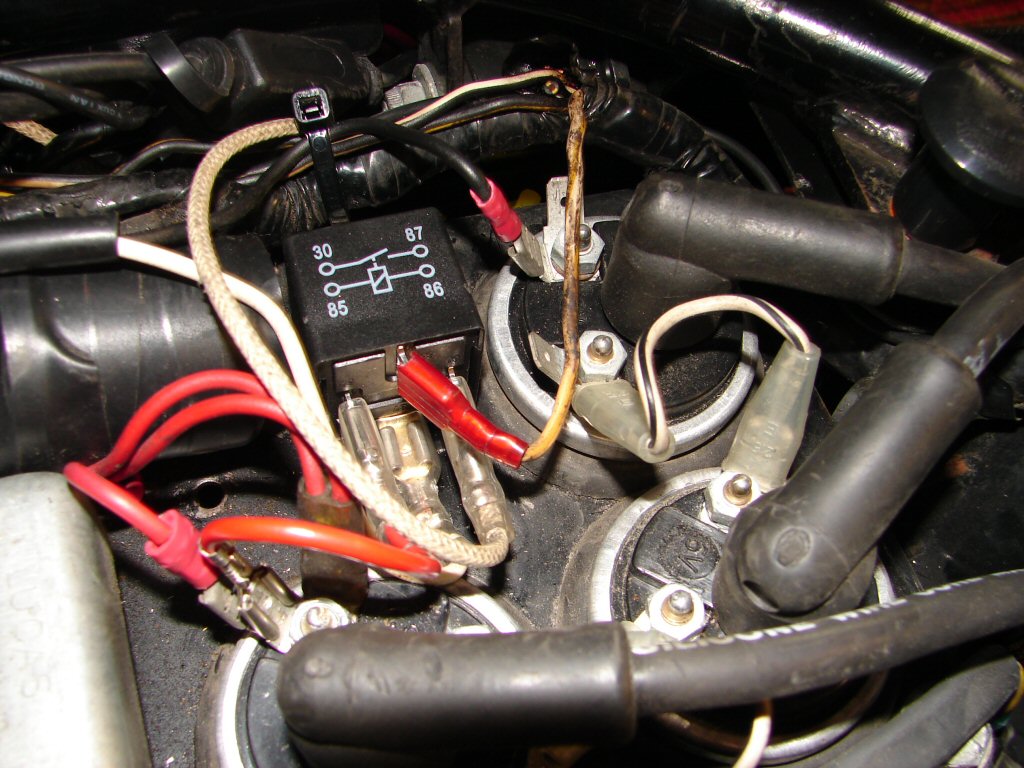
Fitting a relay is the usual answer to this problem, but first you need to find a space for it to live.
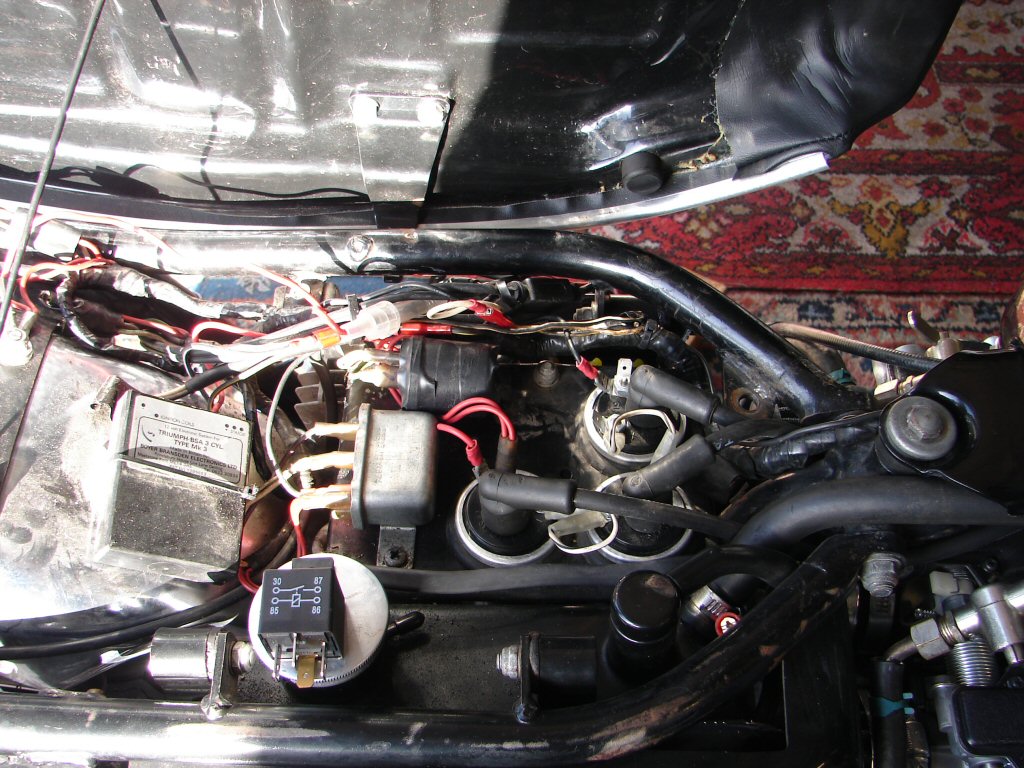
The answer was supplied by the length of the wires, so it had to go here. No spare length, but just enough, and the Boyer is much happier at start and idle.
A quick ride to test things before the delivery revealed that the rear brake was in fact much more progressive than before, which was a perfect result. Most pleasing.
So then it went home.
Thanks John.