September 2021
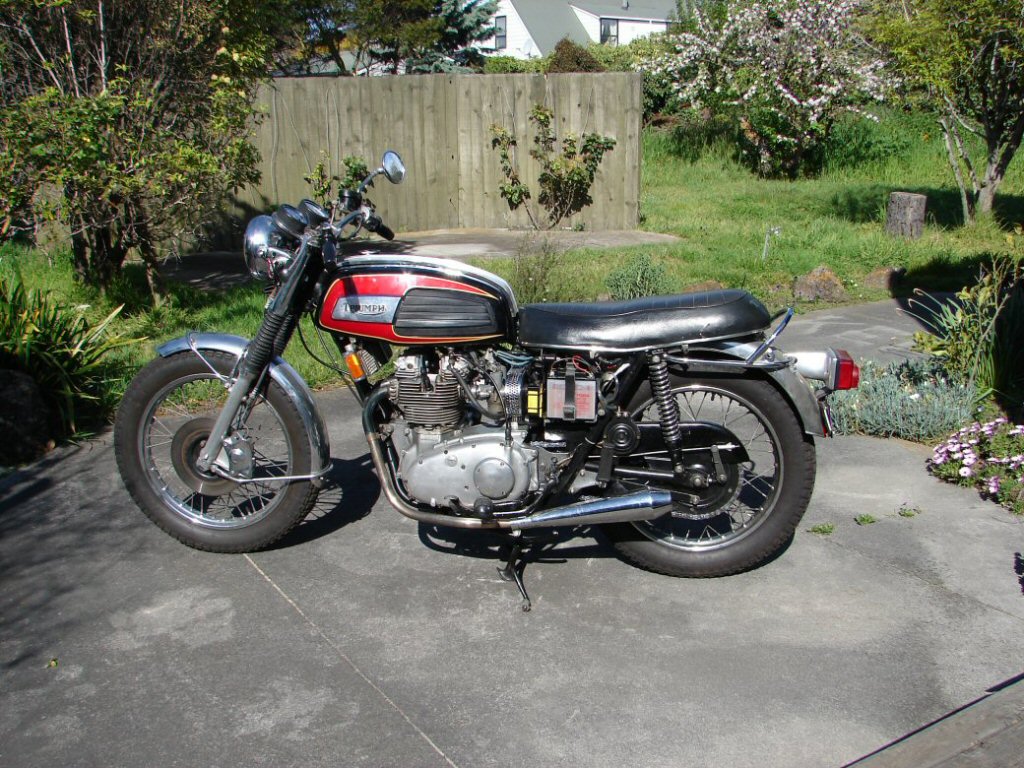
1974 Triumph T150 Trident 750
A guy called Brian showed up at my house one night. He explained that he had reason to believe I could help him with his bikes. I was intrigued as to how he might have tracked me down, but he did not seem to be a person you wouldn't trust, and soon we ended up in the shed talking machinery.
He needed help with a T150 which despite having a new clutch fitted, was not performing as it should, so he figured that there was more to it than the plate.
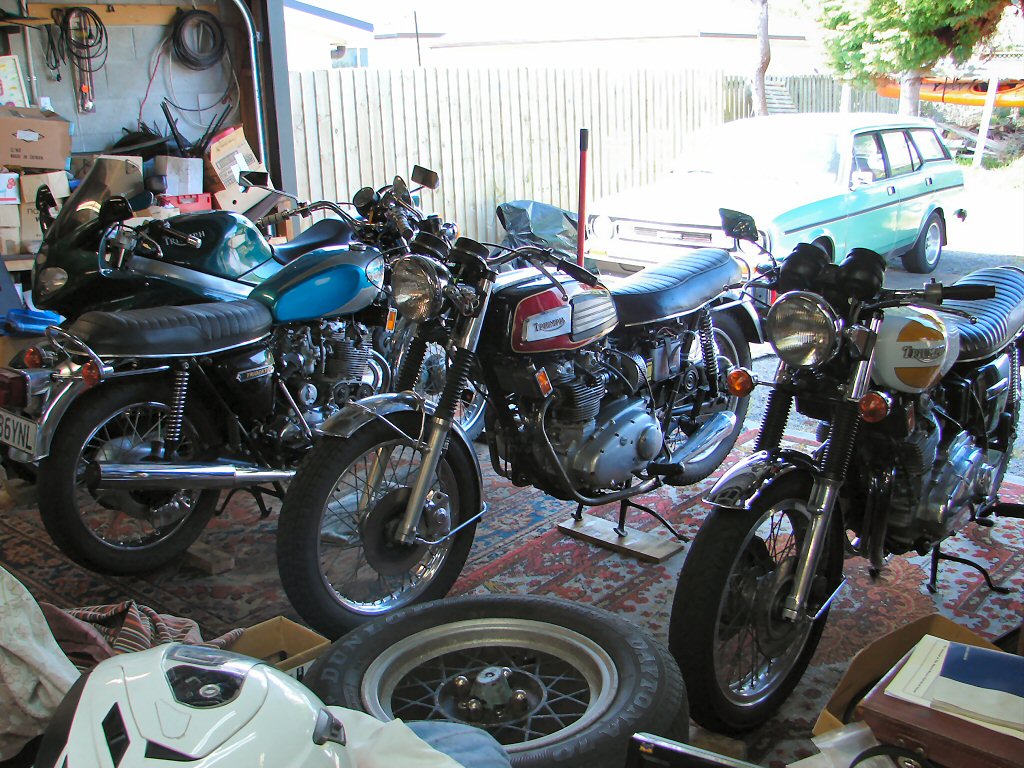
He also had 5 other T150's, but I was not sure if they might also need attention. Lawdy.!
Totally by chance I was talking to a friend a few days later, and he knew of Brian, and had sold him a restored A65 Lightning, so suddenly we were acquainted.
A few weeks later I had a space in my shed so Brian brought the T150 to me, and told me all he knew about its behaviour. After he left I checked it out and ended up opening the clutch adjustment cover and setting everything the way I usually do it. It seemed that I could get it to operate ok while stationary, so at least I knew that much.
Next thing was to test ride it and see if I could figure its problem. It seemed to behave ok, although it did have a very small area of disengagement at the lever. When I got home I put the front wheel against the wall of the shed and in second gear tried feeding some power in as I opened the throttle. Sure enough, I could get the clutch slipping to the point that I had the lever fully out, so things were definitely awry.
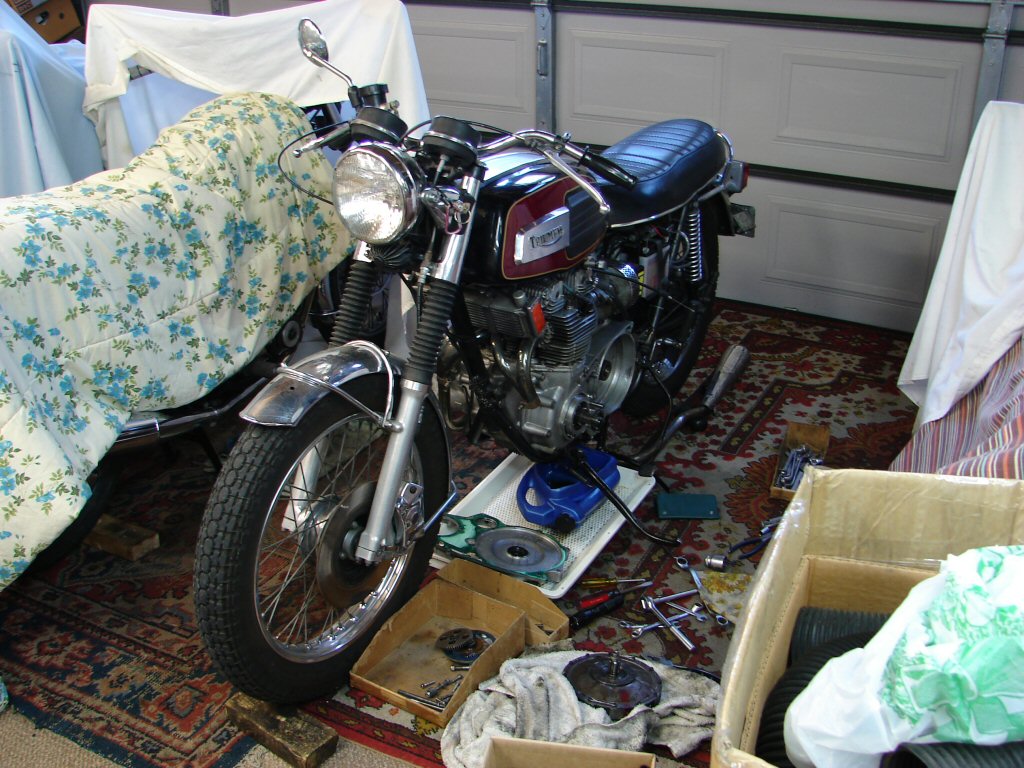
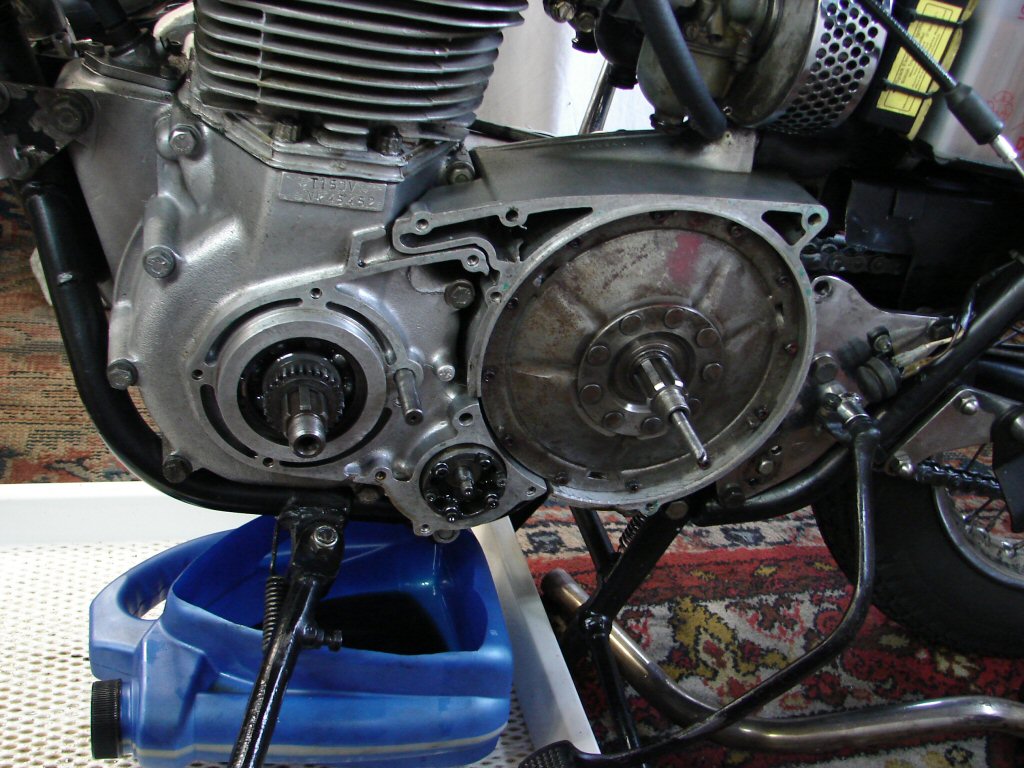
Nothing for it but to pull the primary apart and extract the clutch assembly. Pipes and mufflers came off, and then the outer primary. Nothing looked out of place in there, but seemed clean enough to suggest it had been apart not that long ago.
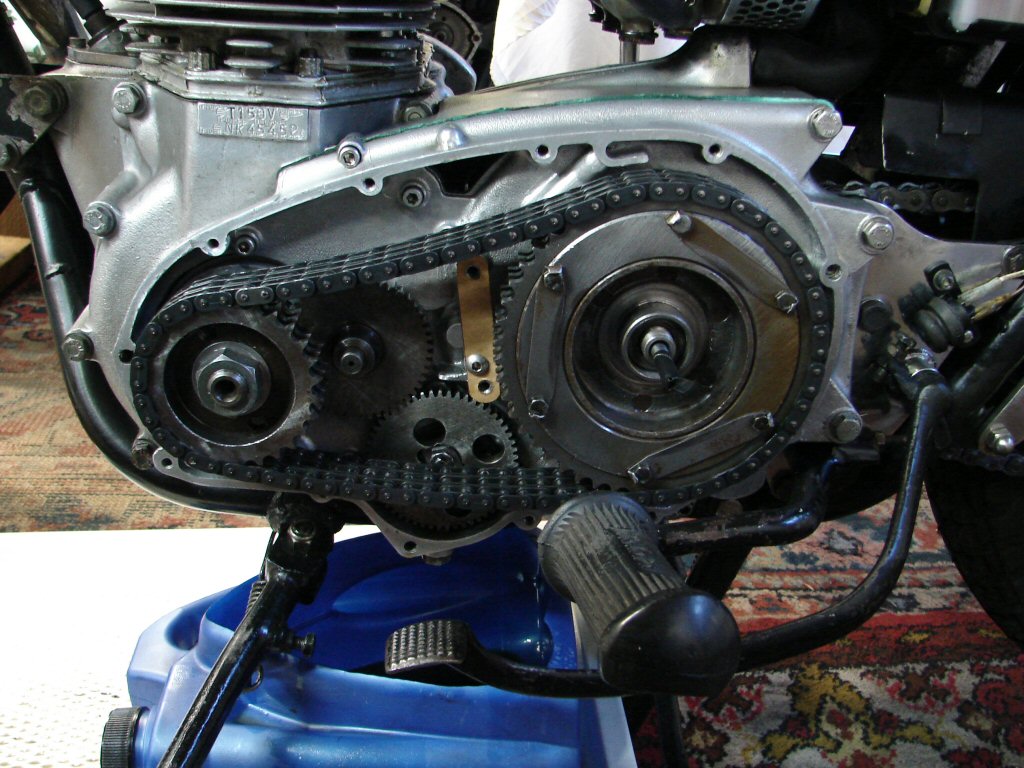
It did not take long to remove the inner primary cover and extract the clutch unit. No evidence of any great oil leaks and things appeared to be generally in order.
Stripping the clutch presented the issue.
The 'new' clutch plate that had been fitted (left) was originally intended for a BMC Mini. By drilling the rivets out and moving the splined centre to the opposite side they do look just like a triple clutch plate, but there is a major problem in use, that makes me wonder why anyone would ever bother trying to use one.
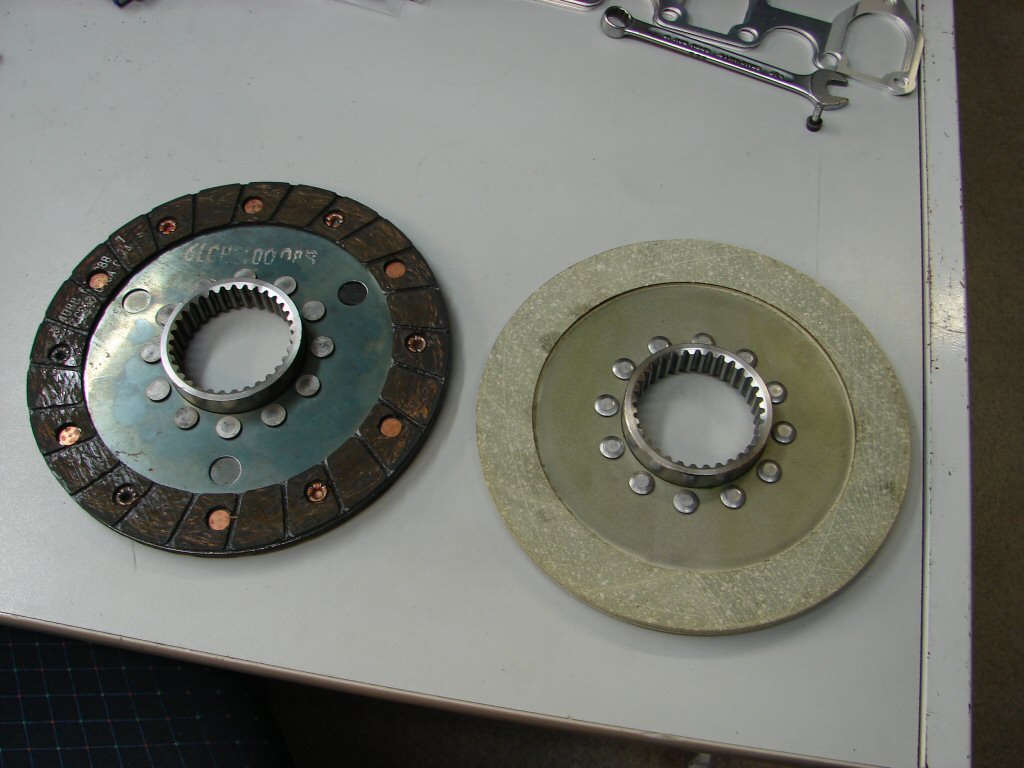
The issue is that the triple clutch release mechanism is only capable of releasing the clutch by an axial movement of say .030", so a solid lined disk type plate was used. The Mini plate has a spring mechanism between the lined surfaces, which means a lot more movement needs to take place to free it up properly.
Using one of these in a triple means you can either get it to engage, or disengage, but not both. In this case it had been set up to disengage, so it did not engage enough to prevent slippage under load.
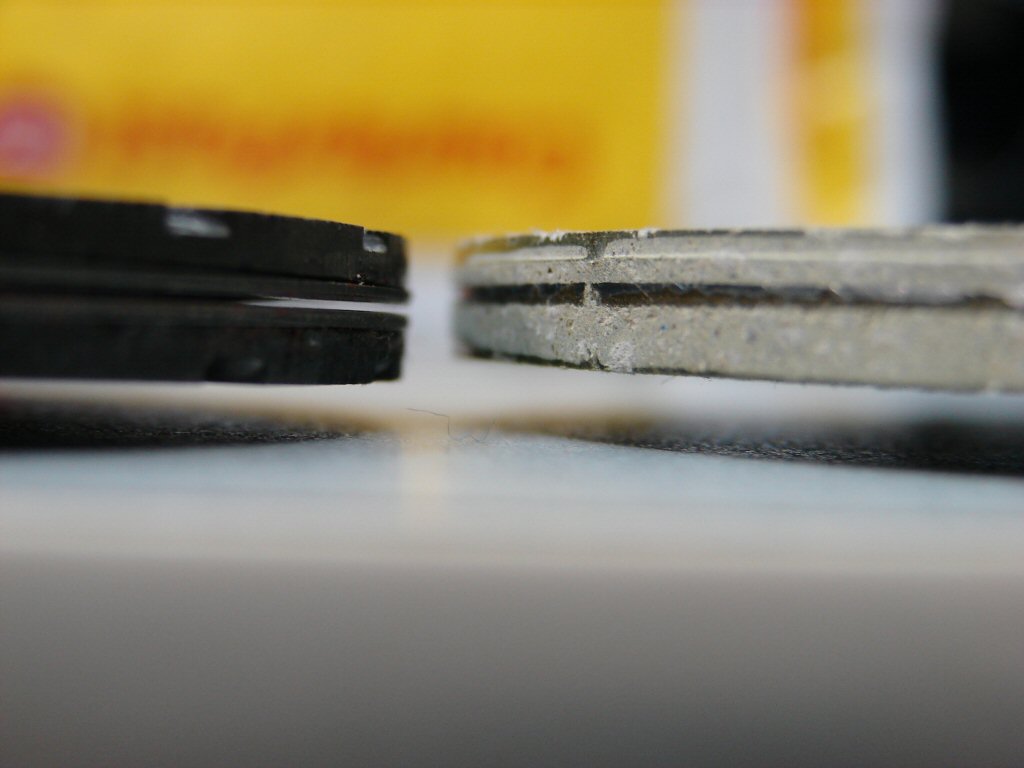
As I had the 'Surflex' plate on the right of the pic in stock I simply reassembled the clutch with this new plate in place.
As this explained the entire scenario I had no hesitation in fitting the complete assembly back in the housing and closing it all up.
While that sounds simple enough, there are quite a number of parts involved and care must be taken to ensure they will all get along togather.
Fortunately I have played this game often enough to know the potential problem areas and a few non-standard moves which ensure oil tightness, so it progressed without any unseen glitches.

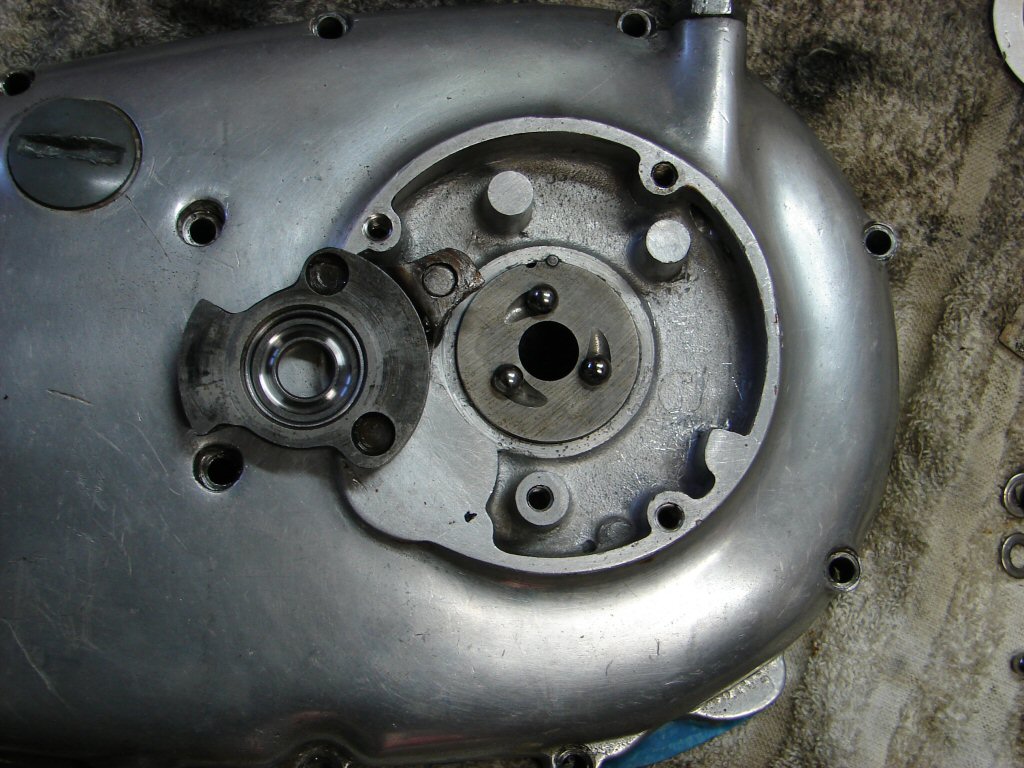
That is - until I got out to the lifting mechanism.
I found that the operating lever would jam at full rotation, and that there was a bit of a clearance issue beneath the retaining clips. It was rather obvious on inspection that the 3 ball bearings fitted were somewhat larger than the factory 1/4" items. In fact these were a massive 8mm, which I imagine somebody thought would allow a clutch operation approaching normal, but that had been a resounding fail. I fitted some original size and buttoned that up too.
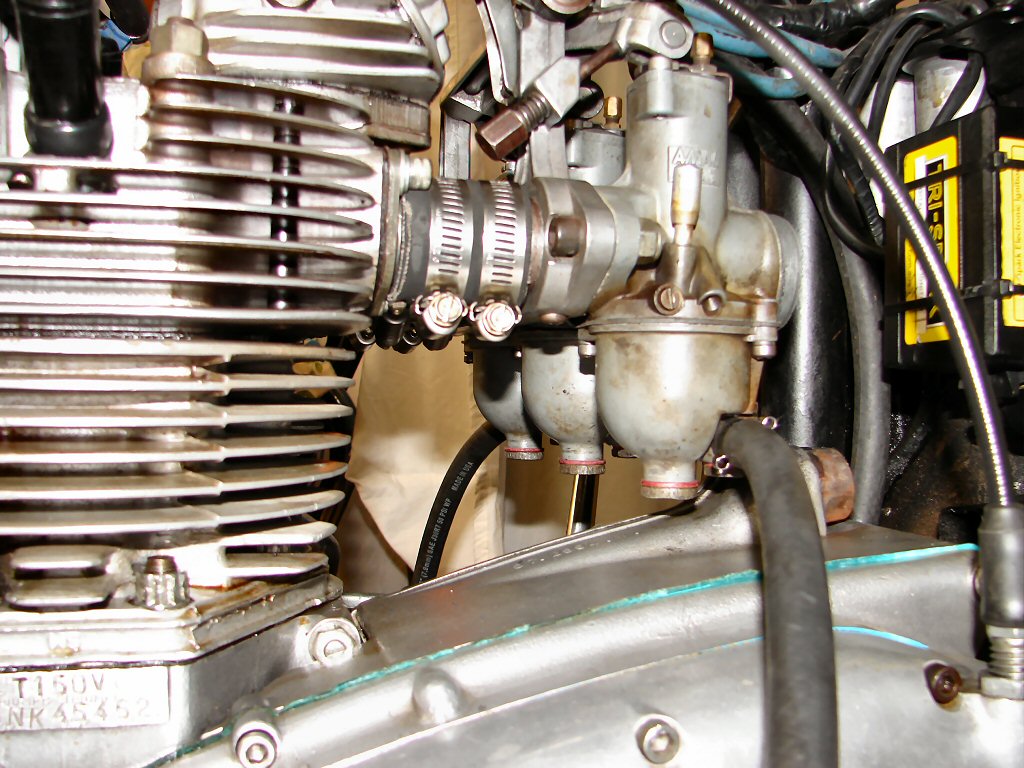
When I had test ridden the bike to check the clutch behaviour I had noticed a few tuning issues with the carbs. It took ages to flood them, which usually indicates that either the taps are restricted or brass float needles are in place.
I stripped the whole assembly down to check. Yes, it had brass float needles, but it also had a large amount of dross in the banjo filters. None of these are helpful in allowing fuel to flow into the float bowls.
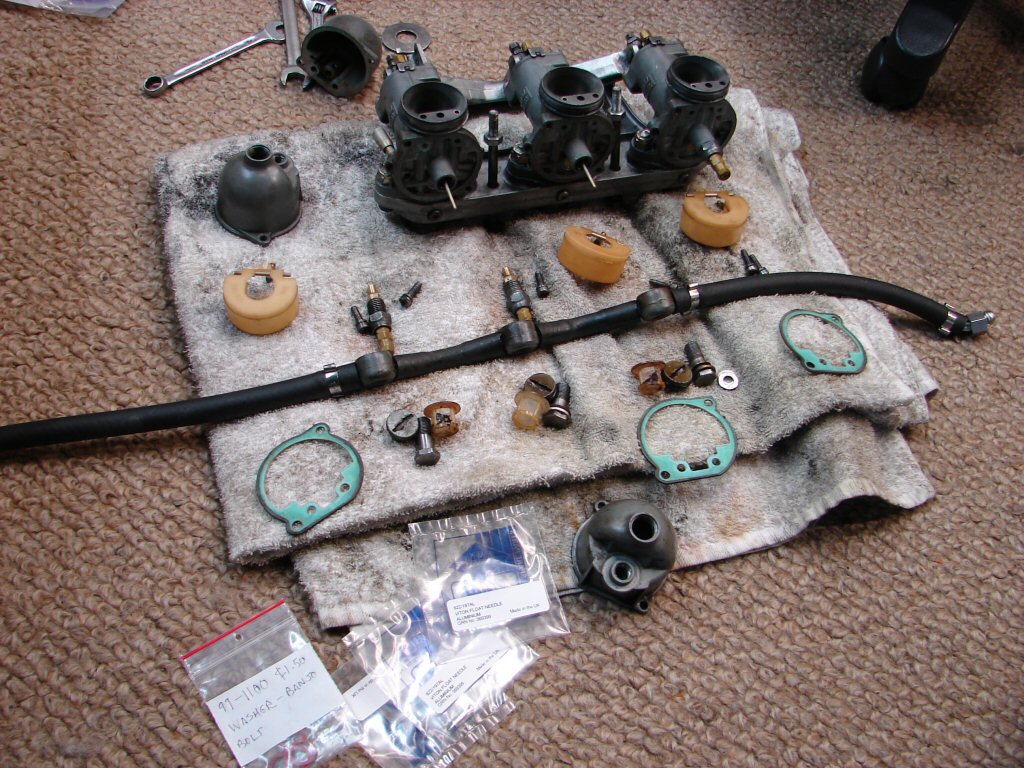
I cleaned everything up, fitted alloy float needles, faced the float bowls to make sure they sealed against their gaskets, and set the float heights.
The slides were then synched using 3 ball bearings behind the slides which on the bench provides a clear indication that all the slides release the balls at the same instant as the throttle is opened. Then they went back on the bike.
Now that the bike would start and idle happily, a test ride was undertaken. What a pleasing ride it was. The clutch was not only extremely light in operation, it worked so well that changing gear was now a wonderful experience, so I did a lot of it in the course of my meagre 3 mile test track.
A brief tune of the pilot screws on my return elicited a happy idle and we were officially done. Just the obligatory photos to finish off.
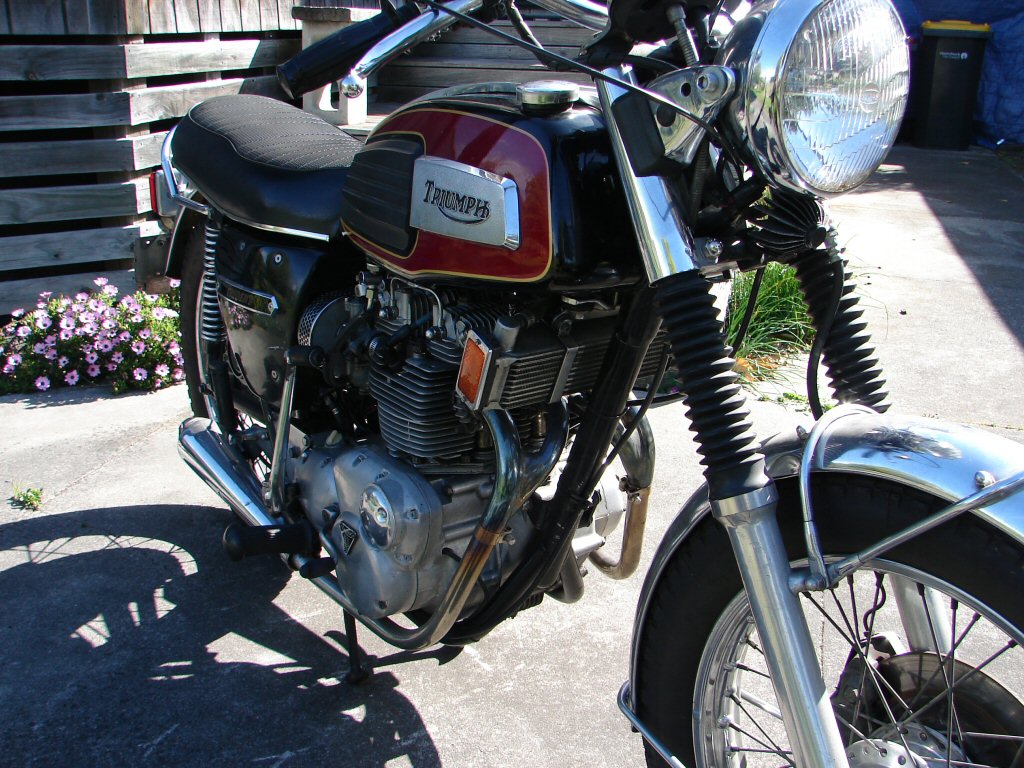
I really love the UK home market 'breadbox' fuel tank. This colour scheme is of course the traditional look as well.
It is always a great pleasue to have found such an obvious problem, and to thus know beyond doubt that it has been cured by simply using the parts that the factory intended. Also nice that I had them on hand for such an occasion.
A very attractive visitor to the shed.!