May 2016
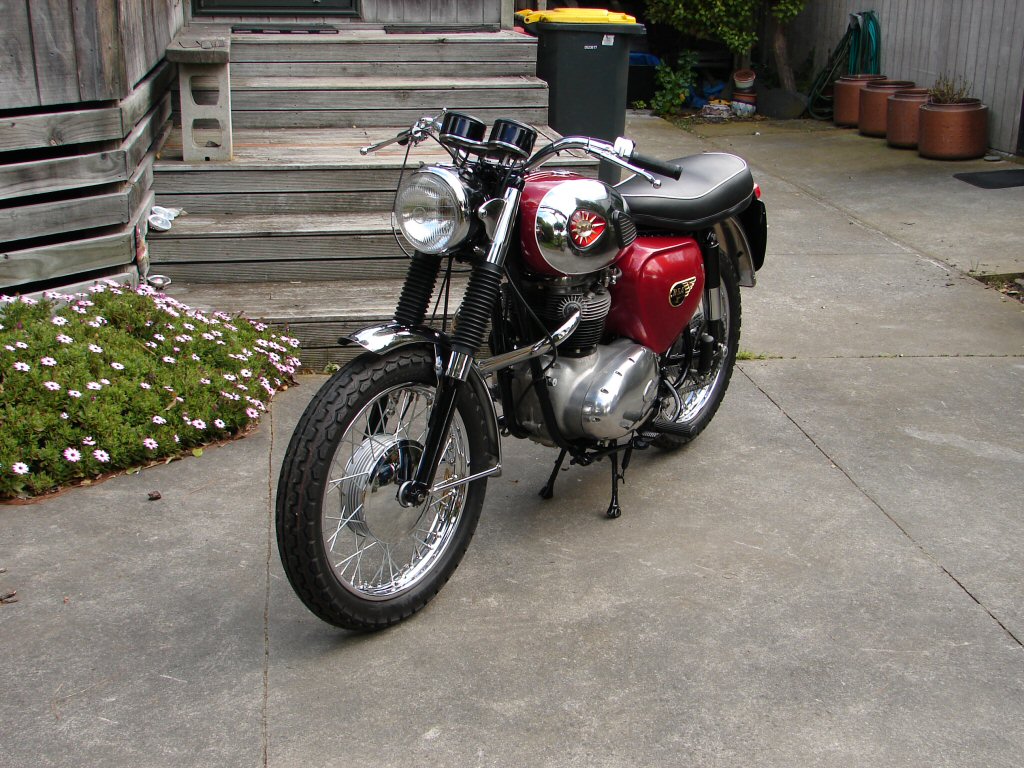
1964 BSA Rocket 650
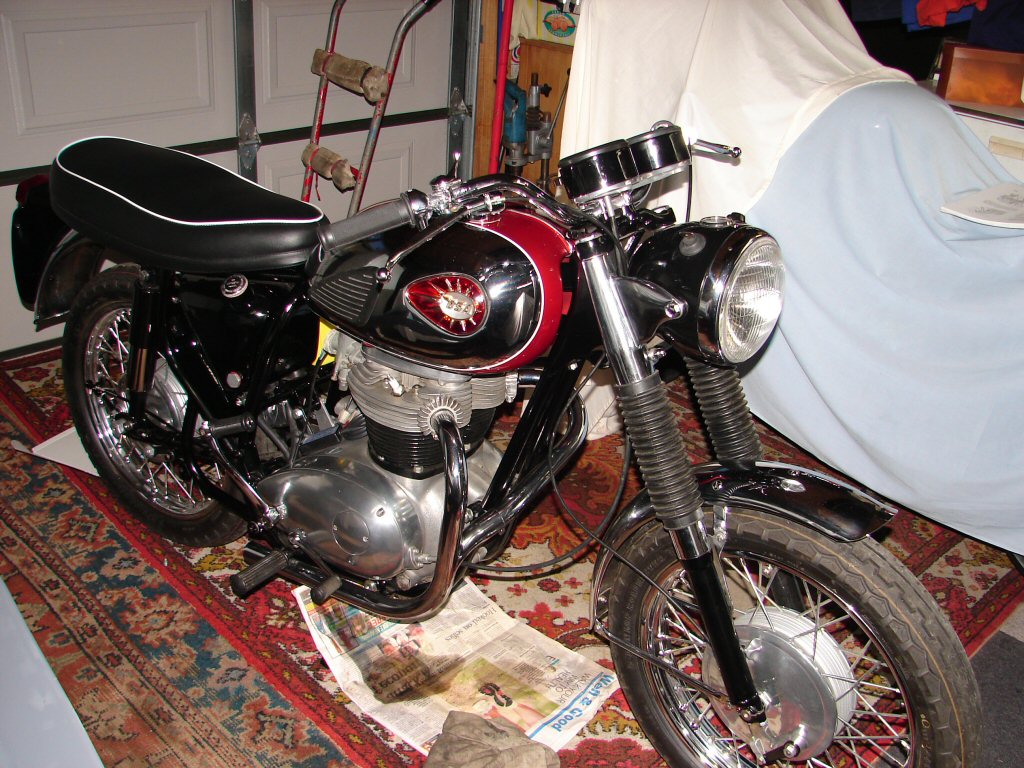
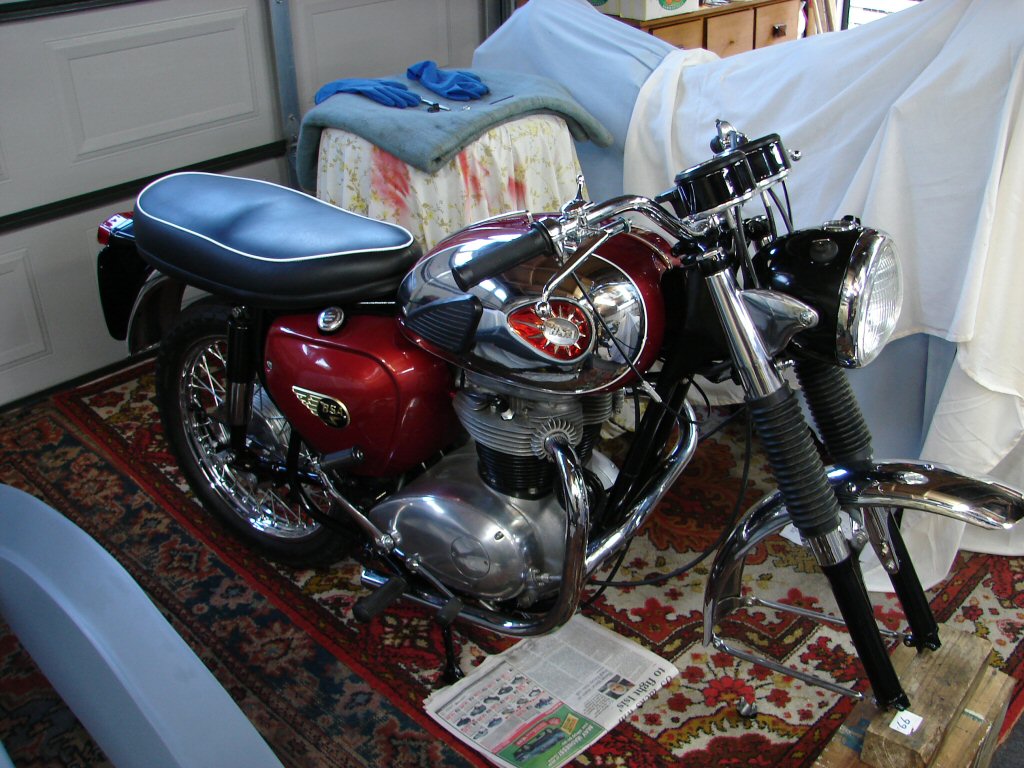
Another friend with another bike. This time one that he bought in boxes. It had been in boxes for many years, so some of the bits that had been ready to go now needed more attention because of surface rust. It would have put a lot of people off, including me.
My man was up to the challenge though, and he recovered all the parts with a lot of attention to detail and quality. What he did not have were any meaningful wires to join things together, so he brought it to me to invent some.
I found a wiring loom for a similar model which featured a plug to match the back of the ignition switch. This switch had about 11 connections on it and only a purpose built plug would have possible matched it. Unfortunately there was also a headlight switch with a similar plug and that was not with the loom, so it was bought separately.
I fabricated a loom for the left side handlebar switch, fitted some heatshrink sleeving over it then spray painted it grey to provide the right look.
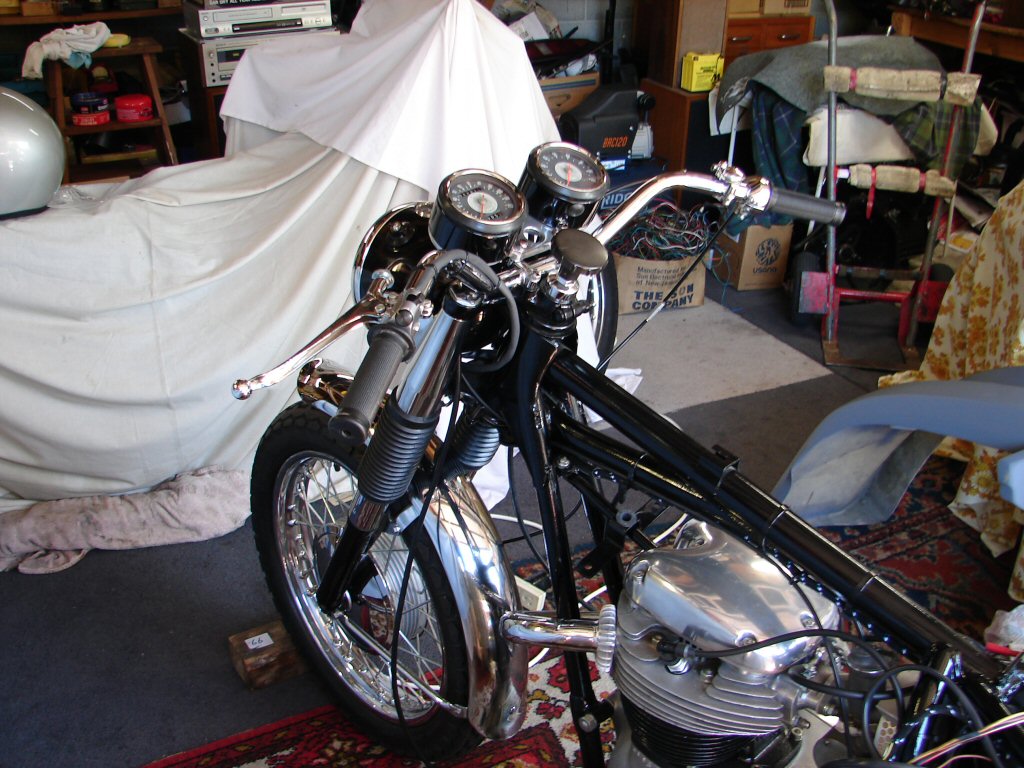
Next problem was that the bike had started life with a 6 volt system, and was now going to have a 12 volt one instead. There was an added complication that the wiring loom was designed for an ignition switch somewhere aft, whereas we now wanted it to be in the headlight. A bit of head scratching for me, but I interrupted a few wires and repurposed a few others, and it seemed we might have a wire for everything with a bit of luck.
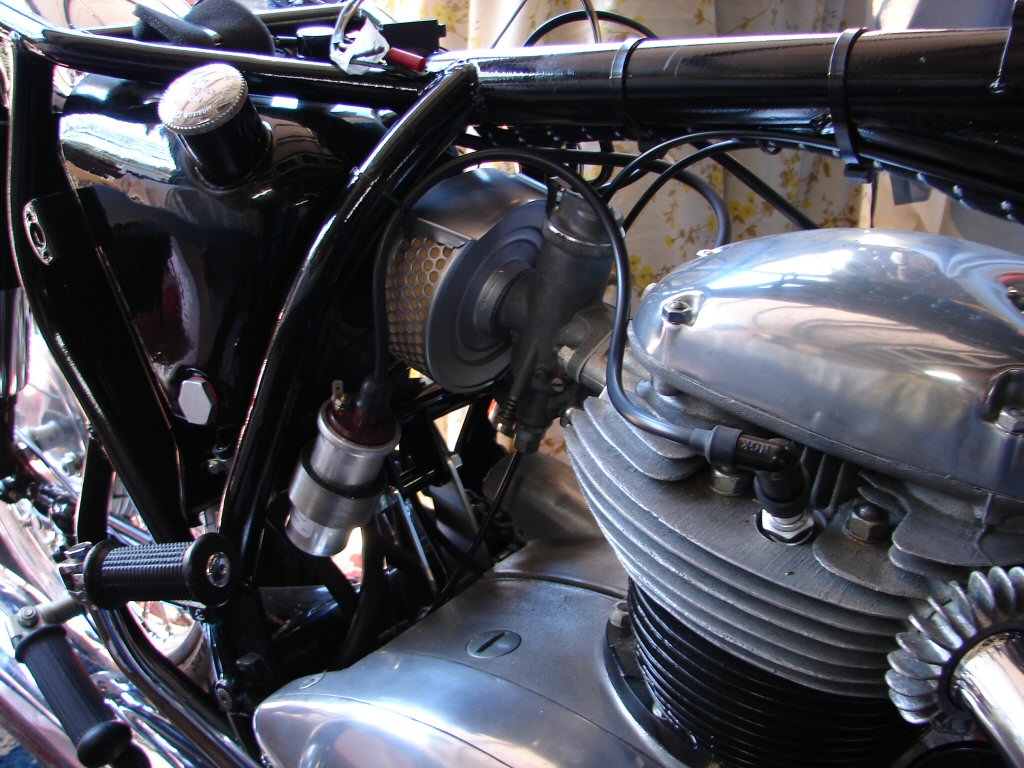
There would also be a Boyer ignition fitted, so a place for that to live and the wiring associated with it had to be included in the mix.
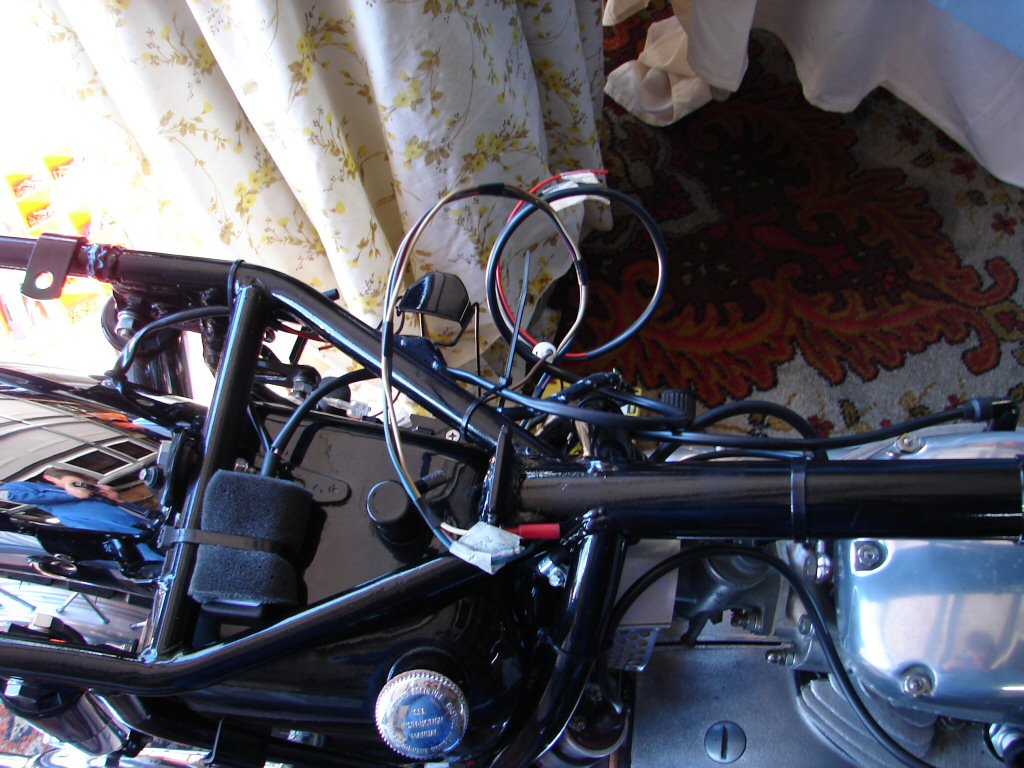
The new ignition coils proved to be several sizes smaller than the clamps we had for mounting them, so I invented some rubber sleeves to pack them out with, and which would now provide some extra vibration proofing.
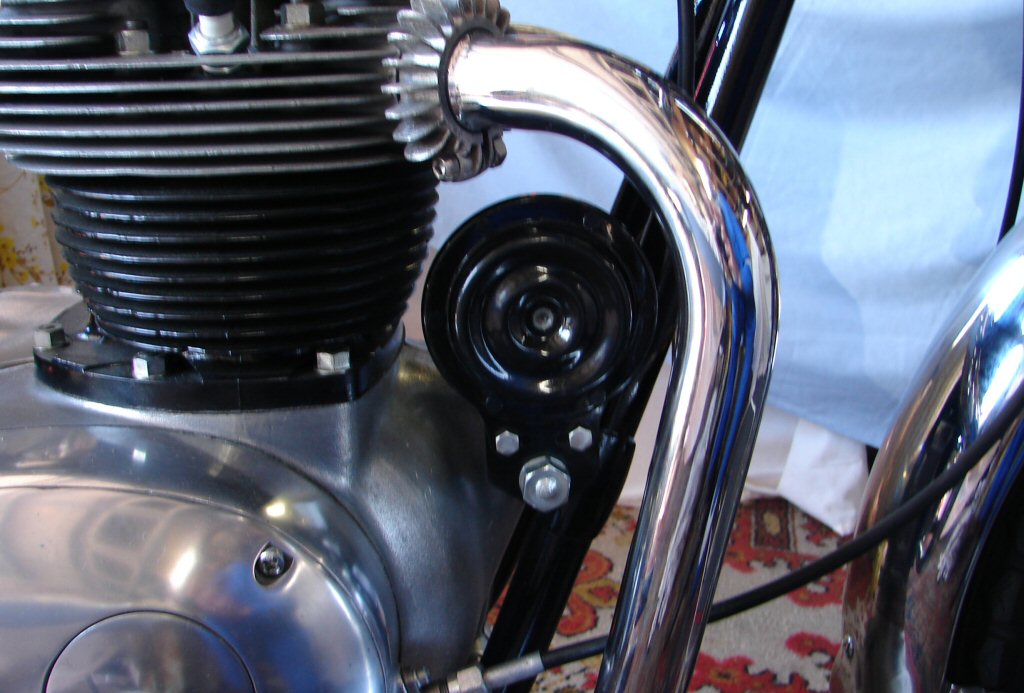
The horn had no mounting bracket, so one was duly made and painted, and the horn came to rest as pictured. It was hopefully meant to be somewhere there.
Final item up forrard was an ammeter, but that was a cinch to incorporate as all the necessary wires were already present inside the headlamp, so they were altered to comply.
Instrument lights got the same heatshrink treatment. In its native form it is a more uniform and wrinkle-free sleeving than more common (and cheaper..) "spaghetti" type sleeving.
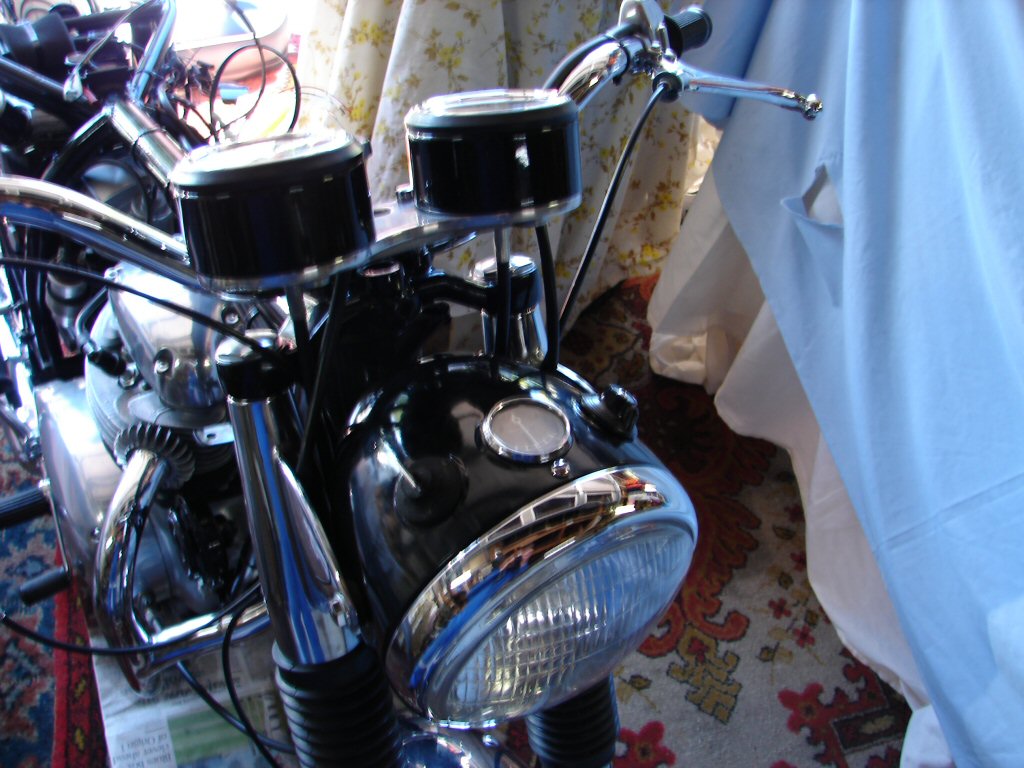
Working around the clocks I noticed that the two looked quite different to each other. It transpired that the tacho had been reconditioned as it had been a non-runner, but it now made the speedo look decidedly second hand. With the mildest prompting it was agreed to send the speedo off for the same treatment.
Meanwhile attention moved aft to the battery and underseat area, which included setting up the clever (?) rear brake light switch. For those not familiar said switch has 'off' positions either side of a brief 'on' position, so setting the operational range of travel is critical. It finally agreed to co-operate.
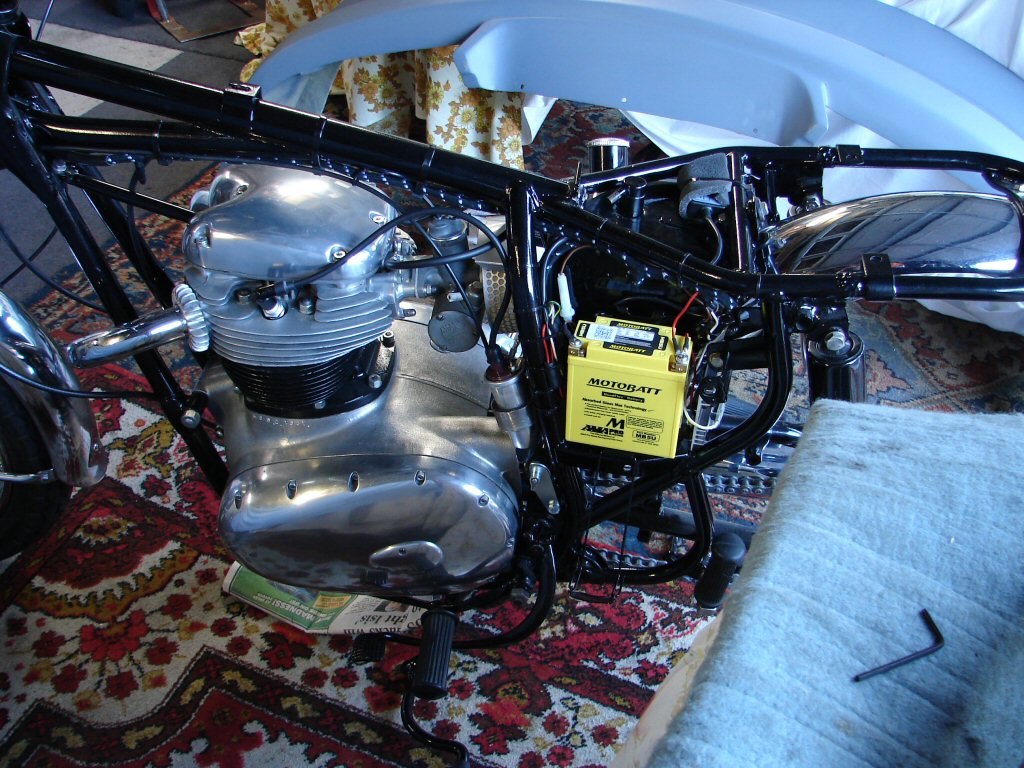
Another modification to accommodate was the finned heatsink for the zener diode, and it was finally squeezed into a small gap behind the battery, in such a way that the sidecover would still conceal it. The battery area was now approaching being sorted.
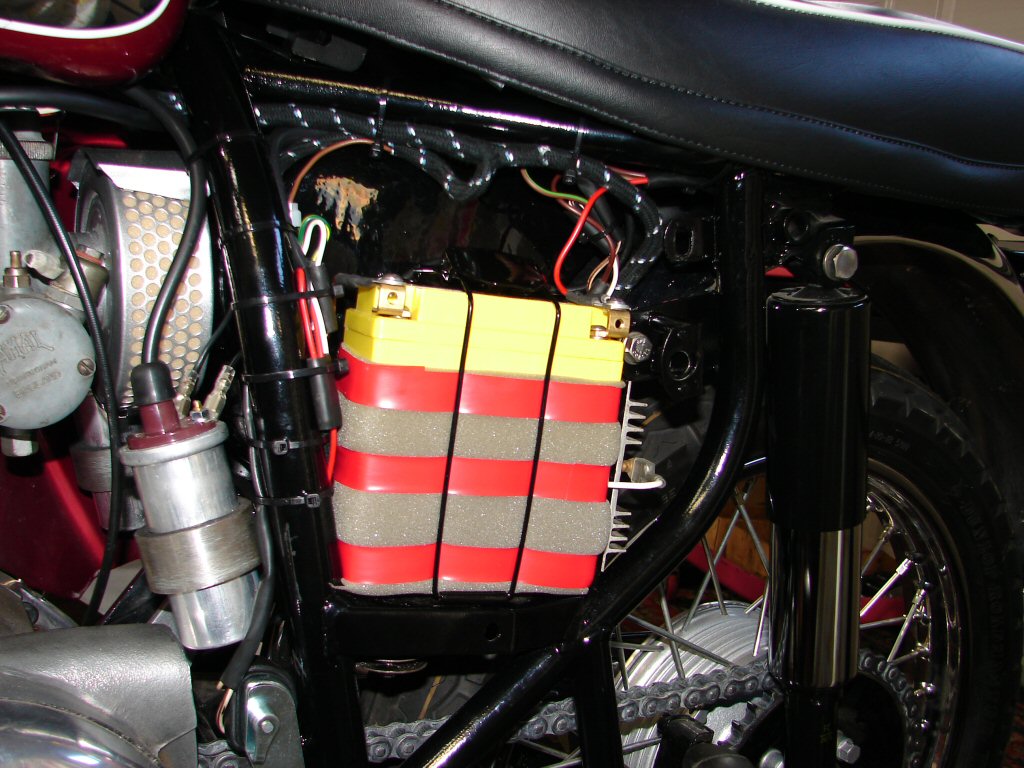
Final electrical manoeuvres involved making a loom for the rear light and fitting it, plus arranging connections to the rear foot brake switch. These things were very straightforward considering that all the bits were already in place.
Ignition unit also got timed and there were two sparks happening.
The speedo came back and completed the cockpit. However a new problem had appeared. I could not move the bike around, as both brakes were binding. At the front the new linings were too thick and were binding on the drum even with everything backed off. That got pulled apart and the shoes went away to be reprofiled.
Meanwhile I trial fitted the neat sidecovers which fully concealed the carb. Nice trick, but it did necessitate devising a lever to enable tickling of the carb.
The rear brake behaviour was due to the operating mechanism having been assembled wrongly, and although it was just a matter of putting it right, it took a while to figure how it was actually meant to be. The absence of documentation and diagrams can be a real handicap, and one I always attempt to resolve at the beginning.
This bike being one of the first A65s seemed to have been a tad overlooked. It predates Lightning and Thunderbolt to my knowledge.
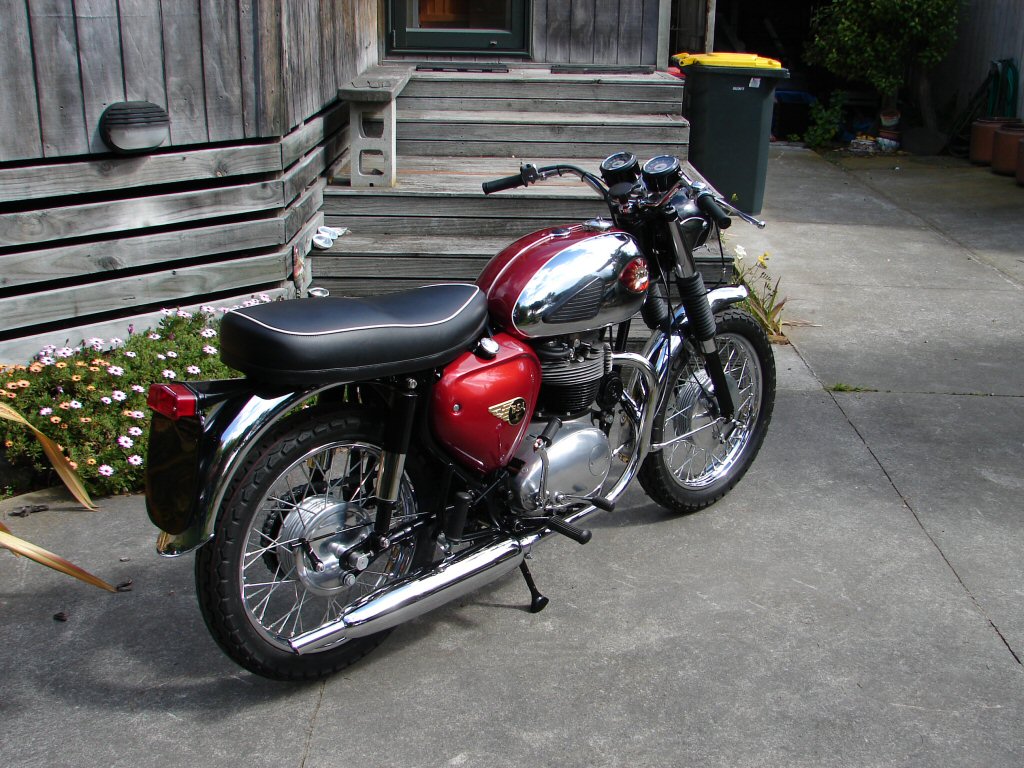
With my work done there was nothing for it but to wheel it outside and take the obligatory photos.
Placing it on the main stand saw the foot lever immediately break off, which was a bit disconcerting. Inspection revealed that the Chinese welding process had fallen a bit short of the mark. Easy fixed.
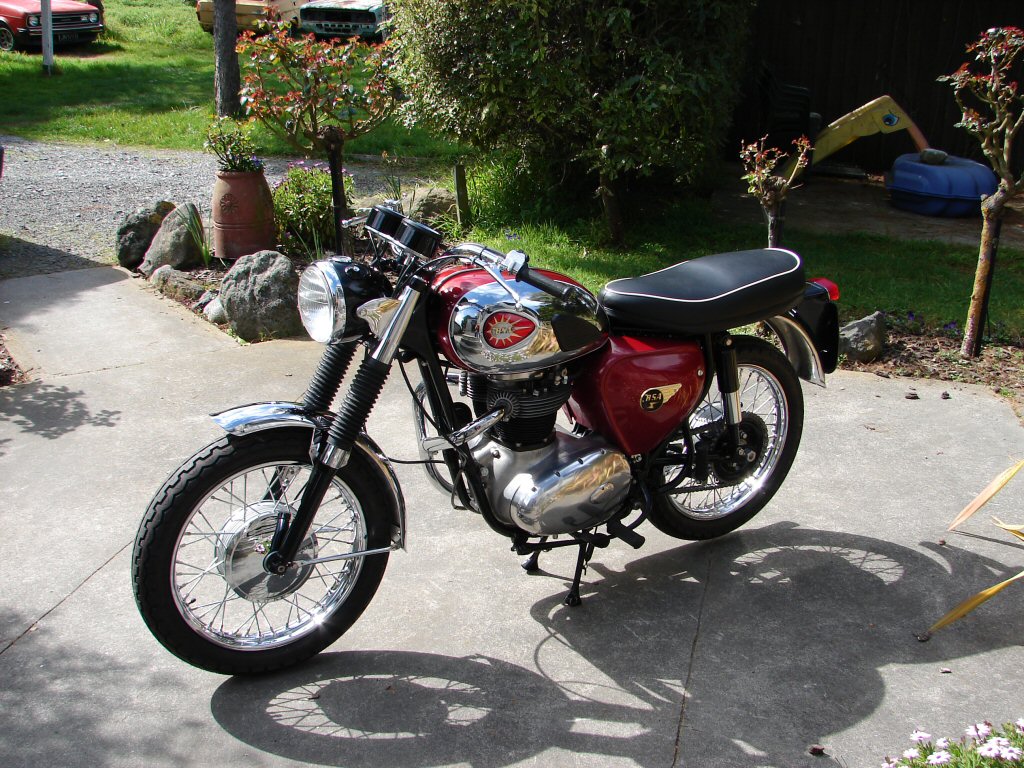
I did not attempt to start the bike - that experience belongs to the owner, but I have to say, this is one of the prettiest bikes I have ever worked on.
Pleasingly it looked and sounded as good in action.