March 2025
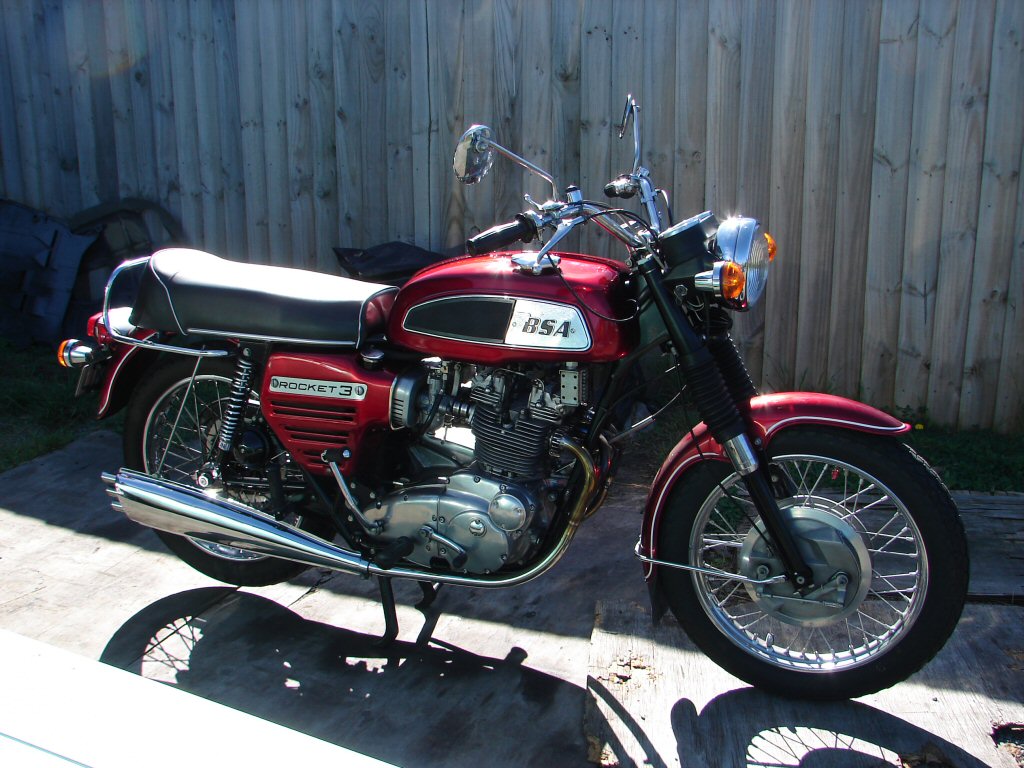
1969 BSA Rocket 3 750

I have known this bike and owner for several decades now, but my attentions to the bike have been limited to ignition and electrical issues.
Now it is in need of a new head gasket and rocker box gaskets, as the latter are migrating and the oil leaks have begun. It is still extremely clean by my standards, but things will only get worse if we don't fit some aluminium rocker box gaskets, and the head gasket is probably already suffering some loss of tension.

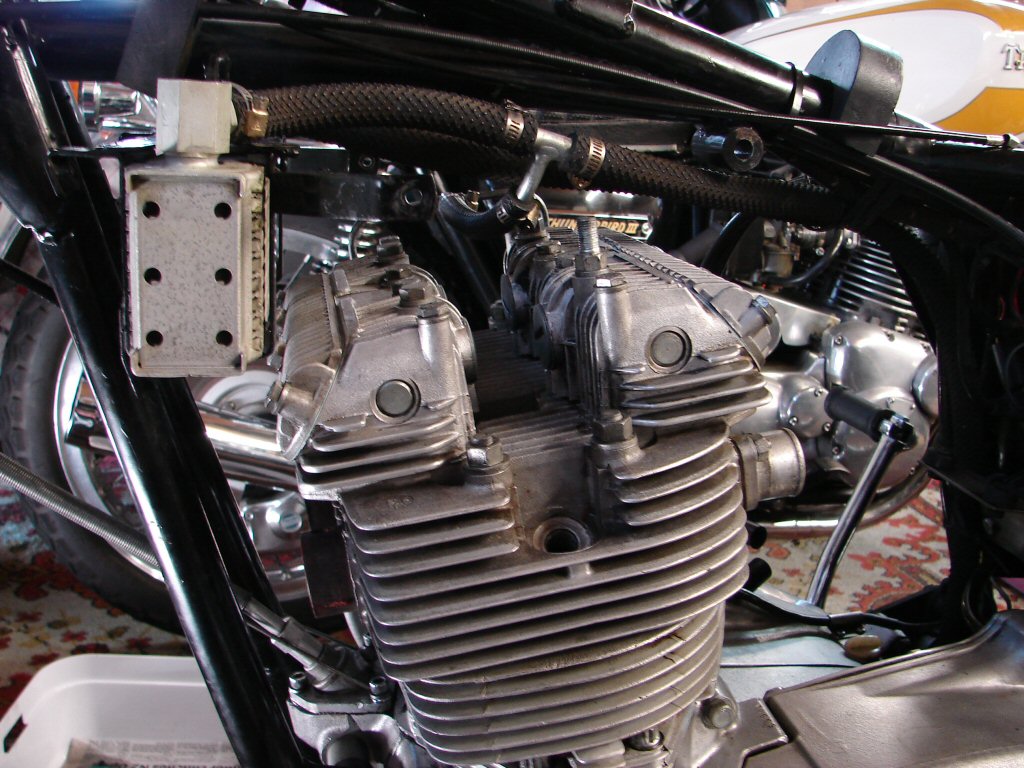
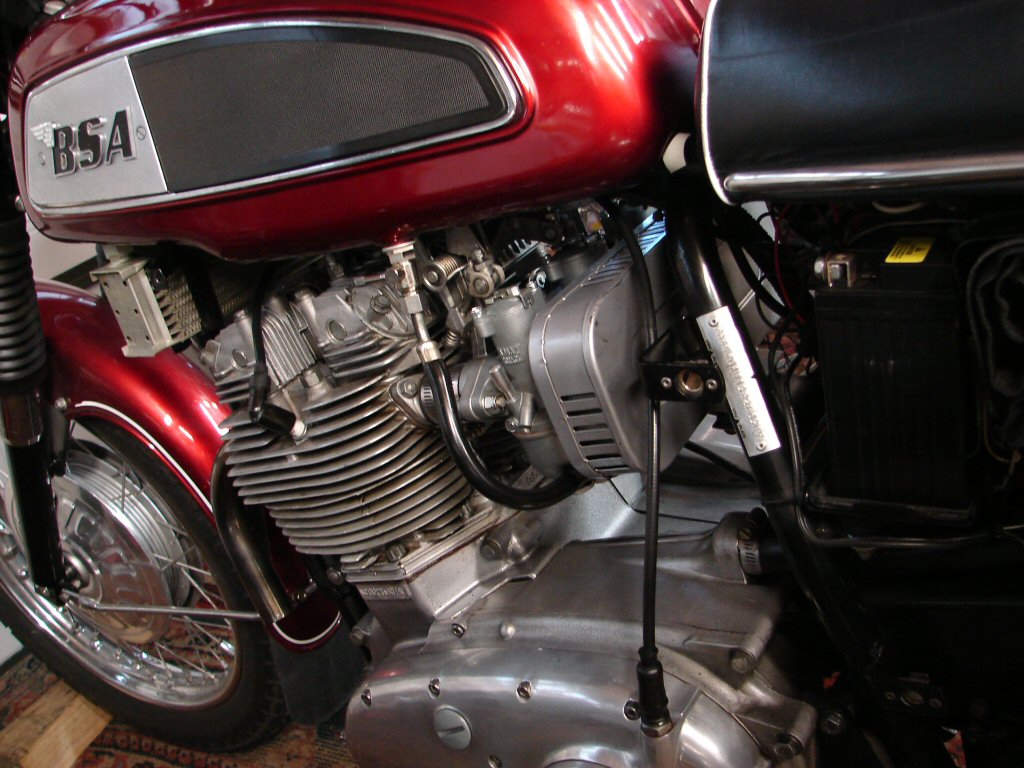
I forget that the Mk1 Rocket 3's have a lot more stuff that has to be removed before disturbing the head, the oil cooler being one, plus the rayguns have a few more mountings than later types.
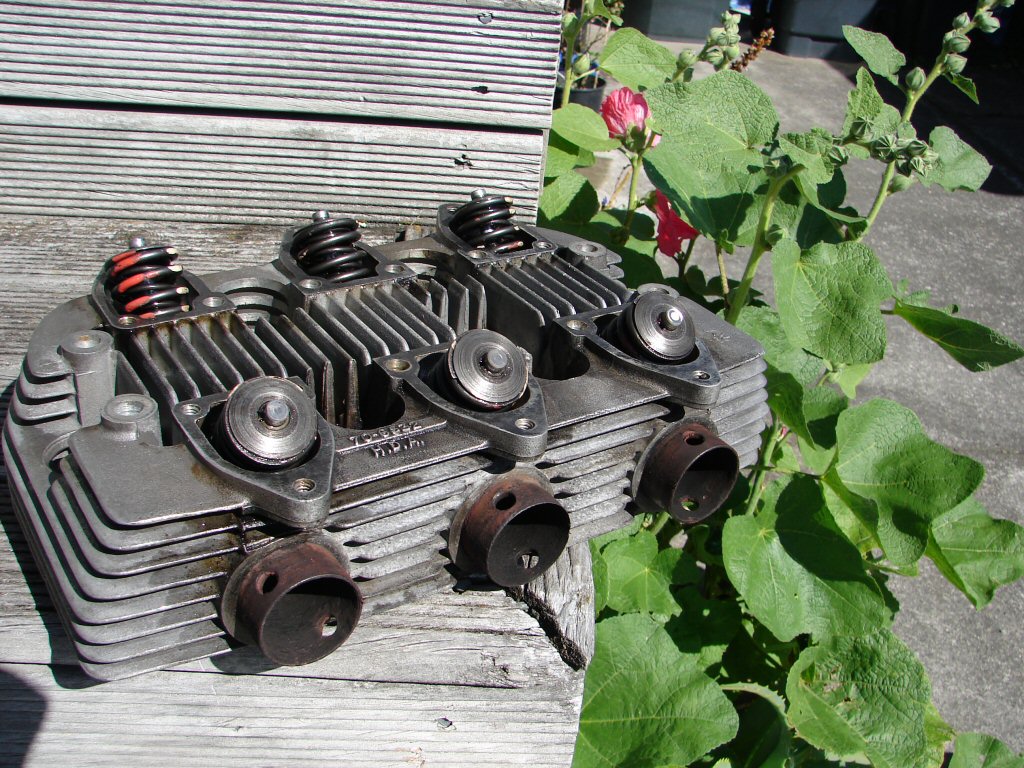
Despite all that, things went well until trying to remove the exhaust head studs when the centre two refused to come out, and I could tell that they had unwound the pillar studs out of the barrels. Most fortunate then that they were the exhaust studs, as I was able to lift the head off with the rocker box still attached. I managed to separate them and the studs were not overly tight in the pillar studs, so we may have a couple of barrel threads on the way out.
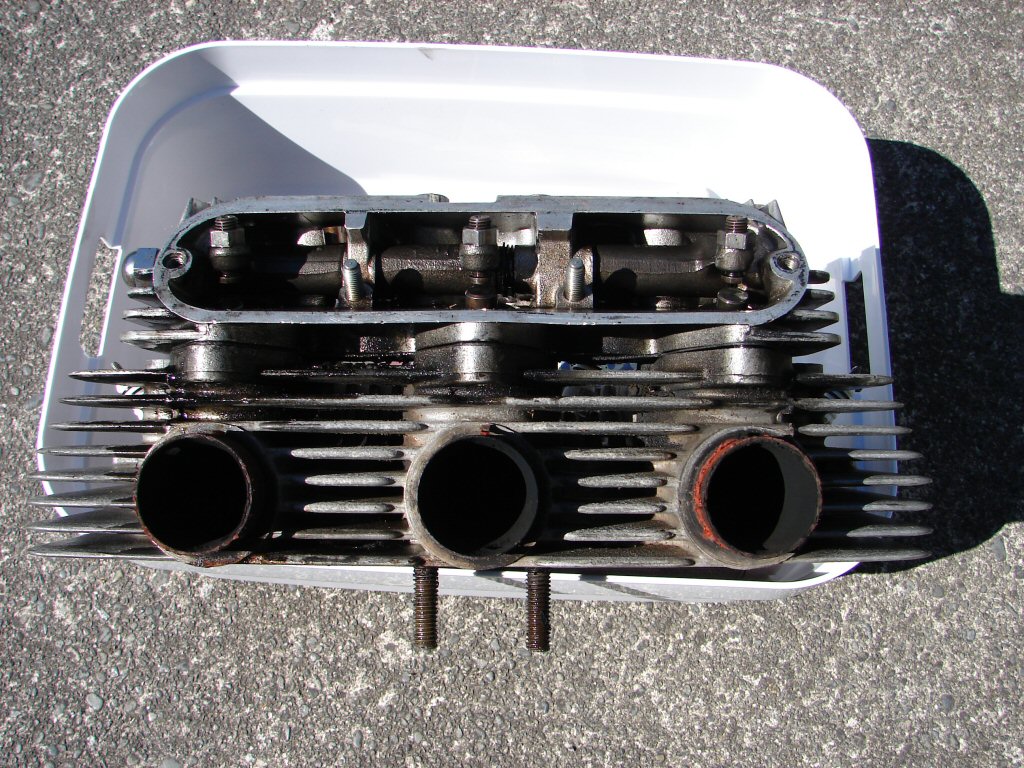
Evidence of some persistant oil leakage there, and there seems to be quite a lot of carbon in the exhaust manifold. I can also see what appear to be a number of scratches in the cylinder wall on at least two cylinders, so will check to see if the pistons exhibit any excessive wear.
The valve stems feature lash caps on this engine, which is a thoughtful fitment by whoever built it last. Presumably before we had solid rocker box gaskets...
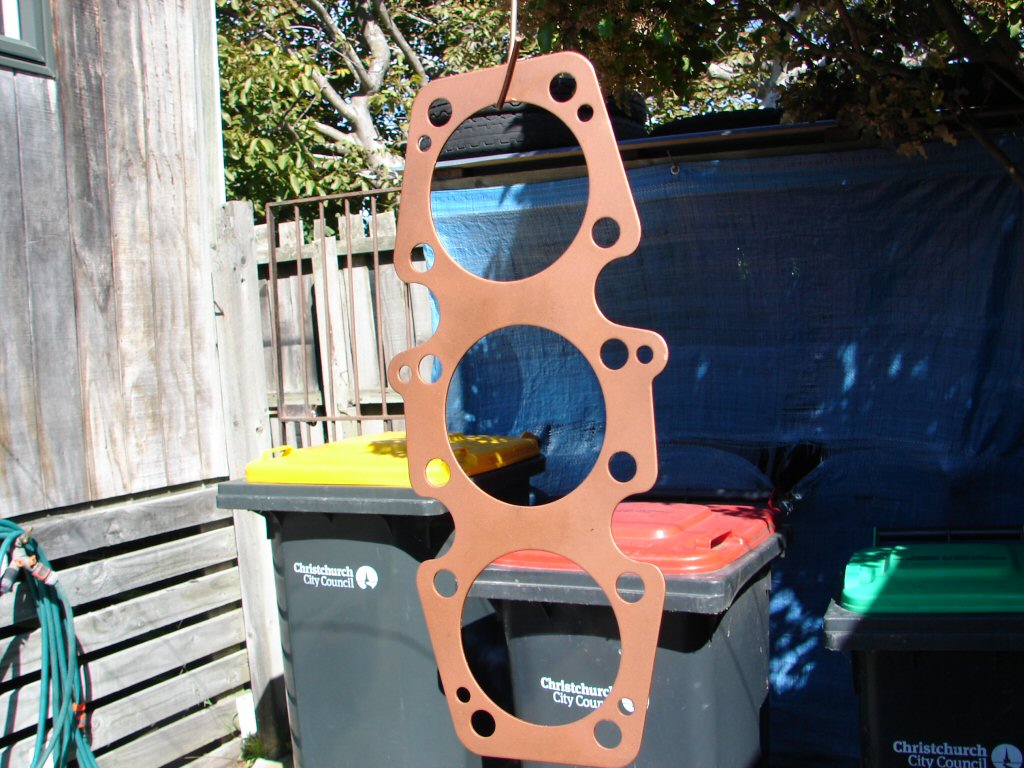
The copper head gasket has some part numbers on it which none have featured for quite a few years, so the last build may have been around 30 odd years ago.
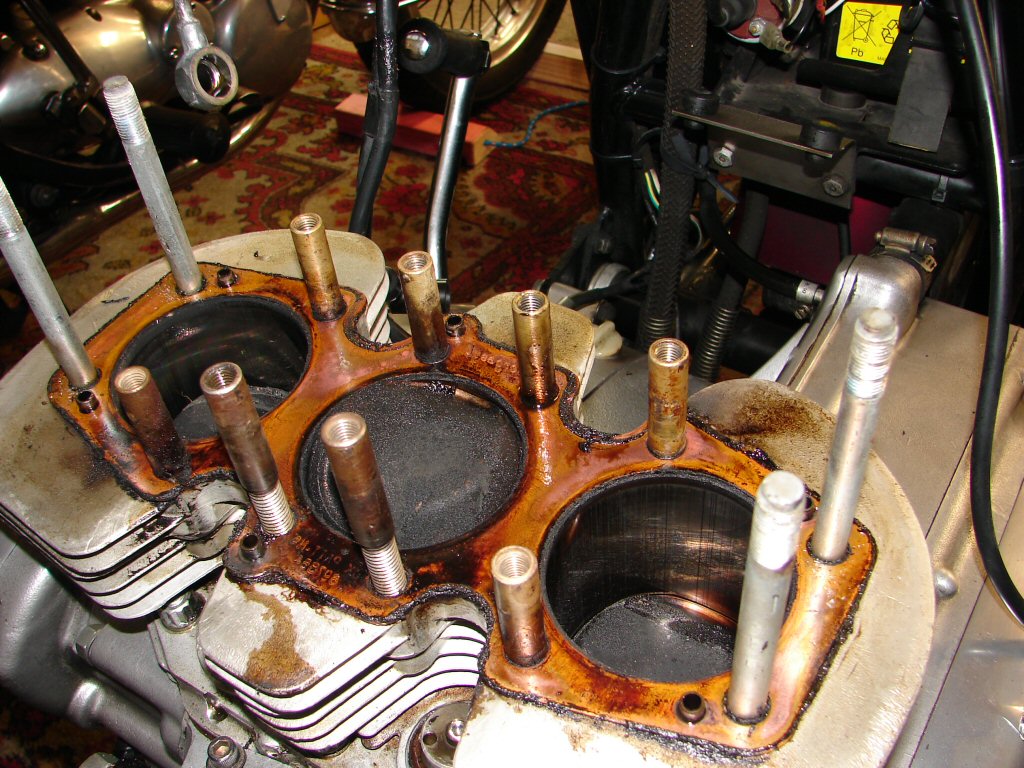
The two threads in question seem to be sound, but there is no reason why they should have preferred to come out than stay put. The pillar studs are overall rather oily and carboned up, so perhaps oil has been getting past the head gasket and going places it shouldn't. We shall see what a good clean up reveals.
It is clear that oil has been leaking across the head gasket, presumably from the rocker box drain dowels, some leaking out and some being drawn into the cylinders. This behaviour is a thing of the past when solid rocker box gaskets are in use.
While I could see marks on the bores I could not feel them, so they may have been due to bits of carbon from the excess oil travelling about. The pistons did not display undue wear, so we are good to continue the original plan.
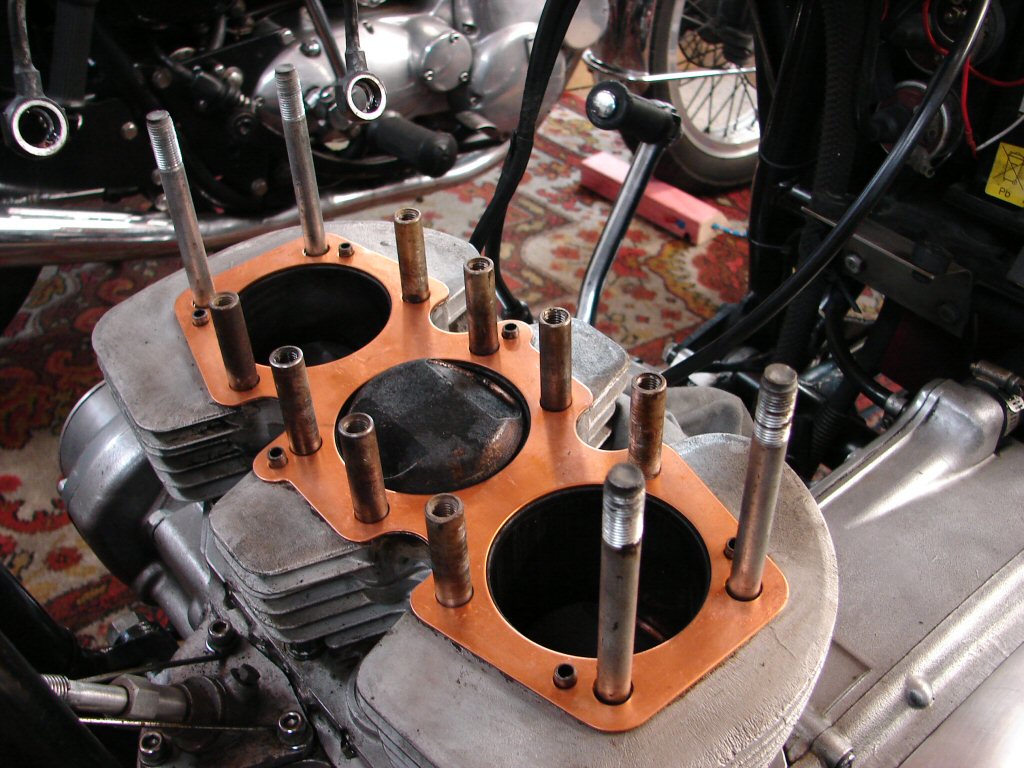
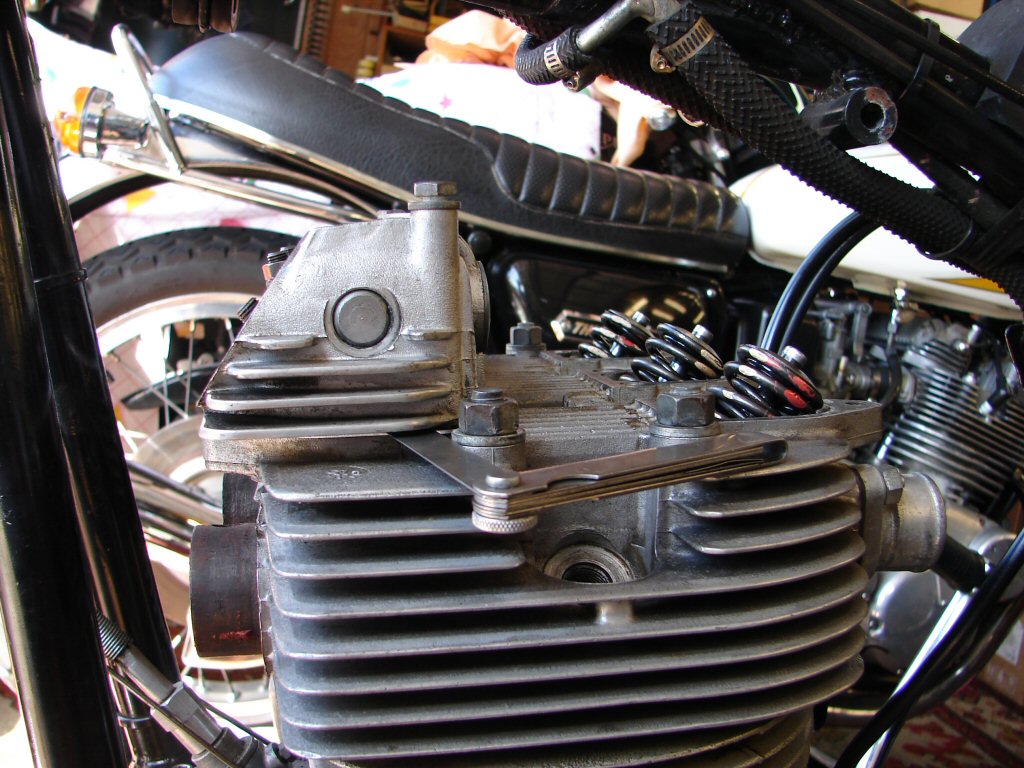
The current generation of copper gaskets need to be prepared before use, as they have burrs on the edges of the holes which clean easily with a drill bit. I also give the holes a mild round file as they are not all smooth. The pillar studs needed a good clean as the carbon build up prevented them from getting through the gasket easily, and that becomes a real nuisance when fitting a gasket with a fresh coating of copper spray.
Trial fit is complete in the above pic and the head got the next scrub up. It was mostly oil stain removal, but there was quite a bit of carbon in the combustion chambers and in the exhaust ports. The valves also got a rudimentary clean but I don't go overboard. It looks a heap better and the important surfaces are smooth.
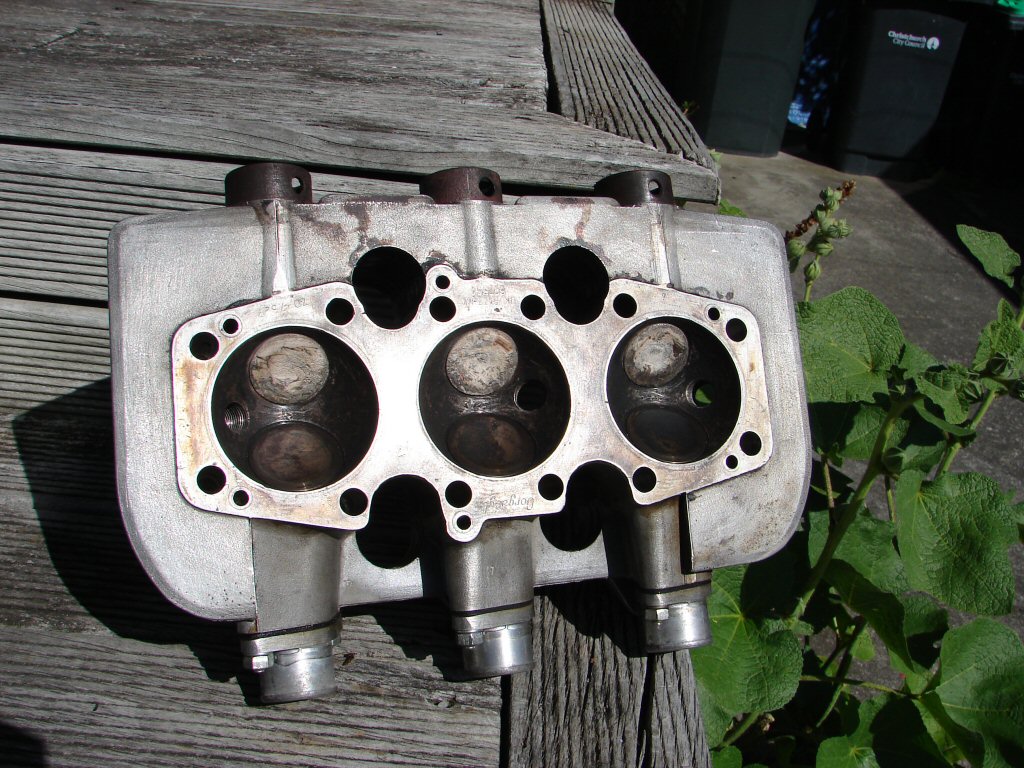
A rotary wire brush on the drill moves the loose stuff from the ports after which the manifold stubs are wire brushed by hand. I do not use manifold sealant unless there is a proven problem to address. Sometimes the holes in the stubs align with splits in the pipes so a bit of brass shim works best there with no sealant required.
Now that all the carbon that is leaving has done so, the final move is to use some degreaser - I favour CO Contact Cleaner - to get rid of the oily bits.
With everything clean and sorted the new copper gasket gets both sides coated with copper gasket spray. This will seal any irregularities in the surfaces of barrels, head or gasket, and I have not yet had one fail to seal adequately. I do use fine emery on glass to mildly surface the head and rocker boxes, but mostly that is to remove any final remnants of old gasket.
When the head goes on I put a mild tension on the outer four head studs just to maintain a good contact while the rocker boxes are being fitted. I have had reason preiously to remove a head after getting to this stage, and it required a rubber mallett to coax the copper joint apart, and that was within 30 minutes of fitting, so it does stick. On that occasion the copper spray was still tacky to the touch so I did not bother applying any more after attending to a troublesome pillar stud.
Next step is to fit the exhaust rocker box without pushrods in order to ascertain the amount of crush the pushrod seals are going to get. I use the white seals as provided in gasket sets, but the owner of this bike had provided X seals which are more resilient and do not need as much compressing, as they have scalloped sides which help effect an oiltight seal on all four sides.
I use around 040" on the white seals, but as this engine proved to have 025" available without using washers beneath the lower seal cups, that is what it got. It is not the end of the world if they do fail to seal properly under all conditions, as only the rocker boxes need lifting to insert a packing washer later.
With all that nutted out the rocker boxes went on pretty compliantly and as expected the valve clearances were all somewhat on the big side with our new aluminium gaskets being somewhat thicker than the squashed jobs once the head was torqued down. I refitted the oil cooler and rocker feeds as soon as was able to avoid any fresh oil adding itself to the mix from needing to turn the engine over a bit during the valve setting process.
I set the clearances to 008" and 010" as per the thinking of the time, with oil film on the followers being preferrable to a slight timing retard due to the later opening of valves. I am not sure it could even be measured as far as performance impact goes, and definitely not noticeable from a riders perspective, but may prolong the life of the cams and followers if we are to believe the factory experts of the day. And why not - they tried everything along the way and were up close and personal with the results.
The carbs went back on next along with the airfilter, and the fuel tank next as I wanted to run the engine as soon as the exhausts were back on. One heating and cooling cycle is enough to elicit any movement in the gaskets and joints as would be noticeable when doing a retension of the head bolts. Fortunately this is rare with this gasket combination, and it is not often that the valve clearances require any further attention. That is a real bonus time-wise.
The exhaust headers conveniently come off the bike with the rayguns still attached, which makes removal and refitting an easier task. The only problem is needing a bit more room to work in, so we went outdoors to do so. I must admit to having placed a yardstick through the back wheel and resting on the top pipes of the rayguns in order to get them exactly the same height. Its a thing...
The bike lived up to its reputation of being a first kick starter, and proceeded to rev and idle most happily indeed. I will be pleased if we see an improvement in spark plug colouring with a bit of use. It has Amal Premiers fitted and they appear to be well sorted, so I will not be needing to interfere with them unless some weirdness should show up on a test ride.
I think it is a 4-speed thing, but this is one of those bikes whose rear wheel is quite mobile when running on the main stand. They will stop quickly if the rear brake is applied, but it always amuses me and I wonder if oil choice plays any part.
Seeing as how I will only need to remove the fuel tank in order to retension the head I decided to go for broke and refit the side panels. The owner had removed the oil cooler trim before delivering the bike so I do not have to figure those in.
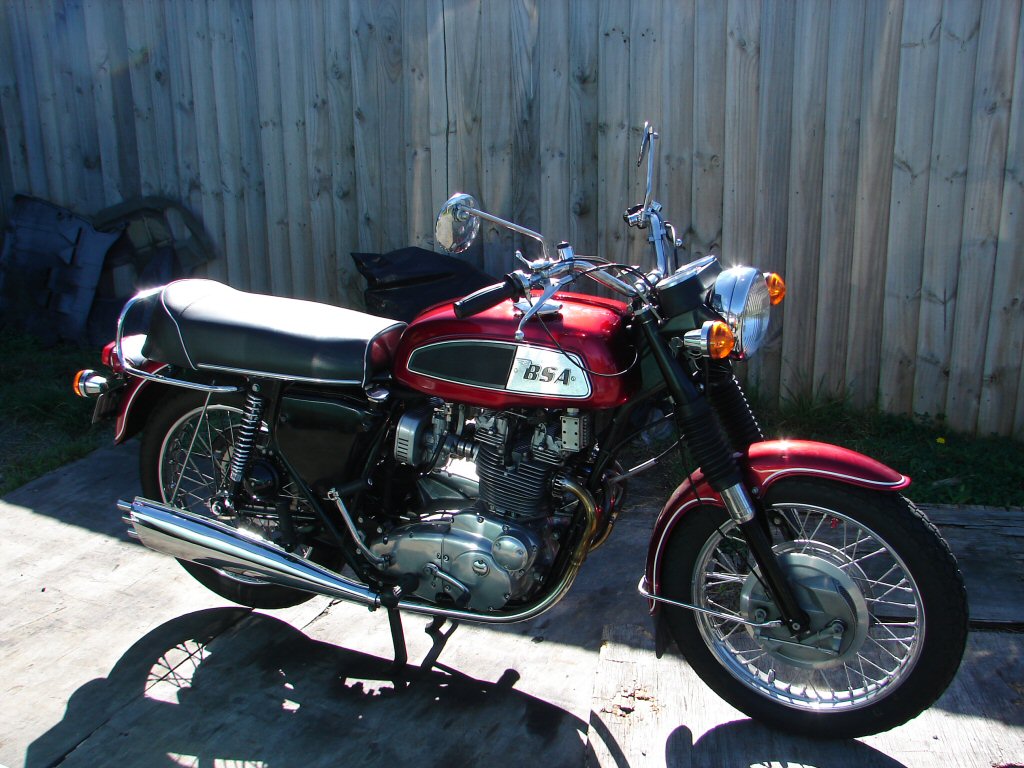
The paint is in great condition on this bike and it just gleams. Sure looks purty, even if it is not your favourite model. I found a couple of rubber washers to fit under the two large retaining screws on this side, as the rubber also acts as a self-locking mechanism and it will help preserve the badge.
Ageless style.
After cooling overnight I removed seat and tank and loosened all the head studs in reverse order by one eighth of a turn which is enough to release virtually all tension. I then tightened in the proper order and only two studs went a bit further before reaching my approx 20ftlb mark. No's 1 and 8 were the odd guys, and as they were on different rocker boxes I did not revisit the valve clearances.
The most pleasing thing was that all the studs tightened without indication of anything other than steadily increasing torque. If a pillar stud is beginning to pull you can feel it well before the torque wrench hits the mark, so I feel reassured that all is as it should be.
As the weather was atrocious the bike sat for another day before I rode it briefly - probably about 4 miles on my standard test circuit - and it did everything in fine style. I think that is a most appropriate word to use here. It feels like style too, and all the cycle parts played their part with well seasoned response. The twin leading front brake is most underrated, and the front springs showed they were still firm enough to provide the best compromise between firm and supple.
As suspected the carburetion was excellent throughout the range, and the four-speed box announced itself on my first change down to second, but that was my cue for gearchanging speeds for the rest of the ride.
On my return I had a good - read critical - look around the engine and did indeed find the faintest trace of a leak at the right end of the exhaust rocker box inspection cover. I had fitted the new gaskets dry as is my M_O, and was impressed by their generous thickness compared to the current crop, and was chuffed to find that they had a black side and a green side, so I was able to fit them with no green showing anywhere. They do not get a second chance if they leak first time up, and it got a good clean and a smear of silicone RTV on the lower half of both sides before going back on. My approach with silicone is that if you can see it you have used too much, so I often have fainter than usual fingerprints on thumb and forefinger having given the acetic acid a crack at my epidermus.
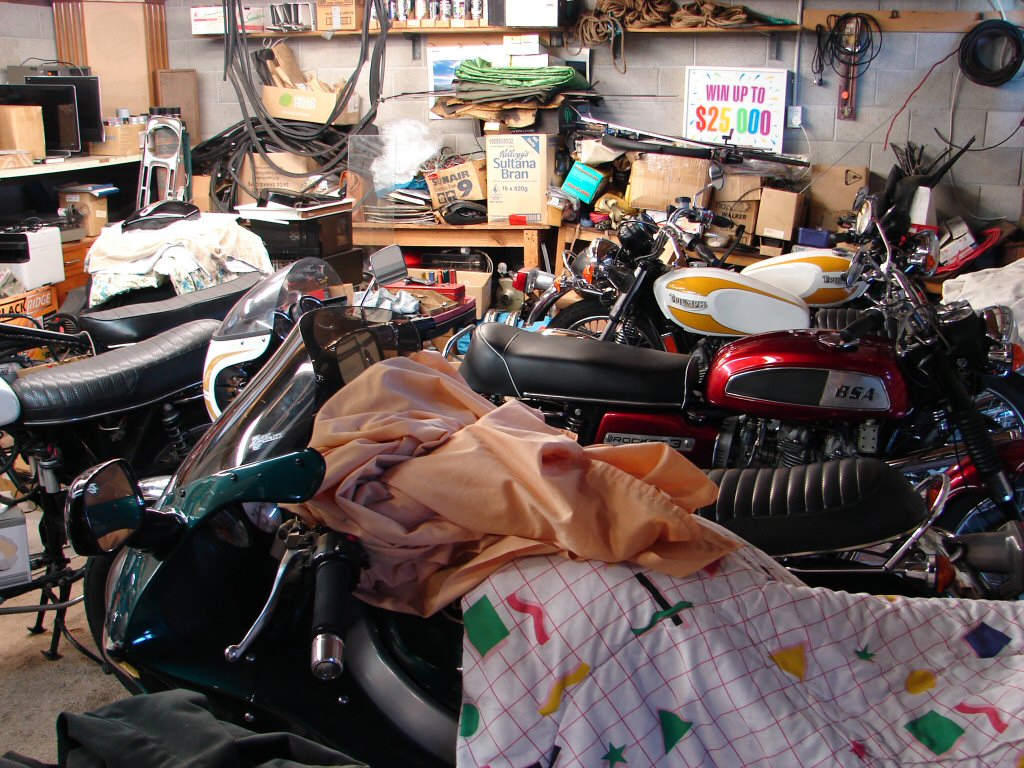
It has been most pleasant to have such an attractive interloper in my shed for a few days, being as it is mostly a Triumph benefit these days, and it shall head home with my best hopes of a long and satisfying future in safe hands.
I have had a recent spate of difficult machines to refurbish, inasmuch as they revealed many more ills in disassembly than their owners were aware of, so it has been a pleasure to work on an example which has proved to be the opposite.
Congratulations to John for his term in loco parentis - I wouldn't change a thing.